🌬 Introduction
Jake thought he could skip the wall sleeve.
He had a shiny new 8,000 BTU through‑the‑wall AC and a plan to cut a hole, slide it in, and enjoy cool air by the evening. But two weeks later, he noticed:
-
Water pooling under the wall.
-
A buzzing noise from the unit.
-
Drafts of hot air slipping in around the edges.
That’s when Jake realized the truth: a through‑the‑wall AC won’t work properly without a wall sleeve.
If you’re considering a 6,000–9,000 BTU through‑the‑wall AC, this guide is your ultimate crash course in why the sleeve matters, how to pick the right one, and whether Jake (and you) can install it DIY—or if a pro is the better call.
🧰 What Is a Wall Sleeve?
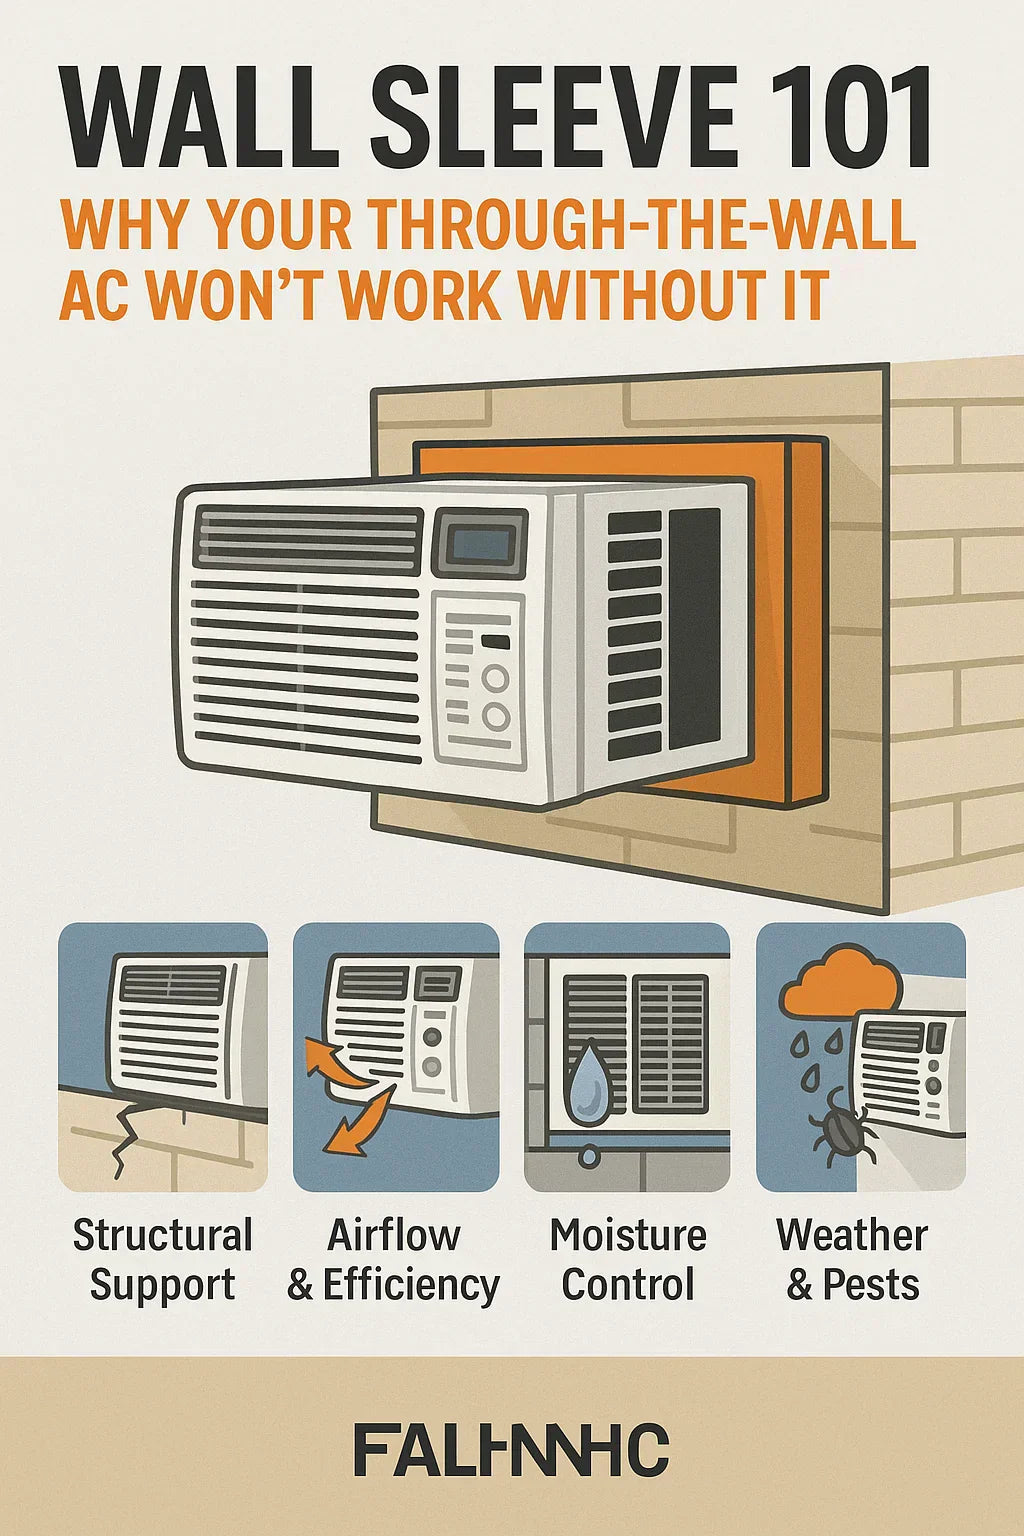
A wall sleeve is the structural housing that a through‑the‑wall AC slides into. Think of it as the foundation of your cooling system.
-
Materials: Typically galvanized steel (most durable) or heavy‑duty plastic.
-
Size: Most are 24 inches deep, but depth can vary depending on wall thickness.
-
Purpose:
-
Provides support for the AC (units weigh 60–100 lbs).
-
Ensures proper airflow for cooling efficiency.
-
Protects the wall from moisture, pests, and drafts.
-
📌 Family Handyman calls the sleeve “the unsung hero of through‑the‑wall ACs.”
🔑 Why Your AC Won’t Work Without a Wall Sleeve
Jake learned the hard way—skipping the sleeve is a shortcut that backfires. Here’s why:
🏗 Structural Support
-
The sleeve spreads the AC’s weight across the wall opening.
-
Without it, the AC sags, stressing drywall or masonry.
-
Risk of cracks, warping, and eventual water leaks.
🌬 Airflow & Efficiency
-
The sleeve channels hot exhaust air away from the intake.
-
Without it, the AC recycles its own heat → cooling drops by 20–30 %.
-
The compressor works harder, burning more energy and shortening lifespan.
💧 Moisture Control
-
Sleeves are sloped outward (¼ inch) for drainage.
-
Prevents condensate from dripping inside walls.
-
Without slope, water sits, leading to mold, mildew, and rot.
🛡 Weather & Pest Protection
-
Sleeves act as a sealed barrier.
-
Blocks rain, wind, and insects from entering gaps.
-
Helps maintain consistent indoor temperatures year‑round.
According to Energy Star, correct installation (including sleeve use) can save up to 15 % on cooling bills.
📐 How to Choose the Right Wall Sleeve
Jake nearly bought the wrong one. Here’s the checklist he now follows:
✅ Match Size & Model
-
Measure the AC chassis dimensions.
-
Most manufacturers sell brand‑specific sleeves for a perfect fit.
-
Universal sleeves exist but may leave small gaps.
🔌 Electrical Compatibility
-
Check which side your AC’s cord exits.
-
Ensure the sleeve allows clearance for cable routing.
🏠 Sleeve Material
-
Steel: Best for durability and long lifespan. Resists rust with proper coating.
-
Plastic/composite: Lighter, easier to handle, but less robust.
📏 Wall Thickness Matters
-
Standard sleeve depth: ~24 inches.
-
For thinner walls (like modular homes), order a reduced‑depth sleeve.
-
Jake’s tip: measure wall thickness twice before ordering.
🛠 DIY vs. Professional Sleeve Installation
Jake had to decide: grab his saw and drill, or call an HVAC pro?
🔧 DIY Sleeve Installation
Best for replacements when a wall opening already exists.
Jake’s DIY Checklist:
-
Stud finder (avoid cutting through studs).
-
Level (ensure slope for drainage).
-
Drill & saw (cut precise dimensions).
-
Caulk gun (seal gaps around sleeve).
-
A buddy (to help lift heavy units safely).
Process:
-
Remove old AC + sleeve.
-
Clean wall opening thoroughly.
-
Insert new sleeve, tilted outward.
-
Caulk and insulate perimeter.
-
Slide in AC and secure with brackets.
Jake saved about $400 in labor by doing this himself.
👷 When to Hire a Pro
-
First-time installs: Cutting a brand‑new wall opening is complex.
-
Older homes: Possible asbestos, knob‑and‑tube wiring, or weak framing.
-
Electrical upgrades: Some units require 230V, not standard 120V.
-
Warranty protection: Some brands require pro install to honor warranty.
This Old House warns that improper DIY cutting can compromise wall integrity—leading to expensive repairs.
💵 Cost Breakdown: Sleeve & Installation
Jake compared DIY vs. Pro for his 8,000 BTU unit:
DIY Costs
-
Wall sleeve: $120–$200
-
Tools & supplies: $75–$150
-
Total (with AC unit): ~$650–$1,050
Pro Costs
-
Labor: $400–$800
-
Sleeve: $120–$200
-
Total (with AC unit): ~$950–$1,600
📌 Skipping the sleeve may save $150 upfront—but can cost $1,000+ in water damage repairs later.
🌡 Real-World Example: Jake’s Bedroom AC
-
Room: 240 sq ft
-
AC: 8,000 BTU
-
Wall: 10 inches thick
-
Sleeve: 24-inch steel
Jake chose DIY because the old sleeve was rusted but the hole was sound. He and a friend replaced it in 2 hours, sealed with caulk, and tested drainage. Unit runs quietly and efficiently—unlike his first attempt.
🔧 Maintenance Tips for Wall Sleeves
Jake’s seasonal care routine keeps his AC (and walls) safe:
🧼 Spring
-
Inspect caulk around sleeve.
-
Clean out debris inside sleeve.
-
Confirm outward tilt with level.
🌞 Summer
-
Check condensation drains outside.
-
Ensure no air leaks around edges.
🍂 Fall
-
Remove AC if not in use.
-
Seal sleeve with insulated cover.
❄ Winter
-
Keep sleeve covered to prevent drafts.
-
Check for pest activity.
Energy Star recommends sealing unused sleeves in winter for maximum efficiency.
✅ Conclusion
Jake’s final verdict:
-
Never skip the sleeve.
-
DIY is doable for replacements, especially if you’re comfortable with tools.
-
Hire a pro for first-time installs or if electrical/wall concerns exist.
-
A $150 sleeve can save thousands in wall repairs and keep your AC efficient.
If you want comfort, efficiency, and peace of mind, make the wall sleeve your first priority in a through‑the‑wall AC setup.
In the next topic we will know more about: Energy Efficiency in Small Wall ACs: How Jake Saves on Summer Cooling Bills


