When most people start shopping for a through-the-wall air conditioner, they focus on the big things — BTUs, brand, or energy efficiency. But there’s one unsung hero that makes all the difference in comfort, performance, and longevity: the wall sleeve.
It’s easy to overlook, but without the right sleeve, even the best wall unit can leak air, sag over time, or drain improperly. And because through-the-wall systems are semi-permanent installations, this small piece of metal or polymer will quietly determine whether your investment lasts five years or fifteen.
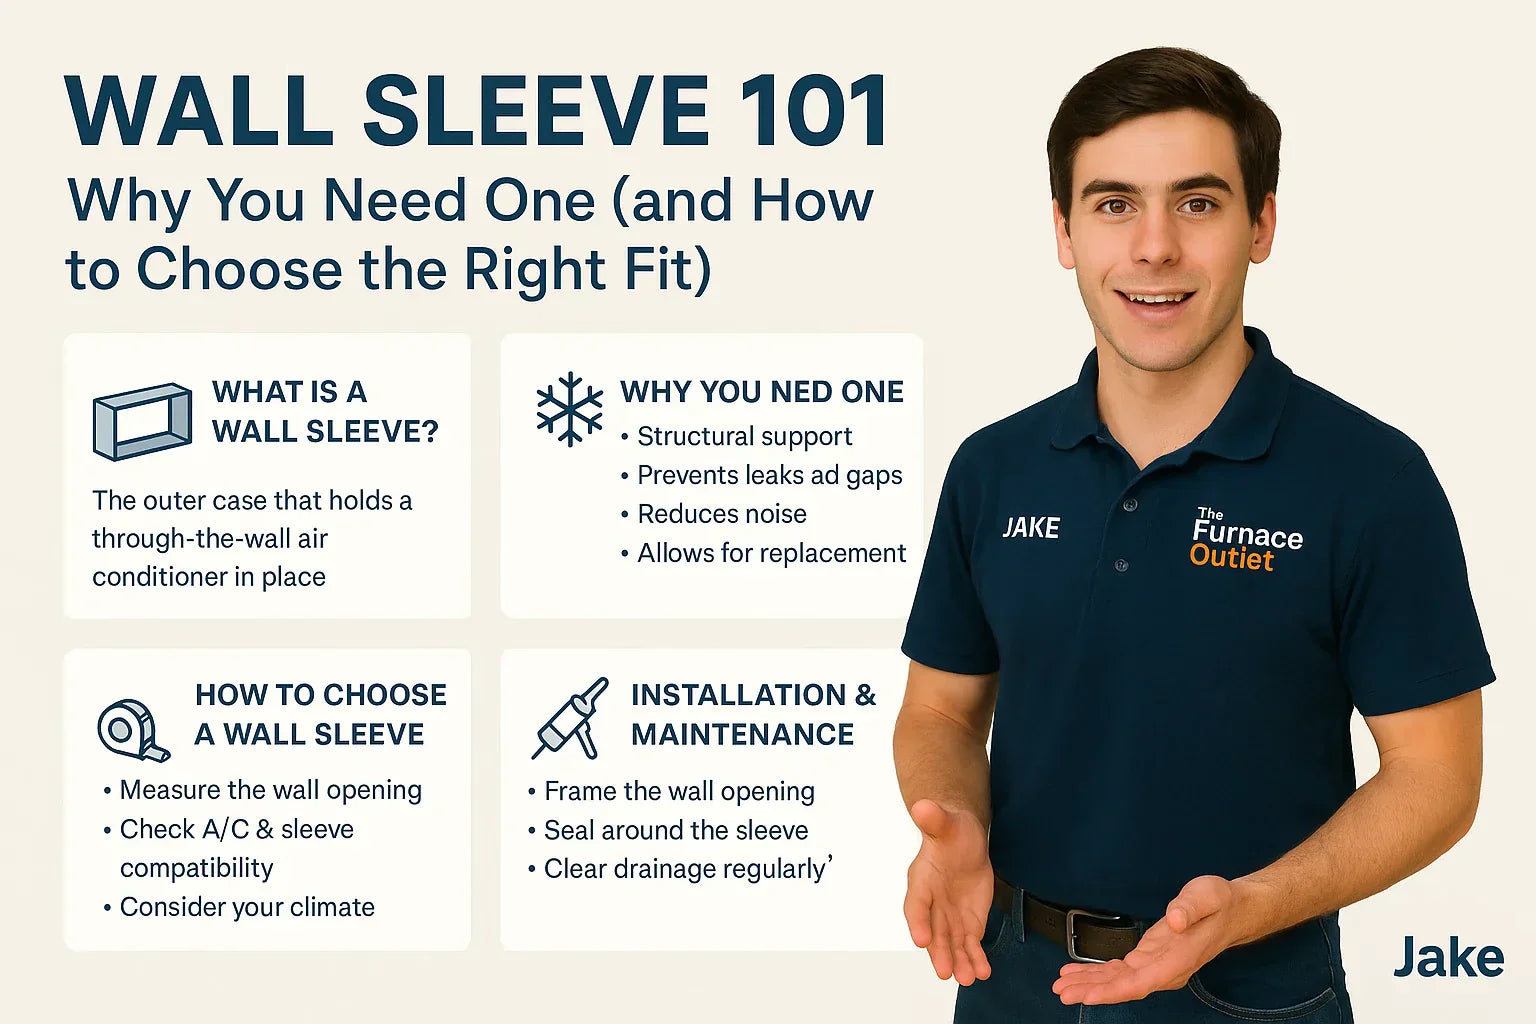
Hey, I’m Jake from The Furnace Outlet, and in this guide, I’ll walk you through everything you need to know about wall sleeves — what they do, how they work, which brands match which, and how to pick the perfect fit for your home.
🧊 1. What Exactly Is a Wall Sleeve?
A wall sleeve is the structural casing that holds your through-the-wall air conditioner in place. It’s the frame that you install into the wall cavity before sliding in the AC chassis. Think of it as the “dock” your unit connects to — providing support, alignment, insulation, and weather protection.
Without a sleeve, your wall AC would be sitting in raw drywall and framing — a guaranteed recipe for vibration, leaks, and water damage.
A typical sleeve looks like a rectangular metal or polymer box, open at both ends. It extends from the interior wall surface to just beyond the exterior siding, forming a perfectly fitted tunnel.
Inside that tunnel, your air conditioner slides in and locks securely — ensuring stable airflow, proper drainage, and sound isolation.
🧩 A Wall Sleeve Does More Than Hold an AC
Here’s why the sleeve is so critical:
-
Structural Support:
It bears the unit’s weight (some weigh 70+ pounds). Without it, the unit could shift, sag, or stress your drywall and studs. -
Sealing & Weatherproofing:
The sleeve seals against the wall and siding, keeping rain, insects, and outside air out of your living space. -
Drainage Management:
It channels condensation safely outside. Many sleeves are designed with a slight outward tilt for this purpose. -
Noise Reduction:
A properly fitted sleeve minimizes vibration transfer into the wall, keeping operation quiet. -
Future Compatibility:
Once installed, a standard sleeve lets you easily swap out old units with new models — as long as you match the dimensions.
Energy.gov emphasizes that properly installed and sealed wall units operate more efficiently and last longer — and the sleeve is at the heart of that.
🧱 2. Why You Need One: The Real-World Benefits
A sleeve isn’t just a convenience; it’s essential for safety, efficiency, and long-term performance. Let’s dig deeper into what it does.
🏗️ 1. Keeps Your Wall Intact
Wall ACs vibrate during operation. Without a sleeve, that vibration transfers into drywall and studs, eventually cracking plaster and loosening framing. The sleeve acts as a stabilizer, spreading weight evenly across a reinforced frame.
🌦️ 2. Prevents Leaks and Air Gaps
A raw hole in your wall — even a snug one — isn’t airtight. Small gaps allow air infiltration, leading to higher energy bills and humidity issues.
A sealed sleeve prevents hot or cold air from seeping in, improving energy efficiency.
💧 3. Controls Condensation
Every AC produces condensation as it dehumidifies. A proper sleeve ensures that water drains outside instead of dripping into insulation or drywall.
🔇 4. Quiets Operation
Sleeves are lined or insulated to dampen noise. The metal or polymer barrier absorbs vibration before it reaches your walls.
🔄 5. Enables Easy Replacement
Once a sleeve is installed, you can upgrade or replace your AC without cutting or reframing the wall again — as long as the new unit fits the same sleeve dimensions.
That’s why matching brands and sizes from the start saves headaches later.
⚙️ 3. Standard Wall Sleeve Sizes
Most through-the-wall air conditioners follow standardized dimensions, which makes replacements much easier.
| Type | Dimensions (W × H × D) | Notes |
|---|---|---|
| Standard Sleeve (Universal) | 26" × 15½" × 16¾" | Fits most LG, GE, Amana, and Frigidaire units |
| Friedrich Uni-Fit Sleeve | Adjustable 23"–26" wide | Works for replacing older or nonstandard brands |
| Compact Polymer Sleeves | 24" × 14½" × 16" | Designed for small-room ACs or condos |
Most homeowners will be dealing with the standard 26-inch format — the industry’s universal spec. But if you’re replacing a legacy or niche model (like an old Fedders or Emerson), you’ll likely want a Friedrich Uni-Fit sleeve, which is adjustable to multiple widths.
Friedrich’s Uni-Fit series is known for bridging compatibility gaps across brands — a lifesaver for older homes.
🧰 4. Sleeve Materials: Metal vs. Polymer
The material of your wall sleeve determines its lifespan, weight, and resistance to corrosion.
| Material | Pros | Cons | Best For |
|---|---|---|---|
| Galvanized Steel | Rigid, durable, strong support | Can corrode in humid or coastal climates | Permanent residential installs |
| High-Impact Polymer (ABS or PVC) | Rust-proof, lightweight | Less structural rigidity | Coastal or humid regions |
| Aluminum | Lightweight, moderate corrosion resistance | More expensive | Multi-unit buildings or light commercial installs |
Jake’s Tip:
“If you live near the ocean or anywhere humid, choose a polymer sleeve. Salt air eats through metal faster than you think.”
For most inland homes, galvanized steel remains the gold standard — it’s rugged, thermally stable, and easy to seal.
📐 5. How to Choose the Right Sleeve for Your System
Choosing a wall sleeve isn’t complicated — but getting it wrong can create a chain of issues from leaks to incompatibility.
Here’s the four-step process I always recommend:
🪚 Step 1: Measure Your Wall Opening
If you’re replacing an existing unit, measure the inside of your wall sleeve — not the exterior trim.
-
Width: Inside edge to inside edge
-
Height: Top to bottom
-
Depth: From interior wall surface to exterior siding
Standard replacement sleeves are 26" wide × 15½" tall × 16¾" deep.
If your sleeve doesn’t match those dimensions, check if it’s an older model — brands like Fedders or Emerson used smaller sizes.
🧱 Step 2: Match Brand and Model
The safest option is to buy the sleeve recommended by your AC manufacturer.
Here’s a quick brand reference:
| Brand | Recommended Sleeve | Dimensions | Notes |
|---|---|---|---|
| GE | RAB46 / RAB48 | 26" × 15½" × 16¾" | Standard steel sleeve |
| LG | AXSVA4 / AXSVA1 | 26" × 15½" × 16¾" | Fits GE-standard openings |
| Friedrich | USW / Uni-Fit | Adjustable 23–26" | Universal fit for multiple brands |
| Amana / Goodman | WS900 Series | 26" × 15½" × 16¾" | Standard residential sleeve |
Most LG and GE models are interchangeable, while Friedrich’s Uni-Fit sleeve provides flexibility for older wall openings.
(Reference: GE Installation Manual (AJE Series))
🧰 Step 3: Check Airflow Design
Not all ACs vent the same way. Some expel heat through the rear panel, while others vent partially through the sides.
If your wall sleeve blocks those vents, your unit will overheat.
✅ Rear Exhaust Design: Standard sleeve works fine.
⚠️ Side Vent Design: Ensure sleeve has open side panels or ventilation cutouts.
Always match airflow design to your wall sleeve to prevent performance loss or warranty voids.
🌦️ Step 4: Consider Environment
Your climate affects your ideal sleeve choice:
-
Humid or coastal: Choose polymer or powder-coated steel to prevent rust.
-
Cold climates: Opt for sleeves with better insulation to prevent thermal bridging.
-
Multi-unit buildings: Look for fire-rated or UL-certified sleeves for code compliance.
(Reference: Family Handyman – Installing a Wall AC)
🧩 6. Installation Basics: Getting It Right
Once you’ve chosen the sleeve, it’s time for installation. This is the structural heart of the process — what ensures everything fits snugly and drains properly.
🧱 1. Framing the Opening
Your sleeve fits inside a reinforced wall opening. Build a simple 2×4 frame inside the cavity:
-
Bottom plate (horizontal)
-
Top header
-
Side studs
Make sure the opening is square and level.
🧰 2. Insert the Sleeve
-
Slide the sleeve into the opening from the interior.
-
Ensure a slight outward slope (about ¼ inch per foot) so condensation drains outside.
-
Check level side to side and slope front to back.
-
Secure the sleeve to wall framing with galvanized screws.
🧼 3. Seal the Perimeter
Use silicone caulk or flashing tape to seal the sleeve’s outer flange.
Seal gaps inside with insulation foam or fiberglass batts to block airflow and vibration.
🧩 4. Test the Drainage
Pour a small amount of water into the sleeve to confirm it drains outward. If it pools, adjust the slope before inserting your AC unit.
(Reference: Energy.gov – Air Sealing Tips)
🧽 7. Maintenance: Protecting Your Sleeve for the Long Run
A well-installed sleeve requires very little maintenance, but checking it seasonally keeps your setup efficient and watertight.
🔹 Every Month (During Use)
-
Remove and clean your AC filter.
-
Inspect for water pooling near the exterior.
🔹 Every 6 Months
-
Remove your AC chassis (if possible) and vacuum inside the sleeve.
-
Check drainage openings for blockages (like dirt or insect nests).
-
Re-caulk any cracks around the sleeve’s exterior edge.
🔹 Annually
-
Repaint metal sleeves with rust-resistant paint if finish shows wear.
-
Tighten any loose mounting screws.
-
Check insulation and replace if compressed or moldy.
(Reference: Energy.gov – Air Conditioning Maintenance)
🧮 8. Can You Reuse an Existing Wall Sleeve?
If you’re replacing an older through-the-wall AC, you may not need to replace the sleeve — but it depends.
You can reuse your sleeve if:
-
It’s free of rust or damage.
-
It matches the vent pattern of your new unit.
-
It’s a standard 26" size compatible with your new brand.
You must replace the sleeve if:
-
It’s too shallow or deep for your new AC.
-
There’s corrosion or water damage.
-
The unit doesn’t fit snugly or align with vents.
Jake’s Tip:
“If your sleeve is over 10 years old, replace it anyway. It’s a small cost for big peace of mind.”
🧠 9. Common Mistakes to Avoid
| Mistake | Why It’s a Problem | Fix |
|---|---|---|
| Leveling perfectly flat | Water won’t drain; leads to mold | Tilt outward ¼ inch per foot |
| Forgetting to seal edges | Air leaks and higher utility bills | Use exterior-grade silicone |
| Blocking side vents | Overheats compressor | Use compatible sleeve |
| Skipping insulation | Reduces efficiency | Fill gaps with foam or fiberglass |
| Using indoor-rated caulk | Degrades outdoors | Always use weatherproof sealant |
These are simple fixes that separate a reliable installation from a leaky one.
🔧 10. Brand Compatibility Chart
| Existing Sleeve Brand | Replacement Options |
|---|---|
| Fedders / Emerson | Friedrich Uni-Fit Adjustable Sleeve |
| GE | RAB46 or RAB48 (standard universal sleeve) |
| LG | AXSVA4 or AXSVA1 |
| Friedrich Uni-Fit | USW sleeve (same adjustable model) |
| Amana / Goodman | WS900 Series sleeve |
| Frigidaire | Universal 26" steel sleeve |
If you’re unsure, a universal 26-inch sleeve will cover 90% of modern through-the-wall units.
🏠 11. Cost Breakdown
| Item | DIY Cost | Professional Install |
|---|---|---|
| Wall Sleeve | $90–$150 | Included in full install |
| Installation Materials | $30–$75 | $100–$200 |
| Labor (if hired) | — | $400–$800 |
| Total Estimated Cost | $120–$225 (DIY) | $700–$1,200 (pro) |
Because a sleeve is a one-time investment that can last 15+ years, it’s worth choosing quality over savings.
(Reference: Checkatrade – Air Conditioner Installation Cost)
🧩 12. Visualizing the Layers
Imagine a cross-section of your wall:
Interior Wall → Insulation → Framing → Wall Sleeve → Exterior Siding
Each layer has a purpose. The sleeve acts as a protective tunnel that keeps inside air in, outside air out, and moisture draining away. Without it, you’d have a gap in your insulation envelope — like leaving a small window open all summer.
🧠 13. Jake’s Quick Buyer Tips
✅ Match brand and airflow first.
✅ Choose polymer in coastal areas.
✅ Always slope outward.
✅ Insulate around the sleeve.
✅ Don’t skip sealing — even tiny gaps matter.
If you’re ever unsure, take a photo of your existing wall opening and contact The Furnace Outlet’s support team. They’ll help confirm which sleeve matches your specific AC model.
🏁 14. Jake’s Final Take
A wall sleeve may not be the flashiest part of your through-the-wall system, but it’s arguably the most important.
“Think of it like the foundation under your home — invisible when it’s done right, but a total nightmare if ignored.”
The right sleeve keeps your unit quiet, efficient, and leak-free for years to come. Choose carefully, seal thoroughly, and you’ll enjoy steady comfort every summer without a single drop of condensation where it doesn’t belong.
In the next topic we will know more about: Energy Efficiency and Tax Credits: Do Wall Units Qualify?


