A Step-by-Step Walkthrough from Jake at The Furnace Outlet
If you’ve ever thought about installing a through-the-wall air conditioner (TTW AC) yourself, one phrase probably runs through your head: “Cutting a hole in my wall sounds intimidating.”
And you’d be right — it’s not a project you want to rush. But with a plan, the right tools, and a few pro tips, you can turn it into a smooth, rewarding upgrade that adds both comfort and value to your home.
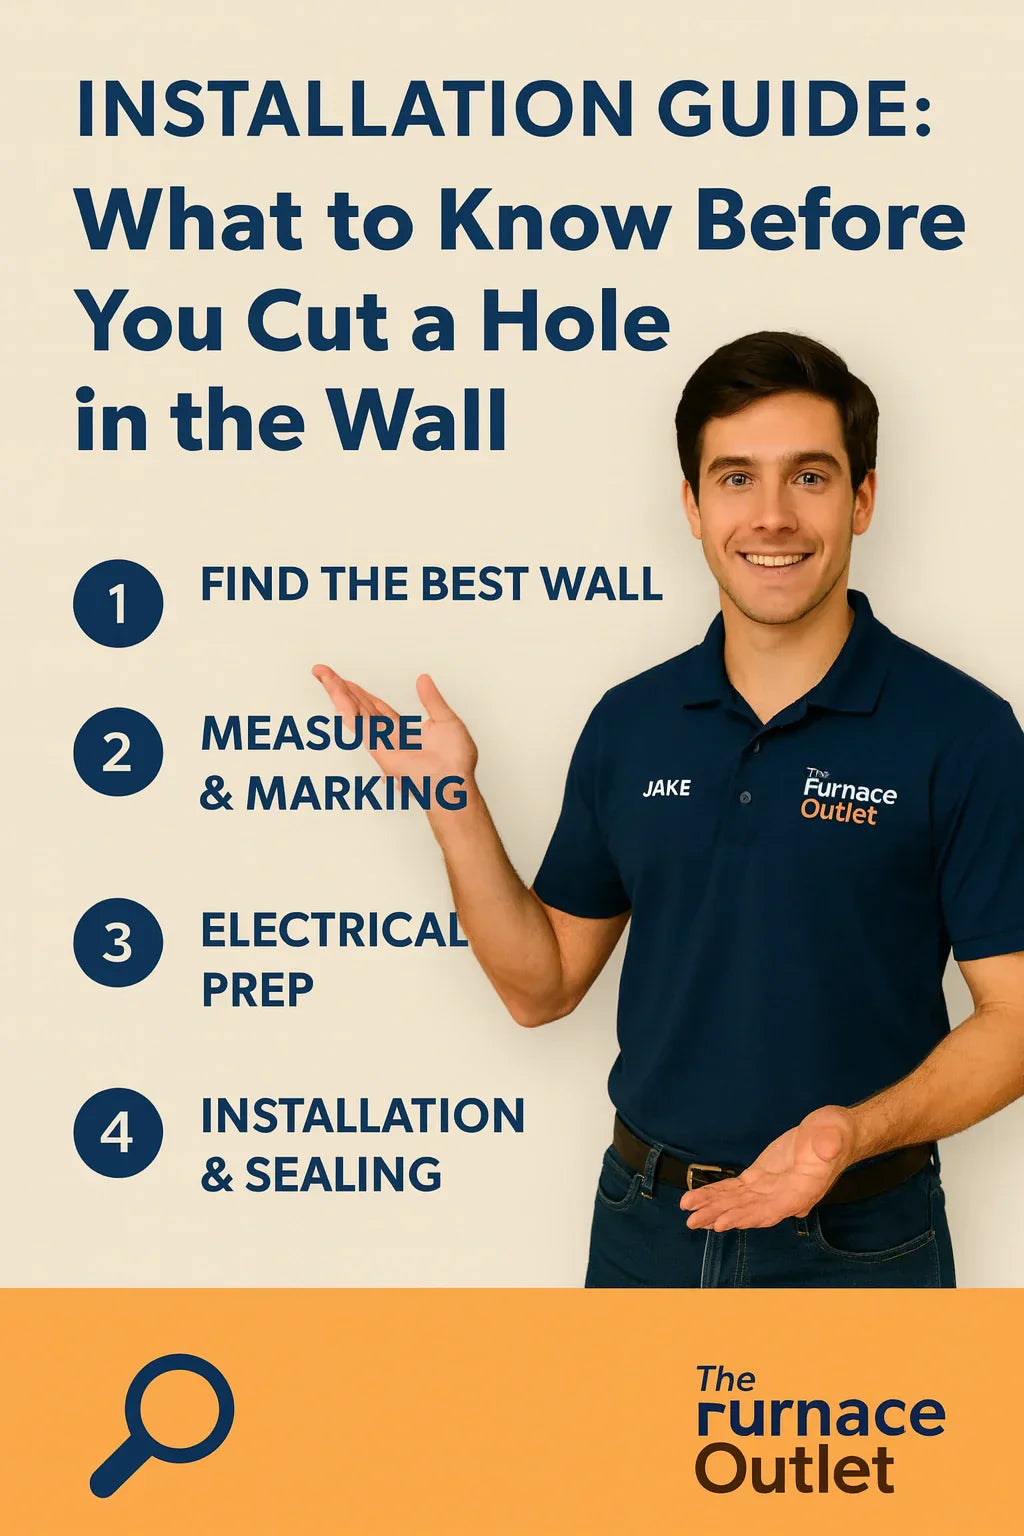
Hey, I’m Jake from The Furnace Outlet. In this guide, I’ll walk you through everything you should know before that first saw blade touches drywall. From measuring and electrical prep to sleeve installation and sealing, we’ll cover the process start to finish — safely and confidently.
🧱 1. Why Proper Planning Matters
Installing a wall AC is more than just mounting a unit; it’s a permanent alteration to your home’s structure. A well-planned installation ensures:
-
✅ Long-term efficiency: Proper sizing and sealing prevent air leaks.
-
✅ Quiet operation: A solid sleeve and stable framing stop vibrations.
-
✅ Moisture control: Correct drainage and slope prevent leaks or mold.
Poor planning, on the other hand, can cause short cycling, insulation gaps, or water infiltration — problems that cost far more than doing it right the first time.
According to Energy.gov, good installation can boost system efficiency by 10–20%. That’s energy you won’t waste through cracks or poor airflow.
🧩 2. Step Zero: Is a Through-the-Wall AC Right for This Wall?
Before you start cutting, ask yourself one big question: Is this the right wall for an AC?
Not every wall is ideal. You need:
-
An exterior wall (not shared with another interior room).
-
Clear access to both interior and exterior sides.
-
Non-load-bearing construction, when possible.
-
No plumbing, wiring, or studs running through the planned opening.
🔎 How to Check Wall Suitability
-
Find studs and wires: Use a quality stud finder with AC wire detection.
-
Look for obstructions: Check electrical panels, outdoor spigots, or vents.
-
Avoid corners: Leave at least 6" clearance from studs or trim.
-
Check siding type: Vinyl or wood siding is easier to cut; brick or stucco requires masonry tools and extra framing.
If your wall is load-bearing, you can still install a TTW unit — but you’ll need additional framing or a header to carry structural load. That’s where a professional might step in.
(Reference: Family Handyman – Installing a Garage Air Conditioner)
⚙️ 3. Tools & Materials Checklist
You’ll save hours if you prep everything before starting. Here’s your go-to list:
🧰 Tools
-
Drill + assorted bits
-
Reciprocating saw (with wood & metal blades)
-
Circular saw (optional for straight cuts)
-
Stud finder
-
Level & framing square
-
Tape measure & marker
-
Utility knife
-
Screwdriver set
-
Pry bar
-
Caulking gun
🧱 Materials
-
Wall sleeve (from your AC manufacturer)
-
Treated 2×4 lumber (for framing support)
-
Insulation foam or fiberglass batts
-
Weatherproof silicone caulk
-
Flashing tape or aluminum drip edge
-
Exterior trim kit
-
Screws (galvanized)
-
Paint or sealant for finishing
⚡ Electrical
-
Dedicated 115V or 230V outlet (per unit specs)
-
Proper gauge wiring
-
GFCI outlet (if required by code)
-
Circuit breaker matched to amperage rating
Jake’s Tip: Most through-the-wall units require a dedicated circuit. Overloading an existing outlet shared with appliances or lighting can trip breakers or overheat wiring.
(Reference: Energy.gov – Electrical Safety Basics)
🧮 4. Electrical Prep: Plan Before You Power Up
This part is easy to overlook but critical. Even if you’re comfortable with tools, electrical safety isn’t optional.
⚡ Know Your Voltage
Check your AC’s nameplate or product manual. Common configurations are:
-
115V, 15A: Typical for small units (6,000–8,000 BTU).
-
230V, 20A or 30A: Required for higher capacity or heat-pump models (10,000–14,000 BTU).
If you don’t already have a dedicated line, hire a licensed electrician to install one. It should include:
-
A circuit breaker rated for your unit’s amperage.
-
Correct wire gauge (12-gauge for 20A, 10-gauge for 30A).
-
Ground fault protection in wet or basement areas.
Jake’s Rule: If your AC plug doesn’t match the outlet, don’t use an adapter. That’s a sign your circuit isn’t properly rated.
📏 5. Measuring & Marking the Opening
The old saying “measure twice, cut once” applies tenfold here.
🧩 Step-by-Step:
-
Find the unit’s sleeve dimensions — width, height, and depth. (You’ll find these in the product manual or online spec sheet.)
-
Mark the outline on the interior wall. Use a level to make sure lines are square and plumb.
-
Drill pilot holes in each corner through to the outside — these will act as your reference points.
-
Move outside and connect the pilot holes to form your cut guide on the exterior siding.
Jake’s Tip: Add ¼" to your cutout width and height for fitting tolerance — you can always seal gaps later with insulation or trim.
🪚 6. Cutting the Wall Safely
Cutting through drywall, sheathing, and siding is where this project gets real. Slow and steady wins here.
🧱 Step-by-Step Cutting:
-
Turn off power to nearby outlets before cutting (to avoid hitting live wires).
-
Cut interior drywall first. Use a utility knife and reciprocating saw.
-
Remove insulation in the cavity. Inspect for wiring or pipes.
-
Drill pilot holes from inside through sheathing and siding.
-
Go outside and connect pilot holes with a straight edge.
-
Cut the exterior siding carefully using a reciprocating saw.
-
Clean the opening of debris, nails, or uneven edges.
If you discover unexpected wiring or load-bearing studs, stop and consult a pro.
(Reference: The Spruce – How to Cut Into a Wall Safely)
🧱 7. Framing the Opening
Now that you’ve created an opening, it needs to be strong enough to support the unit and its sleeve.
Materials:
-
Two horizontal 2×4 headers (top and bottom)
-
Two vertical side supports
Steps:
-
Install bottom plate: Attach horizontally across the bottom of the cutout.
-
Add side studs: Secure vertically to the existing wall studs.
-
Top plate: Attach across the top, ensuring it’s level.
-
Insulate gaps: Add fiberglass batts or foam in any open cavities.
Think of this frame as the “picture frame” that holds your wall sleeve snugly in place.
🧳 8. Installing the Wall Sleeve
The sleeve is what separates a reliable installation from a leaky one.
Purpose:
-
Supports the unit’s weight
-
Provides proper drainage slope
-
Seals the wall from weather
-
Ensures alignment for future unit replacements
Step-by-Step Installation:
-
Insert the sleeve into the framed opening from inside.
-
Check slope: It should tilt slightly outward (about ¼ inch per foot) so condensation drains outside.
-
Level horizontally. Use a bubble level on the top edge.
-
Screw sleeve flanges into the frame using galvanized screws.
-
Seal the perimeter: Apply flashing tape or silicone caulk on all edges.
-
Attach drip edge or exterior trim to prevent rain intrusion.
(Reference: GE Appliances – Wall AC Installation Manual (AJE Series))
💨 9. Installing the AC Unit
You’re in the home stretch now.
Steps:
-
Remove front grille of the AC (most slide out easily).
-
Slide chassis into sleeve. Make sure it locks into the rear brackets.
-
Reconnect front grille and filter.
-
Plug into outlet and check for solid contact.
-
Test operation: Turn on cooling mode and verify airflow direction.
-
Inspect for drainage: Condensate should exit outdoors without pooling.
Jake’s Tip: The AC should extend ⅛–¼ inch beyond the sleeve on the exterior side to allow proper exhaust airflow.
🧽 10. Sealing, Insulating & Finishing Touches
Now you’ll make it look and perform like a factory install.
Sealing:
-
Apply weatherproof caulk around the exterior trim.
-
Use foam insulation between sleeve and framing.
-
Add interior trim kit for a polished appearance.
Finishing:
-
Touch up exposed wood with paint or sealant.
-
Double-check the slope and sleeve alignment one last time.
(Reference: Energy.gov – Air Sealing Tips)
🔍 11. Testing & Troubleshooting
🧪 Initial Run Checklist
-
Unit powers on? ✅
-
Airflow direction adjustable? ✅
-
Compressor cycles normally? ✅
-
No rattling or vibration noises? ✅
-
Condensation drains outside? ✅
🔧 Common Issues & Fixes
| Problem | Likely Cause | Quick Fix |
|---|---|---|
| Weak cooling | Unit undersized / filter clogged | Clean or replace filter |
| Dripping inside | Sleeve not sloped outward | Re-level sleeve |
| Vibration noise | Loose sleeve screws | Tighten fasteners |
| Power trip | Wrong voltage / shared circuit | Install dedicated line |
| Drafts | Poor sealing | Re-caulk perimeter |
Most small issues trace back to alignment or sealing errors — easy fixes if caught early.
🧠 12. When to Call a Professional
Even the most confident DIYer knows their limits. You should call a licensed pro if:
-
The wall is load-bearing or brick.
-
You need new wiring or circuit installation.
-
Drainage or flashing design looks complex.
-
You’re uncomfortable cutting exterior siding.
Jake’s Advice:
“Even if you hire a pro for the heavy lifting, understanding these steps lets you supervise confidently and catch mistakes before they happen.”
🏡 13. Maintenance After Installation
Once installed, a little seasonal upkeep will keep your system running like new.
Every Month
-
Clean or replace the filter.
-
Check for dust buildup on the grille.
Every 3–6 Months
-
Inspect the sleeve for moisture or mold.
-
Clean condenser coils with a soft brush.
-
Verify outdoor drainage path is clear.
Annually
-
Reseal exterior caulking if it shows cracking.
-
Tighten sleeve screws if vibration loosens them.
(Reference: Energy.gov – Air Conditioning Maintenance)
🧾 14. Estimated Time & Cost Breakdown
| Task | Time (DIY) | Typical Cost |
|---|---|---|
| Planning & measurement | 1–2 hrs | Free |
| Wall cutting & framing | 2–3 hrs | $50–$100 materials |
| Electrical prep | 1–2 hrs | $150–$400 if pro installed |
| Sleeve installation | 1 hr | $50–$200 |
| AC unit installation | 30–45 min | Included |
| Sealing & finishing | 1 hr | $25–$75 materials |
Total DIY project cost: $250–$500 (excluding unit).
Professional installation: $1,200–$2,000 depending on wall type and labor rates.
(Source: Checkatrade Air Conditioner Cost Guide)
🧰 15. Jake’s Final Take
By now, you’ve got a clear roadmap from first measurement to final test run. Cutting into a wall might feel like a big step, but when done right, a through-the-wall AC offers unmatched performance, quiet operation, and a clean look that window units just can’t match.
“The trick is patience. Measure three times. Double-check your slope. Seal every gap like you’re keeping out a thunderstorm. Do that, and you’ll have a setup that lasts a decade or more.”
Once your new AC is humming quietly in the background, you’ll appreciate that every careful step was worth it.
In the next topic we will know more about: Wall Sleeve 101: Why You Need One (and How to Choose the Right Fit)


