When most homeowners think about installing a through-the-wall air conditioner, their attention goes straight to the big stuff: cooling capacity, brand, energy ratings, and price.
But there’s a hidden hero that quietly holds it all together — the wall sleeve.
Best Through The Wall Air Conditioners
It’s the frame, shield, and anchor of your through-the-wall system. And while it might not look glamorous, choosing the right one (and installing it properly) determines whether your air conditioner runs efficiently for 5 years… or 15.
Let’s break down what a wall sleeve does, why it’s essential, and how to pick the perfect fit for your home.
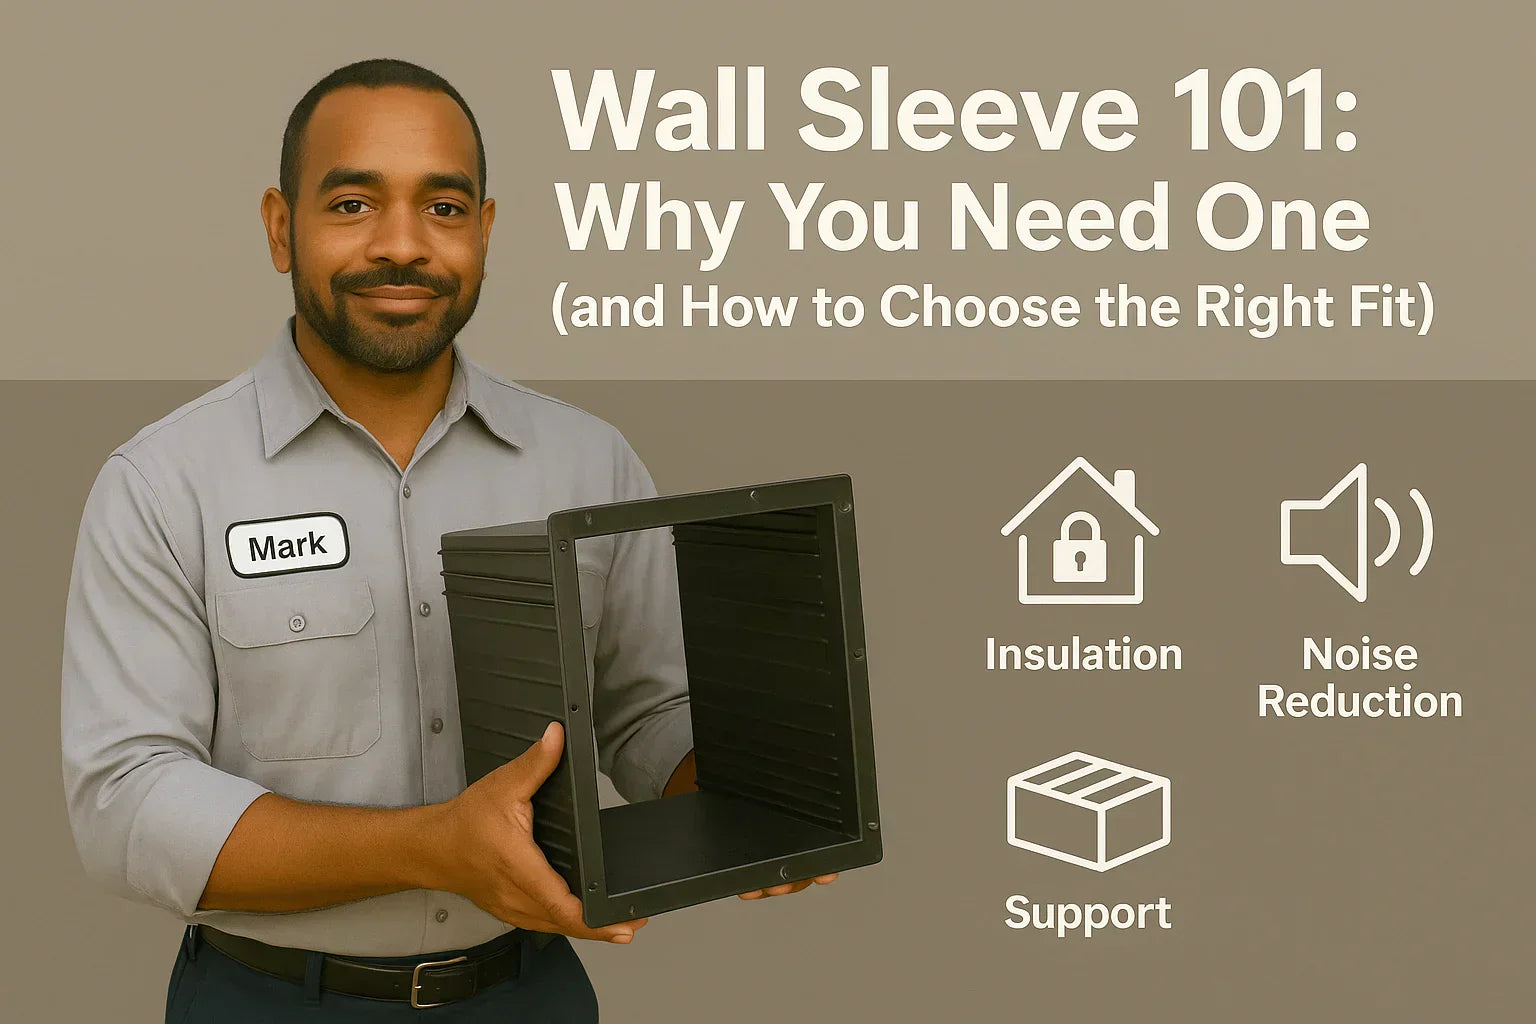
🧩 1. The Unsung Hero of Wall AC Installation
Every through-the-wall air conditioner relies on a wall sleeve, even if you’ve never noticed it.
This metal or polymer box slides into the wall cavity and acts as the permanent mount for your unit. The AC simply slides into it — and when you replace your system years later, the sleeve often stays right where it is.
A properly installed wall sleeve:
-
Keeps your air conditioner level and secure.
-
Prevents moisture, pests, and drafts.
-
Reduces vibration and noise.
-
Adds insulation between indoor and outdoor air.
Without it, your unit would rest directly against drywall and framing — not exactly a recipe for durability or comfort.
💡 Mark’s Note:
“Your wall sleeve isn’t just a metal box. It’s what protects your AC from the elements, stabilizes its position, and makes the installation last.”
Learn more:
➡️ Energy.gov – Room Air Conditioners
⚙️ 2. What Exactly Is a Wall Sleeve?
A wall sleeve is a weatherproof housing installed through your home’s exterior wall. It’s typically made of galvanized steel or heavy-duty plastic and sized to match the air conditioner’s chassis.
🧱 The Basics:
-
It’s installed first, before the AC.
-
The air conditioner slides into the sleeve from inside.
-
The sleeve stays in place year-round — even if you remove the unit.
🔧 What It Does:
-
Supports the full weight of the AC (often 80–120 lbs).
-
Seals gaps to prevent air and water leaks.
-
Absorbs vibration and compressor noise.
-
Aligns drainage channels for proper condensation removal.
Think of it like a docking bay: your air conditioner connects to it, and the sleeve provides the airtight, insulated environment that keeps performance consistent.
🧰 3. Why Every Through-the-Wall AC Needs One
A wall sleeve isn’t optional — it’s required for the system to function safely and efficiently.
Let’s explore the four key jobs your sleeve performs.
🧱 1. Structural Support
Through-the-wall air conditioners are heavy. A sleeve acts as a reinforced frame that distributes the unit’s weight across your wall studs rather than the drywall or siding.
Without one, you risk:
-
Cracked drywall or siding.
-
Warped framing.
-
Units tilting out of alignment.
🌧️ 2. Weather Protection
The sleeve seals the opening between your home’s interior and the outdoors, shielding insulation and framing from:
-
Rain and humidity
-
Dust and debris
-
Insects and rodents
🔇 3. Noise Reduction
The sleeve’s insulation dampens compressor noise and reduces vibration. That’s why most through-the-wall units are quieter than window ACs.
⚡ 4. Energy Efficiency
A properly fitted sleeve stops air leaks and prevents temperature loss.
According to ENERGY STAR, proper sealing can improve efficiency by up to 10–15%.
🧮 4. Standard Sizes and Dimensions
Wall sleeves generally fall within a few standard sizes, though every manufacturer has slight variations.
| Brand | Sleeve Model | Inside Dimensions (in.) | Material | Compatibility |
|---|---|---|---|---|
| GE | RAB46A | 26W x 15H x 16.75D | Steel | GE, Hotpoint, LG |
| Friedrich | USC Sleeve | 27W x 16H x 16.75D | Galvanized steel | Friedrich, Frigidaire |
| Amana | WS900D | 26W x 15.5H x 16.75D | Aluminum | Amana, Goodman |
| LG | AXSVA1 | 26W x 15H x 16D | Metal | LG-specific only |
How to Confirm Fit:
-
Measure your existing sleeve’s interior dimensions.
-
Check your AC’s specifications for compatibility.
-
If you’re replacing both the AC and sleeve, choose a matching pair from the same brand.
🧠 Mark’s Tip:
“If your old sleeve is solid and rust-free, keep it. Just make sure the new unit’s chassis matches the depth and width.”
Learn more:
➡️ GE Appliances – Wall Sleeve RAB46A
🧩 5. Universal vs. Brand-Specific Sleeves
You’ll see two main categories when shopping: universal and brand-specific sleeves. Both have pros and cons.
| Type | Pros | Cons | Best For |
|---|---|---|---|
| Universal Sleeve | Fits multiple brands, easy to find | Slight fit variation, may need sealing | Replacements or mixed-brand setups |
| Brand-Specific Sleeve | Perfect alignment, factory fit, better drainage | Higher cost, limited compatibility | New installations or same-brand swaps |
Universal sleeves are ideal for homeowners replacing older units from discontinued brands.
Brand-specific sleeves are best when installing a new, matched system.
Learn more:
➡️ Friedrich – Wall Sleeve Compatibility Chart
🧱 6. Material Options: Steel, Aluminum, or Polymer
Each sleeve material offers unique benefits in durability, corrosion resistance, and cost.
| Material | Pros | Cons | Best Use |
|---|---|---|---|
| Galvanized Steel | Strong, long lifespan, weather-resistant | Heavier, may rust over decades | Most homes |
| Aluminum | Lightweight, won’t rust | Less rigid under weight | Coastal or humid areas |
| Polymer (Plastic) | Corrosion-proof, inexpensive | Not for heavy units | Light-duty installations |
💡 Mark’s Note:
“In my experience, steel is the go-to for durability. Aluminum works great near the coast — and polymer’s fine if you’re cooling a smaller space.”
Learn more:
➡️ Home Depot – AC Wall Sleeve Materials Overview
🧰 7. How a Wall Sleeve Is Installed
Even though most homeowners let professionals handle installation, understanding the process helps ensure your system is set up right.
Step-by-Step Overview:
-
Mark the Opening: Use the sleeve as a template for cutting the wall.
-
Cut the Wall: Carefully cut through drywall, insulation, and siding.
-
Frame the Opening: Reinforce with 2x4s for structural strength.
-
Slide the Sleeve In: Position it with a ¼-inch downward slope for drainage.
-
Seal All Gaps: Use silicone and foam insulation.
-
Install the AC: Slide it into place once the sleeve is level and secure.
A well-installed sleeve should sit flush inside and out, with clean trim edges.
🧰 Mark’s Tip:
“Always slope the sleeve slightly outward. That ¼-inch drop is what keeps condensation from running back inside your wall.”
Learn more:
➡️ The Spruce – Installing a Through-the-Wall AC
💧 8. Drainage and Weatherproofing
Proper drainage and sealing make or break your installation. A sleeve that traps water or leaks air costs you comfort and repairs later.
🧊 Key Rules:
-
Sleeve slope: ¼ inch downward toward exterior.
-
Don’t overfill gaps with foam — expansion can warp the sleeve.
-
Use exterior-grade silicone caulk for sealing.
-
Leave drainage ports clear of caulk or debris.
Optional add-ons:
-
Rear drain extensions for wet climates.
-
Foam gaskets to prevent condensation dripback.
Learn more:
➡️ Energy Star – Preventing Air Leaks Around AC Units
🧼 9. Maintenance Tips for Longevity
Your wall sleeve might not need much attention, but the little care it does need goes a long way.
| Task | Frequency | Purpose |
|---|---|---|
| Inspect for cracks or rust | Annually | Prevent corrosion and leaks |
| Clean debris from sleeve | Seasonally | Ensure drainage |
| Reseal with silicone | Every 2–3 years | Maintain airtight fit |
| Repaint steel sleeves | Every 5–7 years | Prevent oxidation |
🧠 Mark’s Note:
“A good sleeve can outlast two air conditioners if you keep it clean and dry. I’ve seen sleeves from the ‘90s still going strong.”
Learn more:
➡️ Family Handyman – How to Clean an Air Conditioner
⚡ 10. When to Replace a Wall Sleeve
Wall sleeves aren’t indestructible. Even the best models degrade over time from moisture, vibration, and corrosion.
| Problem | What It Means | Fix |
|---|---|---|
| Rust holes or flaking paint | Moisture damage | Replace sleeve |
| Unit rattles or shifts | Frame warped | Reseat or replace |
| Water pooling inside | Poor slope or clog | Adjust tilt |
| Mold smell | Stagnant condensation | Clean and disinfect |
If your sleeve is over 15 years old or shows visible rust, it’s smart to replace it when upgrading your AC.
🧠 11. Mark’s Real-World Example
“A homeowner in Indiana called me because her through-the-wall unit was dripping inside the living room. The problem wasn’t the AC — it was the sleeve. The steel bottom had rusted through, causing water to leak into the insulation.
We replaced it with a GE RAB46A galvanized sleeve, resealed the edges, and problem solved. The new unit ran quieter and drained properly.”
Moral of the story: inspect your sleeve whenever you replace your unit — it might be time for an upgrade.
🪟 12. Choosing the Right Sleeve for Your Home
When shopping for a wall sleeve, consider three key factors:
1. Compatibility
-
Match sleeve depth and width to your AC model.
-
If switching brands, verify that your unit fits the existing sleeve.
2. Material
-
Steel = durability.
-
Aluminum = corrosion resistance.
-
Polymer = light and affordable.
3. Environment
-
In humid or coastal areas, choose aluminum or polymer.
-
In dry or temperate climates, steel remains the standard.
Pro Buying Tip:
If your wall opening already exists, buy a replacement sleeve with identical dimensions. Cutting new framing to fit an odd-size sleeve can be a major project.
🧾 13. Wall Sleeve Cost Overview
| Type | Price Range | Lifespan | Recommended Use |
|---|---|---|---|
| Universal | $100–$180 | 10–15 years | General replacement |
| Brand-Specific | $150–$250 | 15+ years | New install or OEM match |
| Polymer | $80–$130 | 8–10 years | Lightweight or rental units |
Installation (professional): $300–$600
DIY-friendly with standard tools: yes, if you’re comfortable cutting and sealing.
🧠 14. Mark’s Quick Tips for a Perfect Fit
✅ Measure twice — sleeve, wall depth, and indoor clearance.
✅ Confirm unit depth — don’t assume all 26-inch sleeves are equal.
✅ Use the brand sleeve if available.
✅ Always slope the sleeve downward outdoors.
✅ Seal edges completely for air-tight insulation.
“A crooked sleeve means poor drainage, rattling, and higher energy bills. Spend an extra five minutes with a level — it’s worth it.”
🏁 15. Final Thoughts: Small Component, Big Impact
Your wall sleeve is the foundation of your through-the-wall air conditioner. It supports, seals, and protects the investment you made in your cooling system.
If you skip it, you’ll end up with noise, leaks, and poor performance.
If you choose and install it right, it’ll serve you quietly for decades.
So before you order your next AC, double-check that sleeve — it might be the most important part of the system you never see.
In the next topic we will know more about: Maintenance Tips to Keep Your Through-the-Wall AC Running Like New


