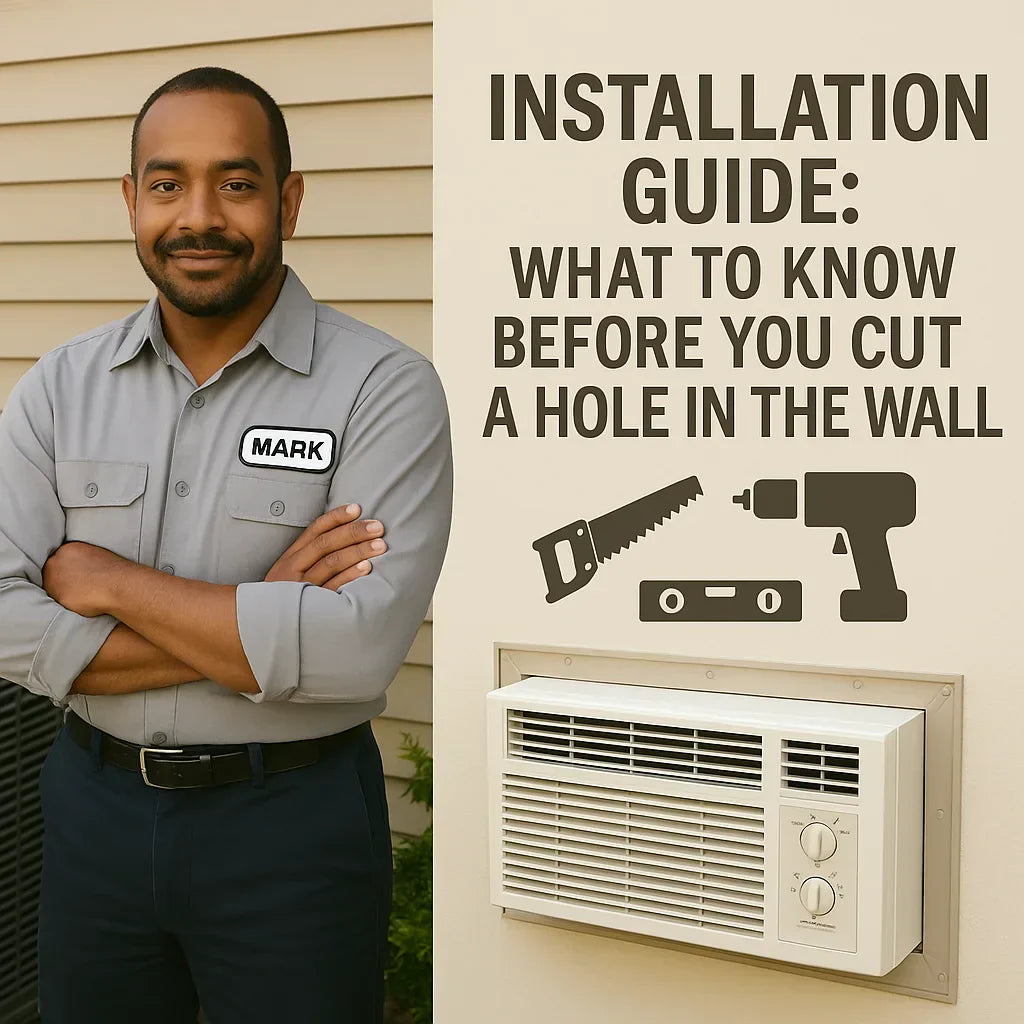
Installing a through-the-wall air conditioner is one of those projects that seems intimidating at first — after all, you’re literally cutting into your home’s wall. But with the right plan, tools, and safety checks, it’s completely manageable for a confident DIYer.
As someone who’s helped hundreds of homeowners install wall units, I can tell you: the secret to success is preparation. Cutting is just one step. The real work happens before the saw touches the wall.
Best Through The Wall Air Conditioners
This guide covers everything you need to know before installation — from choosing the right location to understanding wall sleeves, electrical requirements, and how to avoid costly mistakes.
🧩 1. Planning Makes Perfect
Before you start drilling, step back and plan.
A through-the-wall air conditioner is a permanent installation — unlike a window unit you can move around, once you cut that hole, you’re committed. So, choosing the right location and confirming your home’s structure is essential.
Key Benefits of Proper Planning:
-
Better airflow and cooling coverage.
-
Easier installation with less wall damage.
-
Improved energy efficiency.
-
Reduced noise and vibration.
Pro Tip: Always check your product’s installation manual and sleeve dimensions before cutting. No two models are identical.
Learn more:
➡️ Energy.gov – Room Air Conditioners Guide
🧱 2. Choosing the Right Wall for Installation
This is the foundation of your project — literally. The wall you choose determines how safe and effective your installation will be.
✅ Ideal Wall Conditions:
-
Exterior wall that faces open outdoor space.
-
Non-load-bearing wall (to avoid compromising structure).
-
No obstructions like plumbing, studs, gas lines, or electrical wires.
-
Power outlet nearby (avoid using extension cords).
⚠️ Avoid:
-
Walls shared with garages or interior rooms.
-
Areas near corners or roof eaves that may trap heat.
-
Locations too close to ceilings or floors — you’ll restrict airflow.
Optimal height: Mount the unit 12–18 inches above the floor for balanced cooling and proper condensation drainage.
Outdoor clearance: Keep 6–12 inches of space behind the unit to ensure unrestricted exhaust flow.
📏 3. Measuring the Opening: Accuracy Is Everything
The biggest mistake homeowners make? Guessing their cut dimensions.
Every through-the-wall air conditioner comes with a manufacturer-specified wall sleeve, and that sleeve determines your cutout size — usually around 26” wide by 15” high, but it varies by brand and BTU.
Step-by-Step Measuring:
-
Read your unit’s installation guide.
-
Measure your sleeve’s width and height precisely.
-
Mark a rectangular outline on the wall using a level and pencil.
-
Add a ¼-inch margin on each side for adjustment and insulation.
🧠 Mark’s Tip: “I always mark both the interior and exterior surfaces before cutting. That keeps your hole aligned and square through both sides of the wall.”
Learn more:
➡️ Family Handyman – How to Cut a Wall Opening
🪚 4. Tools and Materials Checklist
Before you begin, make sure you have everything ready. There’s nothing worse than realizing mid-cut you’re missing a key piece.
🧰 Tools:
-
Stud finder
-
Tape measure
-
Level or laser level
-
Jigsaw or reciprocating saw
-
Drill with masonry or wood bit
-
Hammer
-
Utility knife
-
Safety goggles and gloves
🧱 Materials:
-
Wall sleeve kit (specific to your AC model)
-
Mounting brackets (if included)
-
Foam insulation strips
-
Silicone weatherproof caulk
-
Exterior trim or flashing
-
Wood framing (2x4s) if modifying studs
Learn more:
➡️ Through-the-Wall AC Installation Tools List
⚡ 5. Electrical Requirements: Voltage, Amperage & Circuit Safety
This is a step many DIYers overlook, but it’s crucial for both safety and performance.
Voltage:
-
Smaller wall ACs (up to 10,000 BTUs): 115V
-
Larger models (12,000–18,000 BTUs): 208/230V
Check your home’s electrical panel — the circuit breaker should match your AC’s power rating.
Amperage:
| Unit Capacity | Required Circuit | Voltage |
|---|---|---|
| Up to 8,000 BTU | 15A | 115V |
| 9,000–12,000 BTU | 15–20A | 115V or 230V |
| 15,000–18,000 BTU | 20A | 230V |
⚠️ Never use extension cords. Wall units draw continuous power and must plug directly into a grounded outlet.
If your setup requires a 230V line, hire a licensed electrician. It’s a one-time cost that ensures safety and code compliance.
Learn more:
➡️ HomeAdvisor – Electrical Requirements for AC Installation
🧩 6. Wall Sleeves: The Backbone of the Installation
Think of the wall sleeve as the foundation for your air conditioner. It provides structure, weatherproofing, and noise control.
Why Wall Sleeves Matter:
-
Support the unit’s weight (some exceed 100 lbs).
-
Seal the wall cavity to block air leaks.
-
Dampen vibration and reduce noise.
-
Protect against rain, debris, and insects.
Types of Sleeves:
| Type | Description | Compatible Brands |
|---|---|---|
| Universal Sleeve | Fits most models | GE, LG, Amana |
| Brand-Specific | Designed for exact fit | Friedrich, Frigidaire |
Installation Tips:
-
Always use the sleeve recommended for your model.
-
Slide and level the sleeve before inserting the AC.
-
Apply a thin bead of silicone caulk around the perimeter for sealing.
🧠 Mark’s Tip: “Your sleeve is like a window frame — if it’s tilted, your unit won’t drain properly, and you’ll end up with water inside.”
Learn more:
➡️ GE Appliances – Through-the-Wall Sleeves
🪓 7. Framing and Cutting the Wall Opening
Once you’ve measured and confirmed placement, it’s time for the part that gives this article its name — cutting the hole.
Step-by-Step Cutting Guide:
-
Mark the Opening: Trace the sleeve outline on both sides of the wall.
-
Locate Studs: Use a stud finder to avoid hitting structural beams.
-
Cut the Drywall: Carefully cut along the outline inside your marks.
-
Remove Insulation: Clear the wall cavity for a clean opening.
-
Frame the Opening:
-
Add 2x4 headers above and below if studs were cut.
-
Line the inside with pressure-treated wood to strengthen the perimeter.
-
-
Cut Exterior Siding or Brick: Use a reciprocating saw or masonry bit.
-
Insert the Sleeve: Test fit it before sealing or insulating.
Safety Tips:
-
Wear gloves, goggles, and a dust mask.
-
Never cut load-bearing studs without consulting a structural professional.
-
Check local codes if you’re altering framing.
Learn more:
➡️ The Spruce – How to Frame a Wall Opening
💦 8. Weatherproofing and Drainage: Don’t Skip This Step
Through-the-wall air conditioners handle condensation and rainwater, so your installation must allow proper drainage away from your home.
Essential Steps:
-
Tilt the sleeve slightly (¼ inch downward toward the outside).
-
Seal all edges with silicone caulk — inside and out.
-
Fill any gaps with low-expansion spray foam.
-
Add flashing or drip guards if the wall is exposed to heavy rain.
Avoid Over-Sealing:
Don’t block the built-in drainage holes. They’re designed to let water escape.
Learn more:
➡️ Energy Star – Preventing Air Leaks Around AC Units
🚫 9. Common Installation Mistakes (and How to Avoid Them)
| Mistake | What Happens | Solution |
|---|---|---|
| Cutting into a load-bearing wall | Structural instability | Consult a pro before cutting |
| Uneven sleeve alignment | Poor drainage, leaks | Level and shim the sleeve |
| Gaps around sleeve | Air leaks, higher bills | Seal with foam + silicone |
| Skipped circuit check | Tripped breakers | Use dedicated line |
| Ignoring slope | Water inside wall | ¼” downward tilt |
💡 Mark’s Experience:
“A neighbor once called me because his unit was leaking water indoors. Turned out his sleeve was tilted inward. We fixed it with a level and new insulation — and saved his drywall.”
🧠 10. DIY vs. Professional Installation: Which Is Right for You?
Not every installation is DIY-friendly. Here’s how to decide.
🧰 DIY If:
-
You have a wood-frame or vinyl exterior.
-
You’re comfortable using power tools.
-
The unit uses a standard 115V outlet.
⚙️ Hire a Pro If:
-
Your wall is brick, concrete, or stucco.
-
The unit requires 230V wiring.
-
Your home is governed by strict building codes.
Typical Pro Cost: $400–$800
Peace of Mind: Priceless — pros ensure warranty validity and code compliance.
⚡ 11. Testing and Finishing Touches
Once your sleeve and unit are installed, test your setup:
-
Plug the AC directly into its outlet.
-
Turn it on briefly to confirm airflow direction and drainage.
-
Check for vibration — it should be minimal.
-
Seal any remaining gaps with foam insulation.
-
Apply exterior trim for a clean look.
If your model includes a weather cover, keep it handy for off-season protection.
Learn more:
➡️ ENERGY STAR – Room Air Conditioner Tips
🧾 12. Maintenance: Protect Your Investment
A well-installed through-the-wall air conditioner can last 10–15 years — but only if maintained regularly.
Mark’s Maintenance Schedule:
| Task | Frequency |
|---|---|
| Clean or replace air filter | Monthly |
| Vacuum coils | Seasonally |
| Inspect sleeve seal | Annually |
| Check electrical outlet | Every 2–3 years |
Keeping the unit clean prevents airflow restrictions and helps maintain high CEER efficiency ratings.
🧠 13. Mark’s Takeaway: Measure Twice, Cut Once
“Installing a wall AC is a test of patience and planning — not brute force. If you double-check your measurements and ensure your sleeve is level, you’ll end up with a quieter, longer-lasting system.”
Mark’s Pre-Cut Checklist:
✅ Wall is non-load-bearing and exterior.
✅ No studs, pipes, or wires in the cut zone.
✅ Electrical outlet within 6 feet.
✅ Sleeve dimensions confirmed.
✅ Tools and safety gear ready.
🏁 14. Final Thoughts: Confidence Through Preparation
By the time you reach for your saw, your work should be 90% done. The cutting is just execution — the real craftsmanship lies in measuring, checking, and preparing.
A properly installed through-the-wall air conditioner offers:
-
Superior efficiency compared to window units.
-
Permanent comfort that adds value to your home.
-
A clean, professional finish that looks built-in.
So before you cut that hole, do what pros do — plan, measure, and seal for success.
In the next topic we will know more about: Wall Sleeve 101: Why You Need One (and How to Choose the Right Fit)


