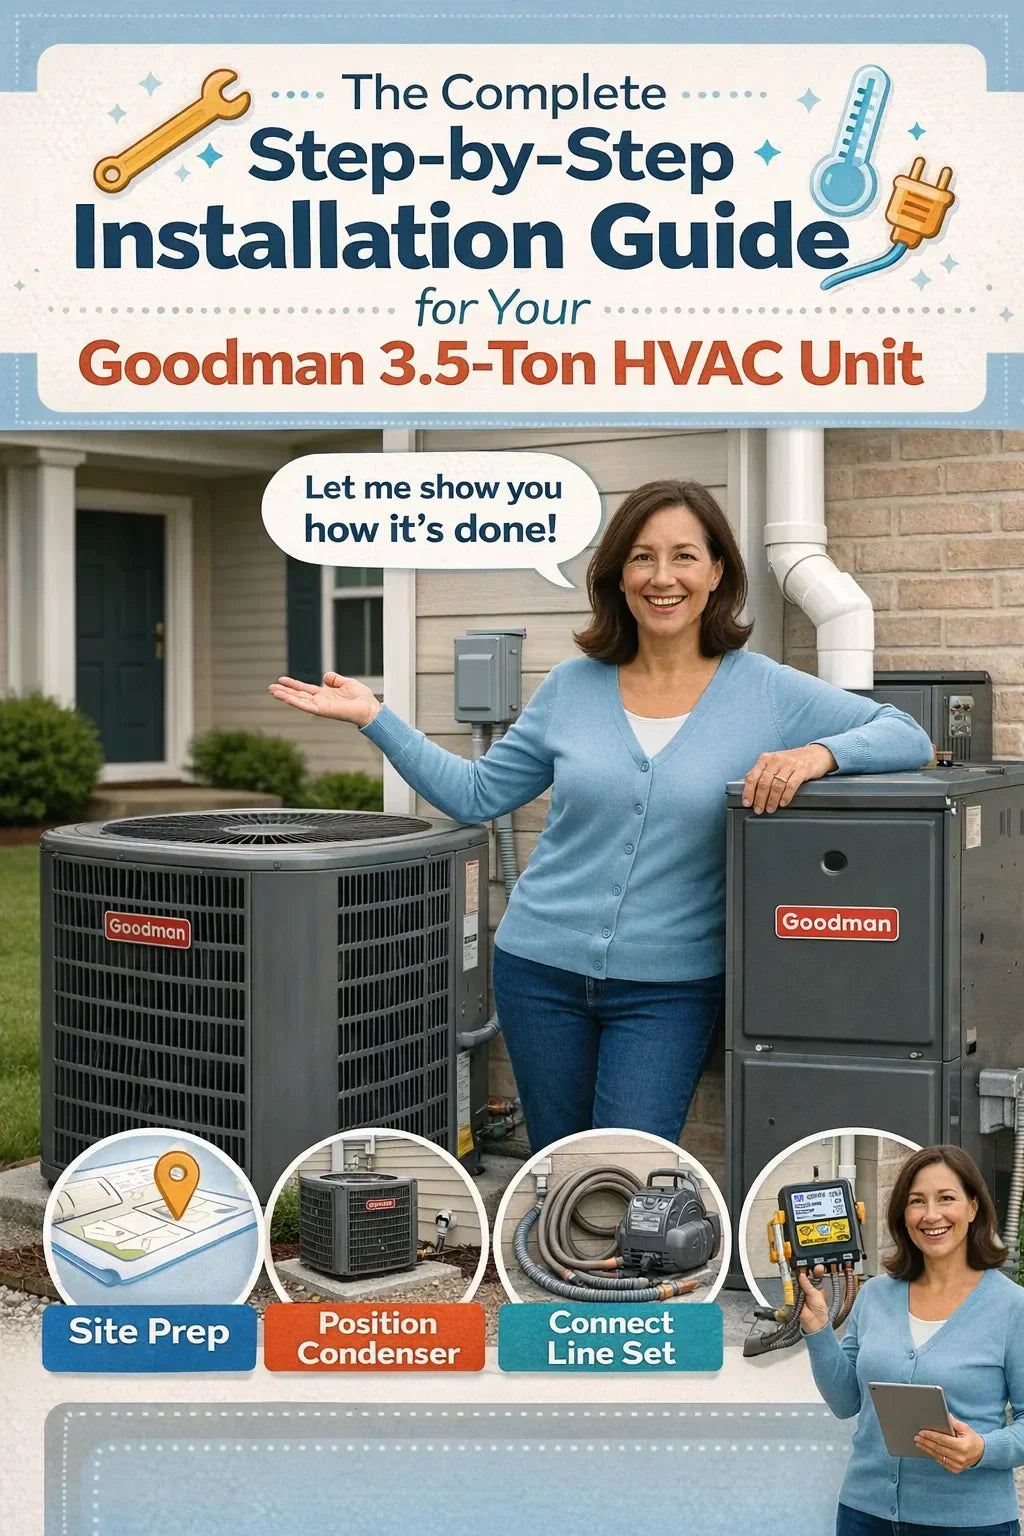
If you’re installing the Goodman 3.5-ton split system built around the GLXS4BA4210 R-32 condenser plus a vertical cased coil (CAPTA4230D3) and a 92% AFUE gas furnace (GR9S921205DN, 120k BTU), this guide walks you through the full job the way a careful, detail-minded homeowner and a good installer think about it—planning, safe setup, clean connections, and proper commissioning.
A quick reality check (Samantha-style): you can DIY parts of this, but refrigerant work and gas work often require licensing/certification. Goodman’s own literature is clear that trained/licensed personnel should install/service the equipment.
🔒 Safety + “Do This First” Rules (Read Before Touching Anything)
1) Permits + inspections aren’t optional in most areas.
Most jurisdictions require permits for HVAC changeouts, new gas connections, and sometimes electrical circuit work. If your installer says “no permit needed,” that’s usually a red flag.
2) Refrigerant handling isn’t a YouTube certification.
EPA rules govern refrigerant service practices (evacuation, recovery, etc.). If you’re not certified/equipped, plan to hire a pro for the refrigerant steps. (This is especially true with R-32, which is an A2L refrigerant with added safety requirements.)
3) No open flames or ignition sources near refrigerant work.
Goodman’s condensing unit manual includes safety language consistent with A2L precautions (no ignition sources, don’t pierce/burn, etc.).
External link (Goodman GLXS4B installation PDF): https://iwae.com/media/manuals/goodman/glxs4b-installation.pdf
4) Don’t use the compressor to pull a vacuum.
Goodman explicitly warns against using scroll-equipped units for evacuation. iwae.com
📦 What You’re Installing (So You Don’t Mix Up Connections)
-
Outdoor condenser: Goodman GLXS4B / GLXS4BA4210, up to 15.2 SEER2, R-32, factory charge for 15 ft of line set (typical spec).
External link (Goodman GLXS4B product page): https://www.goodmanmfg.com/products/air-conditioners/glxs4b -
Indoor coil: CAPTA4230D3 (vertical cased coil)
-
Gas furnace: GR9S92 series, 92% AFUE, single-stage, multi-speed ECM (your specific model: GR9S921205DN).
External link (GR9S92 install manual PDF): https://hvacdirect.com/media/pdf/GR9S96_GD9S96_GR9S92-Install-Manual.pdf
🧾 Tools + Materials Checklist (Realistic, Not Fantasy)
HVAC/mechanical
-
Sheet metal tools, screws, foil tape / mastic
-
Level, anchors, condenser pad (or stand)
-
Line set sized to the unit + insulation for suction line
-
Filter drier as required (many condensers include factory-installed drier—verify per docs) goodmanmfg.com
Electrical
-
Properly sized disconnect, whip, conduit, fittings
-
Multimeter, torque screwdriver (loose lugs cause failures)
Refrigerant (pro territory for most DIYers)
-
Nitrogen + regulator (for pressure test + brazing purge)
-
Vacuum pump + micron gauge
-
Manifold gauge set rated for the refrigerant
-
Scale (for weighed-in charge when needed)
Gas + venting
-
Drip leg/sediment trap, shutoff valve, approved gas pipe/fittings
-
Venting materials per the furnace manual (often PVC/CPVC/ABS depending on model + local code)
🗺️ Step 1: Plan the Job Like a Pro (Layout, Clearances, Airflow)
✅ Outdoor placement
-
Pick a spot with good airflow and service access.
-
Goodman calls out clearance considerations and warns about locations where refrigerant could pool if a leak occurs; also avoid tight overhead obstructions. iwae.com
✅ Indoor placement
-
Confirm your furnace orientation (upflow/horizontal) matches your duct layout.
-
Make sure you have a clear plan for:
-
Combustion air
-
Exhaust vent route
-
Condensate drain route
-
Filter access
-
Service clearance
-
The furnace manual is specific: provide adequate combustion/ventilation air and vent combustion products outdoors; don’t freestyle this. hvacdirect.com
🧹 Step 2: Remove the Old System (Without Creating New Problems)
-
Kill power at the breaker and confirm with a meter.
-
Recover refrigerant properly (do not vent).
-
Disconnect thermostat wiring carefully and label wires.
-
Remove old condenser/coil/furnace as applicable.
-
Inspect duct transitions and return air sizing—this is where comfort is won or lost.
🔥 Step 3: Set the Furnace (GR9S92 Series) the Right Way
3A) Set the furnace, level it, and secure it
-
Set on a stable base/platform.
-
Maintain service clearances per the manual.
3B) Venting + combustion air (don’t “wing it”)
The install manual is blunt: combustion products must be discharged outdoors and the furnace must be connected to an approved vent system.
External link (same furnace manual): https://hvacdirect.com/media/pdf/GR9S96_GD9S96_GR9S92-Install-Manual.pdf
3C) Gas piping + leak test
-
Install shutoff, drip leg/sediment trap per local practice and code.
-
Never check for leaks with an open flame—manual explicitly warns against it.
-
Use an approved leak detection solution.
💧 Step 4: Install the Evaporator Coil + Drain Like You Want Zero Water Damage
-
Mount the CAPTA4230D3 coil case on the furnace supply outlet with an airtight transition.
-
Seal all seams (foil tape/mastic) to prevent air bypass.
-
Pipe the primary condensate drain with proper slope.
-
Add an overflow/secondary drain strategy if code/placement requires it (attics, finished spaces).
Samantha note: Most “mystery ceiling stains” start here, not at the outdoor unit.
🧊 Step 5: Run the Line Set (Clean, Supported, and Sized Correctly)
-
Route the line set with gentle bends (avoid kinks).
-
Keep it protected from physical damage and UV exposure.
-
Insulate the suction line continuously.
-
If brazing: flow nitrogen while brazing to reduce internal oxidation (best practice).
🧯 Step 6: Pressure Test + Evacuate (This Is Where Good Installs Separate Themselves)
6A) Pressure test with nitrogen
-
Pressurize to the manufacturer’s recommended test pressure and hold.
-
Use bubbles/electronic detection at every joint.
6B) Evacuate with a vacuum pump + micron gauge
-
Pull to an appropriately low micron level and verify decay test stability.
-
Do not use the condenser/compressor to pull a vacuum—Goodman warns against it.
External link (Goodman GLXS4B installation PDF): https://iwae.com/media/manuals/goodman/glxs4b-installation.pdf
External link (EPA service practices): https://www.epa.gov/section608/stationary-refrigeration-service-practice-requirements
🧰 Step 7: Set the Outdoor Unit (Pad, Anchoring, and Electrical Done Cleanly)
-
Place the condenser on a level pad (or stand where needed).
-
Respect clearance guidance—Goodman notes overhead clearance guidance and airflow needs.
-
Install the disconnect within sight (typical requirement—verify local code).
-
Pull the correctly sized circuit and control wiring.
-
Make clean low-voltage connections (Y/C common mistakes cause “it won’t turn on” calls).
🧪 Step 8: Release Charge + Final Refrigerant Charging (Follow the Manual, Not Vibes)
-
Many condensers are factory charged for a standard line length (commonly 15 ft). Goodman lists “Fully charged for 15’ of tubing length” for GLXS4B.
-
If your line set length differs, you must adjust charge per the manufacturer’s procedures.
🧠 Step 9: Commissioning (The “Pro Finish” Checklist)
✅ Airflow + static pressure
-
Set blower speed/taps according to the furnace/coil tables and target airflow.
-
High static pressure = noise, low comfort, coil freezing risk.
✅ Furnace heat rise
The furnace manual emphasizes operating within the intended temperature-rise range and allowable static pressure.
✅ Cooling performance
-
Verify:
-
Supply/return temperature split (context matters: humidity load changes this)
-
Subcooling/superheat method per charging approach
-
Condensate draining properly
-
No unusual vibration/noise
-
✅ Safety controls
-
Confirm furnace safeties, pressure switch behavior, and proper venting draft/termination conditions.
🧾 Step 10: Final Seal-Up + “Future You” Setup
-
Seal duct connections and line set penetrations.
-
Label disconnect/breaker clearly.
-
Register your product on time if you want full warranty eligibility where applicable (Goodman mentions registration timing on product pages).
-
Take photos of:
-
Model/serial plates
-
Wiring before/after
-
Charging data
-
Start-up readings
-
✅ My “Samantha” Bottom Line
A Goodman 3.5-ton system can be a fantastic value—but only if the install is cleanly executed and properly commissioned. If you DIY anything, DIY the parts where precision and safety are manageable (placement, duct sealing, drain routing, pad prep). Then bring in a licensed pro for refrigerant commissioning and gas/venting verification if required where you live.
Buy this on Amazon at: https://amzn.to/43doyfq
In the next topic we will know more about: Tools & Gadgets That Make HVAC Installation Easier (and Safer)


