🌿 Introduction: Comfort Isn’t Just Engineered Indoors — It Begins Outside
Every homeowner focuses on what happens inside the home—air handlers, thermostats, filters, ducts. But Savvy will tell you:
The outdoor condenser is the true heartbeat of your HVAC system.
And where you place it determines how efficiently—and how quietly—it will beat.
Goodman’s 3-ton systems, like the GLXS4BA3610, are built for high-performance cooling. But if the condenser is wedged into a tight corner, crammed behind a fence, or suffocated by shrubs, even the best SEER2 rating collapses under pressure.
This is where The 4-Foot Rule comes in — Savvy’s blueprint for giving condensers room to breathe, reducing operational noise, preventing recirculation of hot exhaust air, and maximizing long-term system life.
Whether you’re installing new equipment or diagnosing efficiency losses, this is your outdoor comfort map.
Let’s step outside, Savvy-style.
🌬️ 1. What Is the 4-Foot Rule — And Why Every Condenser Needs It?
Icon: 📏
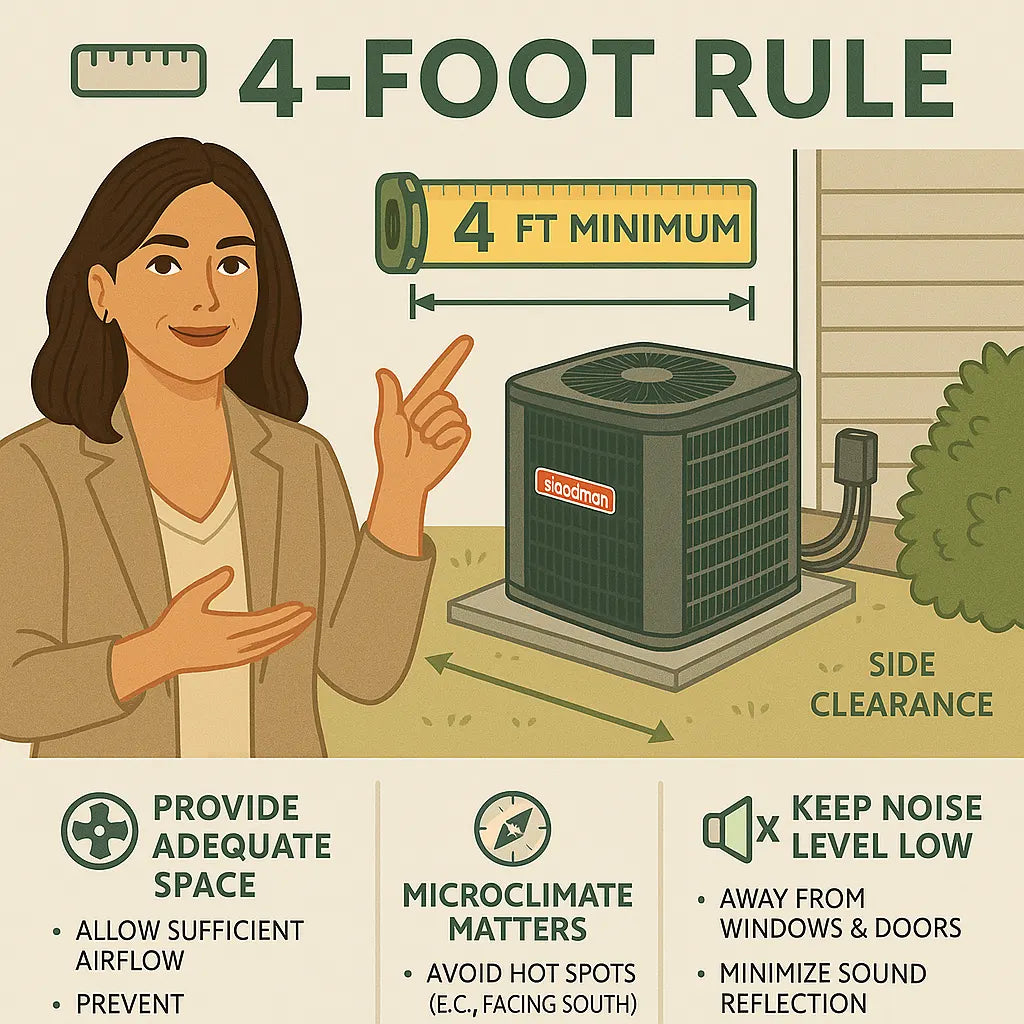
At its core, the 4-Foot Rule says:
Your condenser must have at least 4 feet of unobstructed space in front of the discharge (top or side) and sufficient clearance around all sides to ensure proper air intake and exhaust.
But the real meaning is deeper. Four feet is not an arbitrary number. It’s based on:
-
Aerodynamics
-
Heat rejection physics
-
Sound propagation
-
Microclimate behavior
-
Maintenance requirements
Let’s break down why four feet matters more than most homeowners ever realize.
🔥 2. The Physics of Heat Rejection — Why Space Equals Efficiency
Icon: ♨️
A condenser’s job is to reject heat absorbed inside the home to the outdoors. To do that, it needs:
-
Cold, fresh intake air
-
Unrestricted exhaust airflow
-
Stable outdoor temperatures
When airflow is blocked:
-
The condenser re-inhales its own hot exhaust
-
Head pressure skyrockets
-
Amperage draw increases
-
Cooling capacity drops
-
Noise levels escalate
-
System lifespan shortens
This is why placing a condenser too close to walls, fences, or vegetation is a silent efficiency killer.
🌪️ 3. Side Clearance — How Much Space Do You Actually Need?
Icon: ↔️
Goodman specs typically require a minimum of 12–18 inches of clearance on the non-discharge sides.
But Savvy’s improved rule is:
Give the condenser 2 feet on each side and 4 feet on the discharge side for optimal performance.
Why more than the manual? Because:
-
Real-world airflow is not lab-perfect
-
Vegetation grows
-
Snow and debris accumulate
-
Air stagnation occurs in corners
-
Home pressure zones shift with wind
More side clearance equals more consistent airflow year-round.
🌀 4. The 4-Foot Discharge Clearance — The Most Critical Requirement
Icon: ⬆️
Condenser exhaust can reach 20–30 mph and 120–150°F depending on system load.
If this hot plume rebounds off:
-
A wall
-
A deck
-
A fence
-
A tree
-
A soffit
…it re-enters the coil intake, causing a phenomenon called:
Exhaust Recirculation
Symptoms include:
-
Louder operation
-
Reduced comfort indoors
-
Higher electrical usage
-
Increased compressor wear
-
Overheating shutdowns during heat waves
The 4-Foot Rule prevents this heat mirroring effect.
🗺️ 5. Microclimate Mapping — How to Choose the Quietest, Coolest Spot for Your Condenser
Icon: 🧭
Every yard has microclimates — tiny climates shaped by:
-
Sun exposure
-
Terrain
-
Wind corridors
-
Shaded zones
-
Reflective surfaces
-
Vegetation
-
Surface materials
Choosing the right microclimate can improve condenser performance by 10–20%, without any hardware changes.
Here’s how Savvy maps a yard:
✔️ Step 1: Identify Hot Zones
Avoid:
-
South-facing walls
-
Reflective siding
-
Brick that absorbs heat
-
Asphalt surfaces
-
Tight corners
These create thermal traps that amplify outdoor heat.
✔️ Step 2: Identify Cool Zones
Ideal spots include:
-
East-facing areas
-
Shaded afternoon zones
-
Areas under tree canopy (but not too close!)
-
Grassy surfaces
These naturally reduce condenser load.
✔️ Step 3: Track Wind Flow
Wind helps carry hot exhaust away.
Place condensers:
-
Perpendicular to prevailing winds
-
In areas free of wind-blocking structures
✔️ Step 4: Avoid Acoustic Amplifiers
Certain surfaces bounce sound like a speaker:
-
Wooden fences
-
Concrete walls
-
Glass windows
-
Deck overhangs
Keep the condenser at least:
-
4 feet from reflective surfaces
-
8 feet from bedroom windows
🌱 6. Landscaping Rules — Plants, Shade & Airflow Harmony
Icon: 🌿
Landscaping is beautiful — until it smothers your condenser.
Savvy’s eco-forward rules:
✔️ Keep 2–3 feet of clearance around all sides
This ensures proper intake airflow.
✔️ Keep 4–6 feet of clearance above
Branches and leaves block discharge airflow.
✔️ Avoid placing shrubs in front of the fan discharge
They will scorch, die, and block airflow.
✔️ Use low-height, non-creeping plants
Ground cover is OK.
Tall shrubs are not.
✔️ Leave a maintenance path
Techs need 2–3 ft on the access panel side.
🔇 7. Noise Reduction Engineering — Distance Is Your Best Tool
Icon: 🔉
The farther your condenser is from living areas, the quieter your home becomes.
Key Placement Factors for Low Noise
-
Keep 8–10 feet from bedroom windows
-
Never place under a deck
-
Avoid corners that bounce sound
-
Use rubber isolation pads
-
Orient fan discharge away from neighbors
Sound Physics Tip
Every doubling of distance reduces perceived noise by 6 dB.
This means a small placement adjustment can make a big acoustic difference.
🚧 8. Avoid These Common Placement Mistakes
Icon: ⚠️
These are the top errors Savvy sees:
❌ Putting the condenser in a corner
Creates a heat trap + sound amplifier.
❌ Installing too close to vegetation
Reduces airflow + causes organic damage.
❌ Placing beside the dryer vent
Lint-filled coils are efficiency killers.
❌ Mounting under low overhangs
Blocks discharge airflow.
❌ Installing on the south-facing wall
Overheating risk.
❌ Burying in mulch or leaves
Blocks airflow and encourages corrosion.
🧊 9. Pad Placement and Height — The Foundation of Proper Clearance
Icon: 🧱
The condenser pad must elevate the unit enough to prevent:
-
Flooding
-
Snow ingestion
-
Debris blockage
Savvy’s Pad Height Rules:
-
2–4 inches above grade in mild climates
-
8–12 inches in snow-prone regions
-
12–24 inches in flood-prone zones
Higher pads allow better airflow underneath, improving efficiency.
🌡️ 10. How Outdoor Clearance Affects SEER2 in the Real World
Icon: ⚡
Laboratory SEER2 ratings assume:
-
Full airflow
-
Unobstructed discharge
-
Low ambient temperature rise
-
No recirculation
-
Balanced microclimate
Real-world obstructions can cut SEER2 by:
-
5–15% for minor clearance issues
-
20–30% for major airflow blockages
Your 16-SEER2 system can easily behave like an 11–12 SEER system if suffocated.
🔥 11. Extreme Weather Considerations — Heat Waves, Cold Snaps & Wind Zones
Icon: 🥵
Your condenser must be prepared for:
Heat Waves
-
Increase clearance to reduce recirculation
-
Improve shade without blocking airflow
-
Raise pad height to handle debris surges
High Winds
-
Avoid placing in wind tunnels
-
Use hurricane-rated straps in coastal areas
Cold Climates
-
Keep top clear of snow
-
Maintain warm-side discharge orientation
🧭 12. Maintenance Access — Why the 4-Foot Rule Helps Techs Too
Icon: 🛠️
A tight installation increases maintenance difficulty and cost.
Techs need:
-
2–3 feet clearance at service panel
-
Unobstructed access to coil
-
Space to remove fan shroud
-
Room for gauges and vacuum pump
Good airflow = easier service = better longevity.
🌍 13. Sustainability Wins — Why the 4-Foot Rule Is Planet-Friendly
Icon: 🌎
A condenser operating in a well-ventilated zone requires:
-
Less energy
-
Fewer cycles
-
Less compressor strain
-
Less refrigerant usage
-
Fewer repairs
-
Longer equipment life
This reduces:
-
Carbon emissions
-
Utility demand
-
Heat island effect
-
Maintenance waste
Good placement is an environmental act.
🔗 Verified External Resources (Maximum 6)
-
EnergyStar HVAC Installation Guidelines
https://www.energystar.gov -
ASHRAE Outdoor Unit Clearance Standards
https://www.ashrae.org -
EPA Outdoor Air & Heat Island Management
https://www.epa.gov/heatislands -
ACCA Residential HVAC Installation Documentation
https://www.acca.org -
Building Science Corporation — Exterior Climate Interaction
https://buildingscience.com
🌟 Closing: The 4-Foot Rule Isn’t Just Clearance — It’s Quiet, Efficient, Sustainable Comfort
Outdoor clearance affects everything:
-
Efficiency
-
Noise
-
System longevity
-
Energy bills
-
Comfort consistency
-
Environmental impact
When your condenser breathes freely, your entire home feels different—cooler, quieter, more consistent, more sustainable.
A well-placed condenser looks boring.
Its performance, however, is exceptional.
That’s the magic of The 4-Foot Rule.
And that’s the Savvy way to install for decades of comfort.
Buy this on Amazon at: https://amzn.to/4hyDyKH
In the next topic we will know more about: The ‘First 15 Minutes’ Test — A Startup Procedure That Predicts a Decade of Efficiency


