👷 Who This Is For
This guide is for HVAC technicians, property maintenance pros, and facilities staff who are installing R32 PTAC units — especially if it's your first time with A2L refrigerants.
I’ve installed hundreds of these across hotels, senior living facilities, and student housing. Trust me, if you follow these steps, you’ll be fast, safe, and compliant every time.
📝 Tools & Materials Checklist
Before you start, make sure you have:
-
Drill + level
-
PTAC wall sleeve (compatible with R32 unit)
-
Exterior grill/louver
-
Sealing foam or weather stripping
-
Electrical disconnect box
-
Voltage tester
-
PPE (gloves, goggles)
-
Leak detector (A2L-compatible)
-
R32-compatible recovery unit (if servicing later)
🔧 Pro Tip: Check that the wall sleeve is clean, level, and sealed tight — a bad sleeve install is the #1 reason for callbacks.
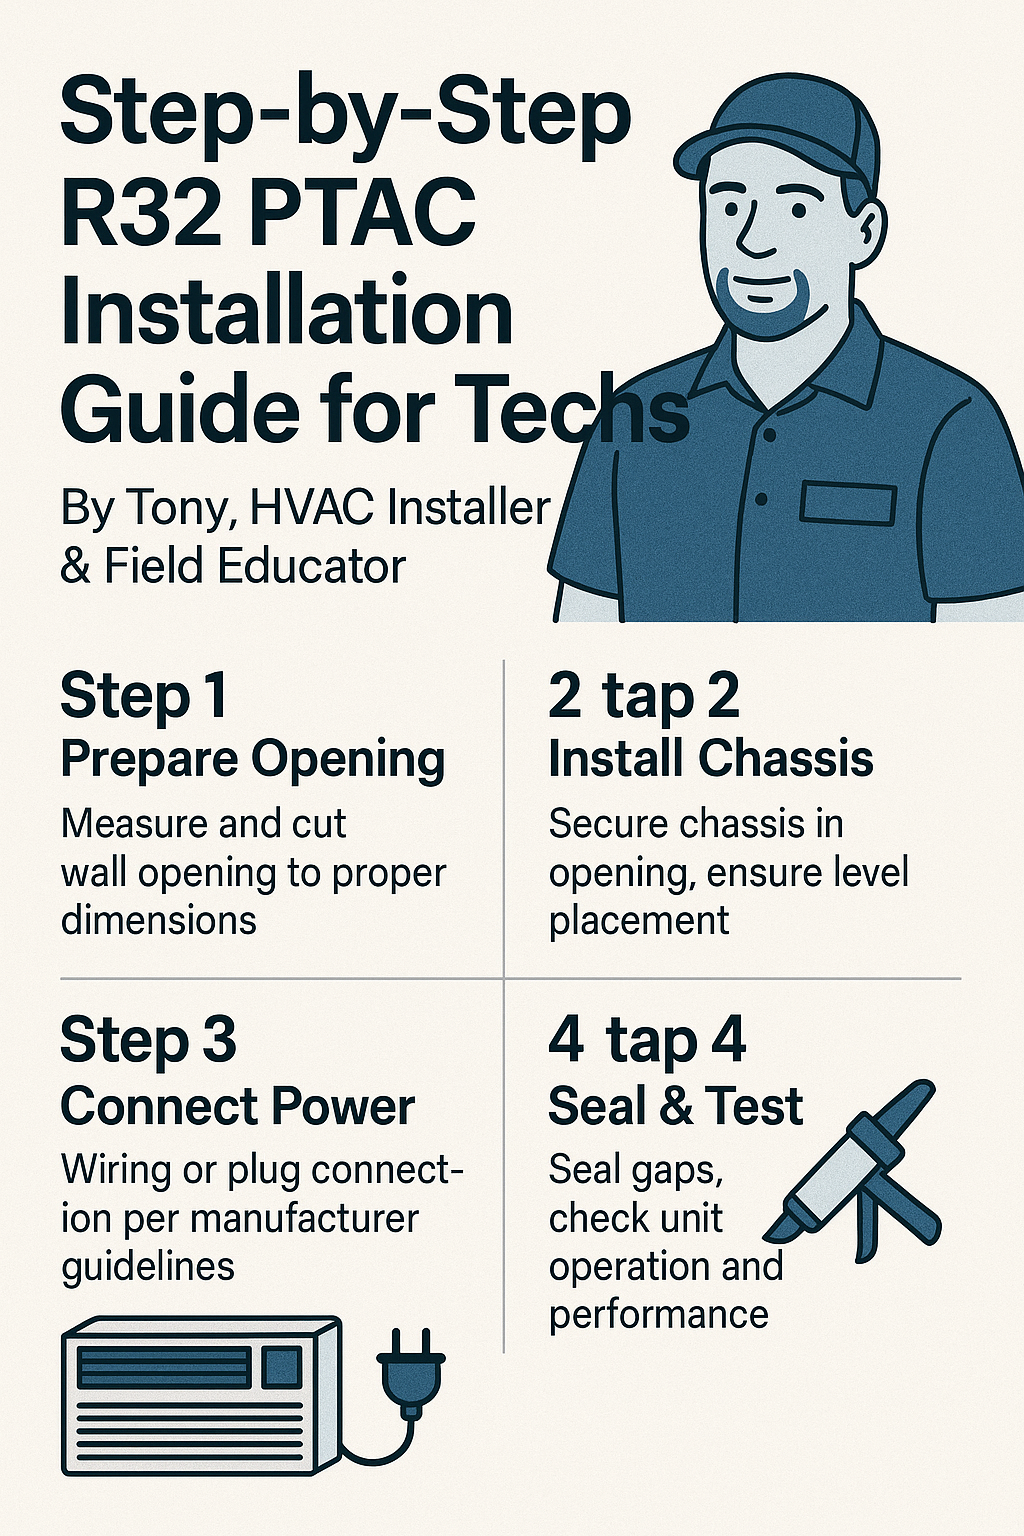
🏗️ Step-by-Step Installation
✅ Step 1: Site Prep
-
Verify the wall sleeve is rated for your PTAC unit’s size and airflow.
-
Check power supply — voltage and amperage must match unit requirements.
-
Inspect sleeve for obstructions, previous damage, or debris.
⚡ Safety Tip: Always shut off power at the breaker before touching any wiring.
✅ Step 2: Slide in the Unit
-
Remove packaging, inspection tags, and shipping brackets.
-
Carefully slide the R32 PTAC into the wall sleeve.
-
Make sure it's level (use a bubble level) and centered.
💡 Tony’s Note: A slight forward tilt (⅛”) helps with condensate drainage — keeps interior dry.
✅ Step 3: Electrical Hook-Up
-
Connect to the designated disconnect box using code-approved conduit.
-
Check for a dedicated 208V or 230V circuit, depending on unit spec.
-
Confirm ground connection is solid.
-
Use torque specs listed in the manual — overtightening can cause loose terminals over time.
🛠️ For Techs: If your model has a sub-base heater or occupancy sensor, wire those now before power-up.
✅ Step 4: Seal & Finish
-
Use foam insulation or weatherproof sealant around sleeve edges.
-
Install the exterior louver/grill — make sure louvers face downward to prevent rain entry.
-
Check for gaps or air leakage, especially at top corners.
🏠 This step matters more than it looks — tight sealing = better efficiency and quieter operation.
✅ Step 5: Power Up & Test
-
Restore power at the breaker.
-
Use test mode or the remote to cycle through:
-
Cooling
-
Heating
-
Fan-only
-
Defrost (if applicable)
-
-
Listen for unusual noise, airflow blockages, or panel rattles.
🔍 Run a quick check with your A2L-compatible leak detector to confirm charge is intact — especially if shipping box shows damage.
🧼 After-Install Checklist
-
❒ Unit level and sealed
-
❒ Electrical tight and tested
-
❒ All modes functioning
-
❒ Remote or wall control synced
-
❒ Owner’s manual left with site contact
-
❒ Maintenance schedule shared (filters, coil cleaning)
📎 Pro Tip: Leave a note with your install date and contact info inside the unit filter housing — it’s saved me a dozen callbacks!
📋 Final Thoughts
Installing an R32 PTAC isn’t any harder than a standard unit — it’s just about knowing your refrigerants and staying sharp with safety and sealing. The units from The Furnace Outlet come ready to go, and with fewer moving parts, you’ll spend more time working smart and less time on repairs.
Got a weird install scenario or tight-space setup? Drop me a line — always happy to help a fellow tech in the field.


