Key Takeaways
-
Mini-splits are well-suited for mobile homes that lack ducts.
-
Select the correct BTU size to prevent overwork or waste.
-
Mount indoor units on strong studs with 6 in of space around.
-
Keep the outdoor unit level, allowing 1–3 ft of airflow space.
-
Use a 240 V breaker and clear drain to avoid shutdowns.
-
Wash filters monthly and get yearly check-ups to extend lifespan.
Why Mini‑Splits Are Great for Mobile Homes
 Electric bills in mobile homes can rise quickly because thin walls allow heat to escape and the rooms are often located far from a central furnace. A ductless mini-split fixes that by sending warmed or cooled air straight into the room, instead of through long ducts that leak 20–30% of the energy. Modern inverter models achieve a top SEER rating of 30 and trim cooling costs by roughly one-third compared with window air conditioners. In this guide, you’ll learn the exact steps and safety checks to install a system that keeps every corner comfortable all year.
Ready to cut energy waste? Shop energy-efficient mini-splits
Space Constraints: Finding Room for the Indoor Head
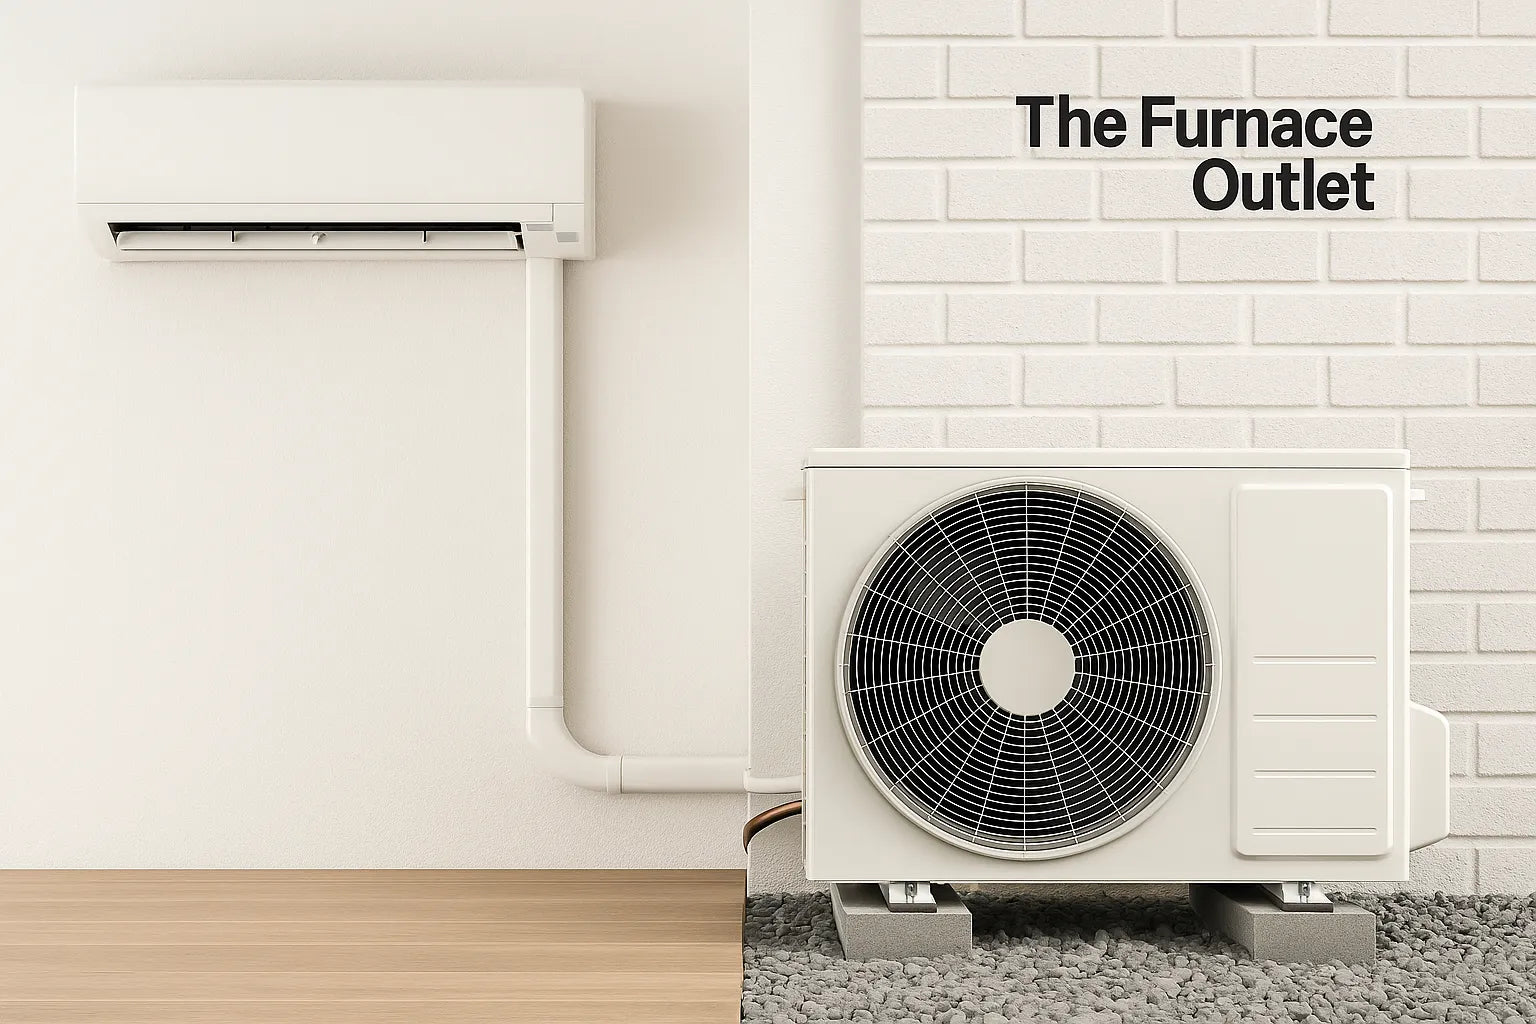
 Mobile‑home rooms are narrow, so the first trick is choosing a wall that isn’t stuffed with cabinets, studs, or plumbing. Place the head high—about 6 in from the ceiling—so the fan throws air across the whole space. Avoid mounting above a bed or sofa where cold drafts will bother sleepers. If no clear stud spans the unit’s width, screw a ¾‑in plywood backer into two studs first; that spreads the weight and stops wall flex when you tighten the bolts.
Need tools for install prep? Explore installation accessories
Sizing Matters: Pick the Right BTUs
 Square footage isn’t the only sizing rule, insulation level, ceiling height, and climate zone all tweak the BTU target. The mini-split sizing guide explains why a 12×60 ft mobile home in Florida might still require less capacity than the same trailer in Minnesota. Use the guide’s chart or a load calculator, then choose the next‑higher factory size so the compressor can idle at low speed on mild days without short‑cycling.
Prep Work Before You Drill
 Gather all the necessary tools first: drill-driver, hole saw, flaring kit, torque wrench, manifold gauges, vacuum pump, and non-hardening putty for the wall sleeve. Sketch the line‑set path on paper so you know where to avoid studs and water lines. Shut off house power, verify the breaker space, and mark the indoor and outdoor pad locations with painter’s tape. Good prep saves you from fishing copper through mystery cavities later.
Protect your line set from damage. Browse covers and installation kits
Hanging the Indoor Unit Like a Pro
 Set the mounting plate level—check both directions twice—because the built‑in condensate pan only drains when the unit is flat. Pre‑thread cable ties through the plate holes; they’ll hold the refrigerant lines while you reach outside. Once the head is on the wall, tug lightly; if there’s no wiggle, the screws have hit solid framing.
For a deeper dive on correct head support, read Is a Mini‑Split Right for Your Home?.
Running Refrigerant Lines the Smart Way
 Keep bends gentle—no tighter than an 8‑in radius—to avoid kinks. Wrap the suction and liquid lines together with UV‑rated insulation tape, then slide them through a three‑inch sleeve that slopes slightly outward so rain can’t blow in. Where the line set exits near floor level, snap on a line set cover; it shields the copper from pets, lawn tools, and sun fade. If the run exceeds 50 ft, check the manufacturer’s specifications for additional refrigerant.
Installing a new circuit? Check compatible mini-split models
Setting the Outdoor Compressor for Success
 Pour a small gravel bed and rest a composite or concrete pad on top of it. The unit requires 12 inches of space at the rear, 24–36 inches on the sides and front, and 60 inches overhead to allow for hot air venting. In flood‑prone parks, mount the condenser on an 18‑in aluminum stand. Keep it 10 ft from patios or neighbor windows to reduce noise complaints, see our outdoor unit placement tips for more clearance diagrams.
Power and Drainage: Safety First
 Most single‑zone units under 18,000 BTU pull less than 15 A, yet many mobile homes still run on 30‑A main breakers. Have a licensed electrician confirm that the panel can handle a new 240V, two-pole breaker and 12-gauge NM-B wire. Use watertight fittings at the disconnect. For drainage, clip the vinyl hose with a gentle slope outside; sagging traps water and encourages algae growth. Anchor it to the under‑skirt so road vibration or curious pets can’t yank it loose.
Stay efficient, stay covered. Follow our maintenance checklist
Keeping Your Mini‑Split Healthy Year‑Round
 Clean the return filter every month—simply remove it, rinse under a faucet, and air-dry. Spray the outdoor coil with a garden hose each spring to flush dust. A yearly professional tune‑up checks refrigerant charge, fan amperage, and insulation resistance, catching issues before they spike your bill. Follow the mini-split maintenance checklist to keep the warranty valid and maintain high efficiency.
Frequently Asked Questions
-
Can I run a mini‑split off the same breaker as my water heater?
No. Mini-splits require a dedicated breaker to comply with U.S. electrical code and prevent nuisance trips.
-
What happens if the indoor unit isn’t level?
Water will pool in one corner of the drain pan and may drip down the wall instead of out the hose.
-
Do I need to cover the outdoor unit in winter?
Skip the plastic tarp—modern heat‑pump minis are built to shed snow. Just clear drifting snow from around the base.
-
How long should a mini‑split last in a mobile home?
With regular filter washes and an annual tune‑up, expect 15–20 years of service before major parts wear out.