✅ Introduction: Why Line Set Planning Matters
Installing a 2-zone ductless mini split system is one of the most efficient ways to cool and heat multiple areas of your home—but only if the refrigerant line sets are routed correctly. These lines carry refrigerant between the outdoor condenser and each indoor air handler. If you plan poorly, you risk performance losses, refrigerant leaks, or costly rework. This guide helps Jake (and any DIY homeowner) route, extend, and secure line sets properly for a successful 2-zone install.
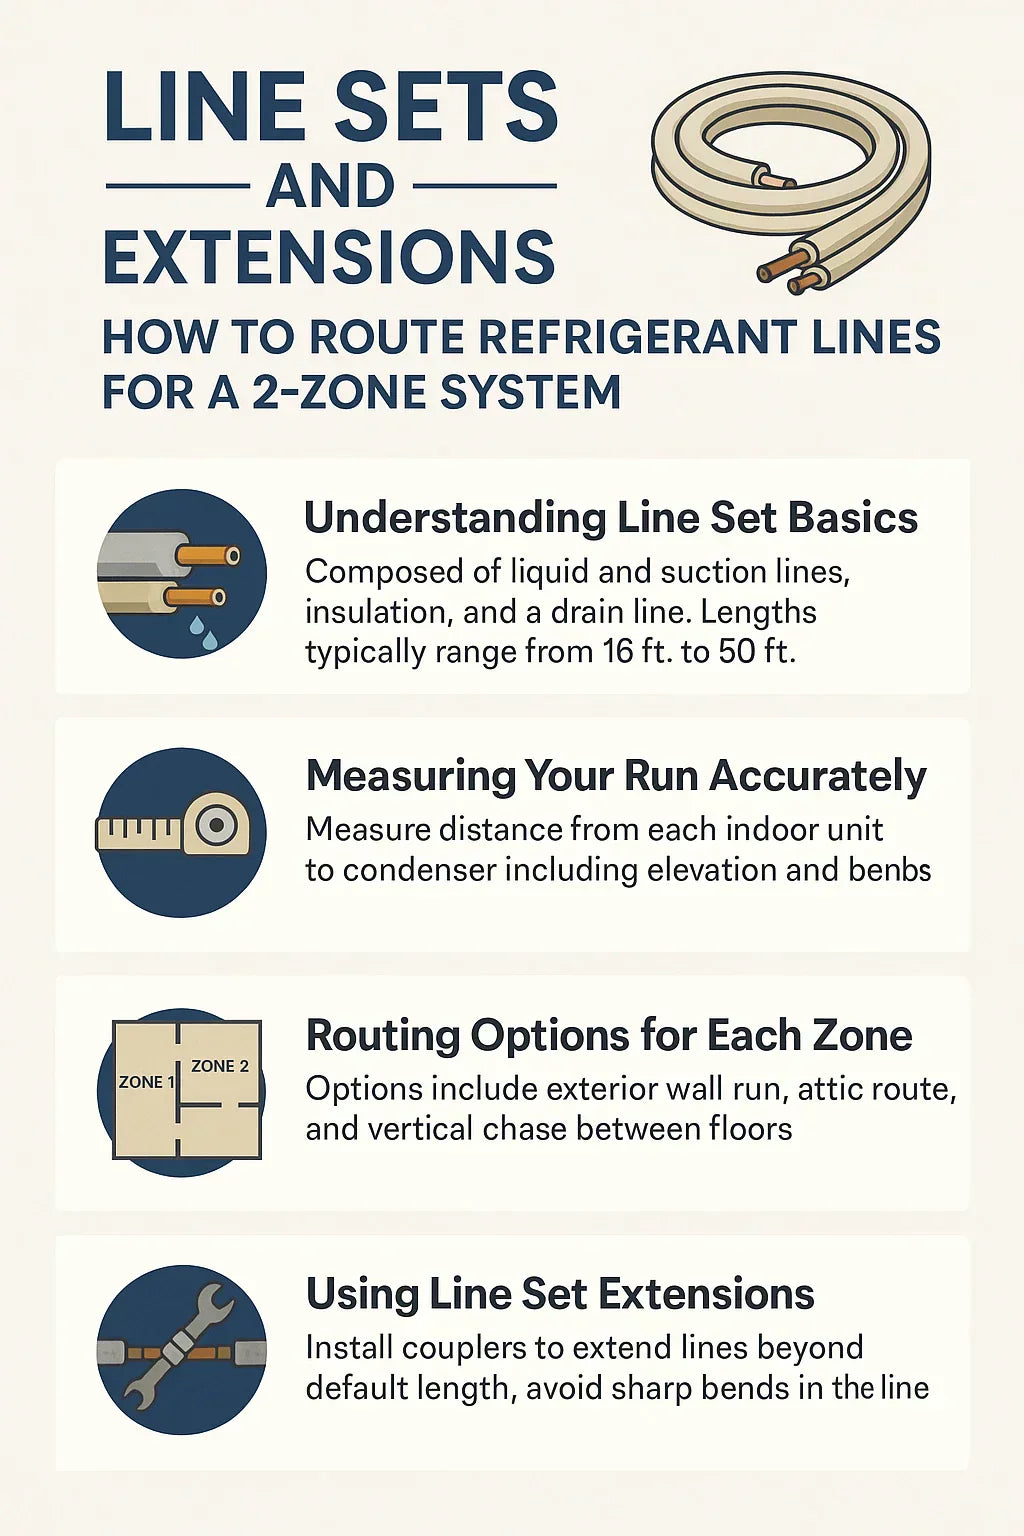
📐 Understanding Line Set Basics
What Is a Line Set?
A line set is a pair of insulated copper tubes that carry refrigerant:
-
Liquid line (smaller diameter): Carries high-pressure liquid refrigerant from condenser to air handler.
-
Suction line (larger diameter): Carries low-pressure gas refrigerant back to the condenser.
Line sets also typically include:
-
Insulation (especially for suction lines)
-
Drain line for condensate
-
Communication wire (4-conductor or 5-conductor)
Standard Sizing
Common sizes include:
-
1/4" x 3/8"
-
1/4" x 1/2"
Always verify the correct diameter for your mini split brand and BTU capacity. For example:
-
9,000 BTU systems: 1/4" x 3/8"
-
18,000 BTU systems: 1/4" x 1/2"
See manufacturer spec sheets for exact sizing. Daikin Sizing Chart
Pre-Charged vs. Standard Line Sets
-
Pre-charged: Come with refrigerant sealed inside; use quick-connect fittings; no vacuuming required.
-
Standard/Uncharged: Require brazing or flare fittings, vacuuming, and professional charging.
📏 Measuring Your Run Accurately
Key Factors to Measure:
-
Distance from condenser to each indoor unit (not straight-line)
-
Add for elevation (e.g., upstairs room)
-
Include slack for gentle bends
-
Account for wall thickness and fittings
Tip: Use flexible measuring tape or string to simulate the path.
Example:
-
Zone 1 (Living Room): 20 ft straight wall route
-
Zone 2 (Bedroom upstairs): 25 ft vertical + 15 ft attic run = 40 ft
-
Add 3–5 extra feet per zone for bends and entry/exit points
🧰 Routing Options for Each Zone
1. Straight Exterior Wall Route
-
Most common and easiest for DIY
-
Drill wall behind air handler
-
Run line set along exterior wall to condenser
-
Cover with LineHide or SlimDuct
2. Attic Route
-
Great for keeping lines hidden
-
Must insulate well to prevent heat loss
-
Consider condensation risk with drain line
3. Crawlspace or Basement Route
-
Ideal for first-floor installs with open floor access
-
Protect lines from rodents and moisture
4. Vertical Chase Between Floors
-
Best for upstairs/downstairs installs
-
Use a PVC conduit or existing duct chase
See LineHide Systems for external covers and mounting accessories.
🔗 Using Line Set Extensions
When You Need Extensions
-
Your route exceeds the standard included line set (usually 16–25 ft)
-
Split between zones is more than 25 ft
-
Using longer attic/crawlspace paths
Compatible Extension Kits
-
MRCOOL DIY systems offer pre-charged coupler kits for extending without refrigerant loss
-
Use same-diameter lines with flare connections
Flare Fittings & Torque Wrenches
-
Always use torque wrench to tighten fittings to spec
-
Improper torque = refrigerant leaks
-
Wrap with foam insulation + UV-rated tape
🔒 How to Protect Your Line Set
Exterior Protection
-
Use UV-rated line set covers (white, tan, or paintable)
-
Secure to wall with brackets every 3–5 ft
-
Seal wall penetration with silicone caulk
Interior Protection
-
Avoid pinching during drywall work
-
Don’t run lines tightly against hot water pipes
-
Use foam padding near turns
Drain Line Sloping
-
Always slope away from air handler (1/4" per foot minimum)
-
Use drain pump only if no downhill slope is possible
Learn more about slope and drain guidelines from HVAC School
⚡ Electrical and Communication Wiring
-
Run 14/4 or 16/4 cable alongside line sets
-
Shielded cable recommended for signal integrity
-
Keep at least 6 inches from high-voltage lines
-
Use UV-rated wire clamps for exterior runs
Tips:
-
Label wires by zone (Zone 1, Zone 2)
-
Follow color code from the manufacturer
-
Don’t bundle signal wire with power cable
🛑 Common Mistakes to Avoid
-
Bending copper lines too sharply
-
Using mismatched diameter extensions
-
Forgetting to insulate flare joints
-
Not sealing wall penetration = pest entry
-
Exceeding max line length (check manufacturer limit)
-
Placing suction line above liquid line on steep runs (causes oil traps)
📌 Jake’s Final Line Set Routing Checklist
| Task | ✅ Done? |
|---|---|
| Measured each zone’s true run | |
| Selected correct line set sizes | |
| Verified if extensions are needed | |
| Marked wall pass-through spots | |
| Purchased torque wrench & sealant | |
| Planned drain line slope | |
| Ran communication wires | |
| Secured covers and insulation |
✅ Final Thought:
“I didn’t realize routing refrigerant lines would be this important—but now I feel totally in control of the install.” — Jake
In the next topic we will know more about: How Does a 2-Zone Mini Split Handle Summer Heat and Winter Chill?


