Installing a ductless mini split system used to be a job strictly for HVAC pros. But thanks to recent innovations—especially with brands like MRCOOL and Pioneer—DIY-friendly options have entered the market, making it easier for handy homeowners like Jake to do it themselves. This guide covers everything Jake needs to know before deciding to install a 2-zone system himself, including tools, safety, wiring, potential savings, and when to call in a professional.
❓ What Makes a Mini Split “DIY-Friendly”?
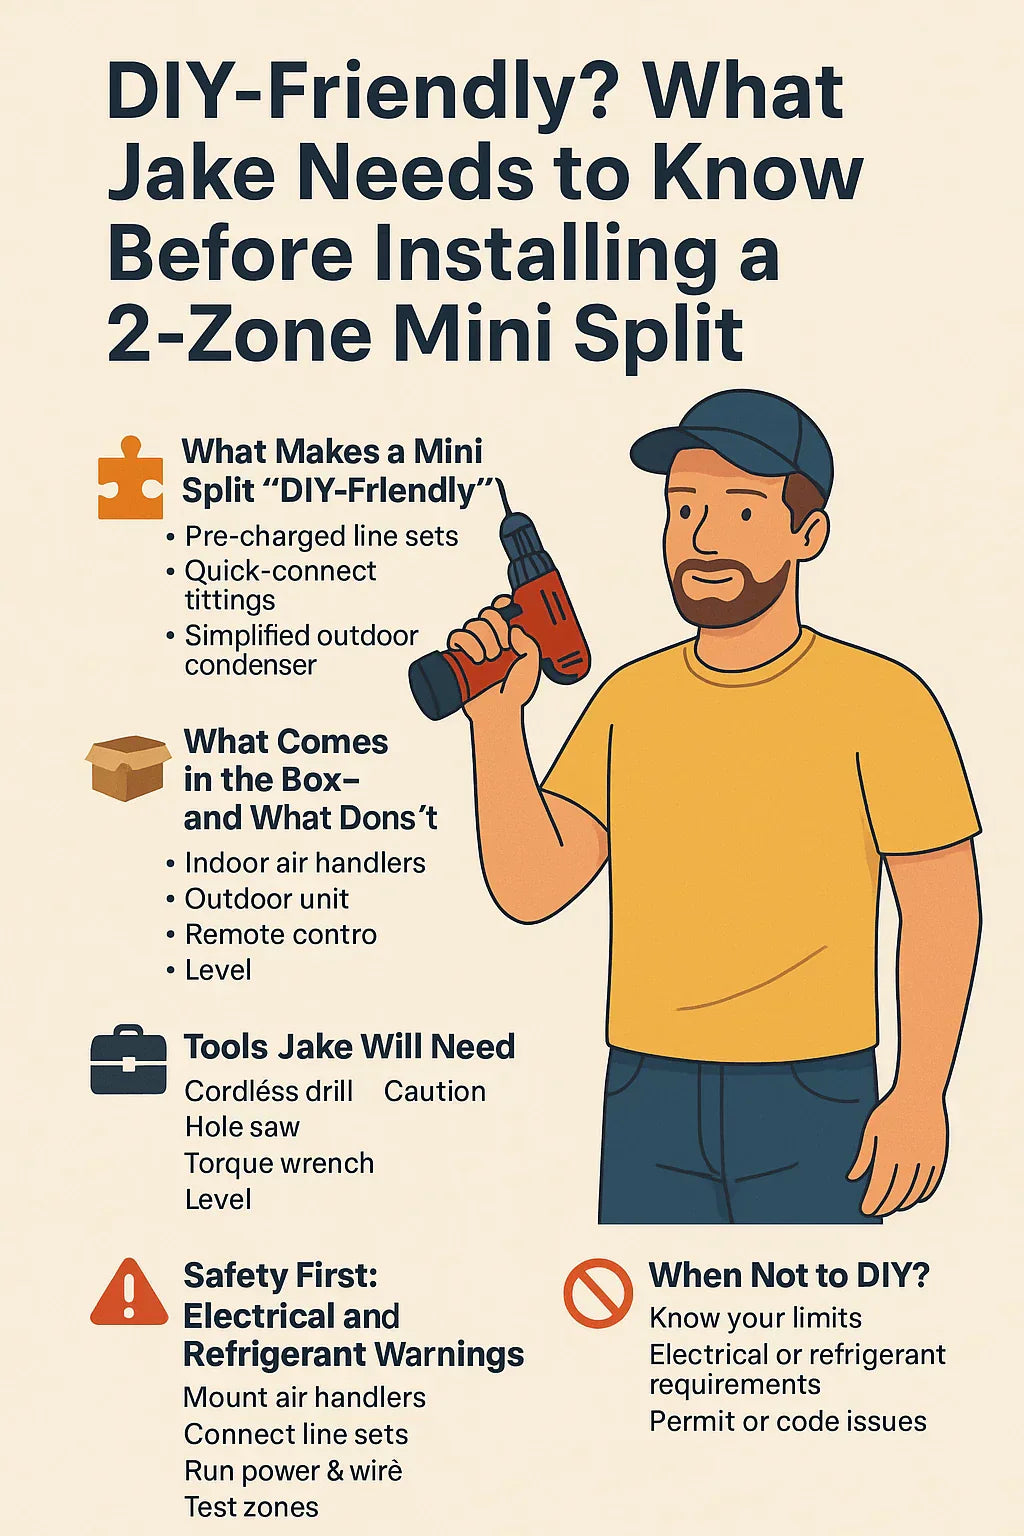
Not all 2-zone mini split systems are designed for DIY installs. The ones that are usually offer:
-
Pre-charged line sets (no vacuum pump needed)
-
Quick-connect fittings for refrigerant lines
-
Clear instructions with color-coded wiring
-
Modular setup between zones and condenser
✅ Recommended DIY-Friendly Brands:
Be sure to choose a model labeled DIY or Pre-Charged — otherwise, installation may require specialized tools and a certified technician.
📦 What Comes in the Box—and What Doesn’t
Most 2-zone DIY mini split kits include:
-
Two indoor air handlers (wall-mounted)
-
One outdoor condenser
-
Two pre-charged line sets
-
Communication wire
-
Remote controls
-
Mounting hardware for indoor units
Items Jake may still need to purchase separately:
-
Outdoor condenser pad or mounting bracket
-
Electrical disconnect box (required by code)
-
Electrical whip and conduit
-
Wall sleeve or rubber grommet for the line pass-through
-
Condensate drain extension tubing
-
Sealant or caulk for exterior wall
Always read the kit contents and manual before beginning the install.
🧰 Tools Jake Will Need
For a successful 2-zone install, Jake should gather:
-
Cordless drill + drill bits
-
3" hole saw or paddle bit
-
Screwdrivers (Phillips and flathead)
-
Stud finder
-
Level
-
Utility knife
-
Wrench set (including torque wrench if using flare connections)
-
Wire stripper and crimper
-
Zip ties
-
Ladder
-
Caulk gun and silicone sealant
-
Safety gear: gloves, goggles, and ear protection
Optional but helpful: vacuum pump and manifold gauge (for non-precharged systems)
⚠️ Safety First: Electrical and Refrigerant Warnings
DIY mini splits are safer than older HVAC tech, but they still involve serious power and pressurized refrigerant.
Electrical Considerations:
-
Most 2-zone units require 240V power
-
You must shut off power at the main breaker panel before any wiring
-
A licensed electrician is recommended to install the disconnect box and final hookup
Refrigerant Considerations:
-
Do not kink or excessively bend the line sets
-
Never cut or open lines until the system is ready
-
Avoid over-tightening flare nuts (use torque specs!)
More from Home Depot’s DIY Split System Guide
🗺️ Step-by-Step Installation Overview
1. Select Mounting Locations
-
Choose interior walls with clear airflow
-
Avoid direct sunlight, TVs, or high-moisture areas
2. Drill Wall Penetration (3")
-
Route line sets, drain line, and communication wire
-
Use wall sleeve or seal with silicone
3. Mount Air Handlers
-
Secure to wall studs using supplied template
-
Level each unit carefully
4. Install the Outdoor Condenser
-
Place on a concrete pad or wall bracket
-
Maintain proper clearance (usually 24" minimum)
5. Connect Line Sets and Communication Wire
-
Pre-charged systems: connect and open valves
-
Non-DIY systems: vacuum lines and charge refrigerant
6. Wire to Disconnect Box and Breaker Panel
-
Requires 10/2 or 8/2 wire depending on amperage
-
Confirm polarity and grounding
7. Power On and Test Each Zone
-
Use remotes to adjust temp, fan, and mode
-
Ensure both air handlers are communicating with the condenser
Watch The Furnace Outlet’s Install Walkthroughs for visual assistance.
🧊 Cold Climate Considerations
Jake should choose a system with:
-
Low ambient heating to -5°F or lower
-
Integrated drain pan heaters and defrost cycles
-
High-efficiency SEER2 and HSPF ratings
Cold-ready models include:
💵 How Much Will Jake Save?
✅ DIY Install:
-
Equipment: $2,200–$3,200
-
Electrical parts and tools: ~$300
-
Labor: $0
❌ Pro Install:
-
Equipment: $2,000–$3,000
-
Labor: $2,000–$4,000+
Total Savings: $2,000–4,000+ (depending on system size and complexity)
📉 When Jake Should Not DIY
-
Electrical panel is maxed out or outdated
-
Jake is unfamiliar with high-voltage safety
-
He can’t safely lift or mount units on a second story
-
The unit is not pre-charged (requires licensed tech)
-
Local permits or HOAs prohibit DIY HVAC work
📜 Permits, Warranty & Code Compliance
-
Some cities/counties require a permit even for DIY systems
-
MRCOOL, Pioneer, and others only honor warranty if:
-
You follow all installation steps
-
Keep proof of purchase and register the unit
-
-
Electrical work may require inspection
🧠 Final Thoughts: Is DIY the Right Call for Jake?
Jake is the ideal candidate for a DIY install if:
-
He owns basic tools and can follow detailed instructions
-
He wants to save thousands of dollars
-
He has a suitable electrical setup or electrician support
Jake should hire a pro if:
-
The install involves high walls, complex routing, or electrical panel changes
-
The system is not pre-charged
-
Local codes require it
📌 Key Takeaways
| Topic | DIY Feasible? |
|---|---|
| Pre-charged systems | ✅ Absolutely |
| 2nd floor mounting | ⚠️ With caution |
| 240V wiring | ⚠️ Hire an electrician |
| Flare-fit refrigerant work | ❌ Not DIY |
Jake’s Final Word:
“Installing a 2-zone mini split is totally doable—as long as you plan it out, have the right tools, and don’t cut corners. When in doubt, bring in a pro for the critical parts.”
In the next topic we will know more about: Line Sets and Extensions: How to Route Refrigerant Lines for a 2-Zone System


