1. 🔍 Why Preparation Matters for Furnace Replacement
When I replaced my old furnace last winter, I thought it would be as simple as “buy new unit, swap old one out.”
Between sizing, R-32 compatibility, ductwork surprises, and permit requirements, I learned that preparation is 50% of the project—and it’s the part that saves you money, time, and headaches.
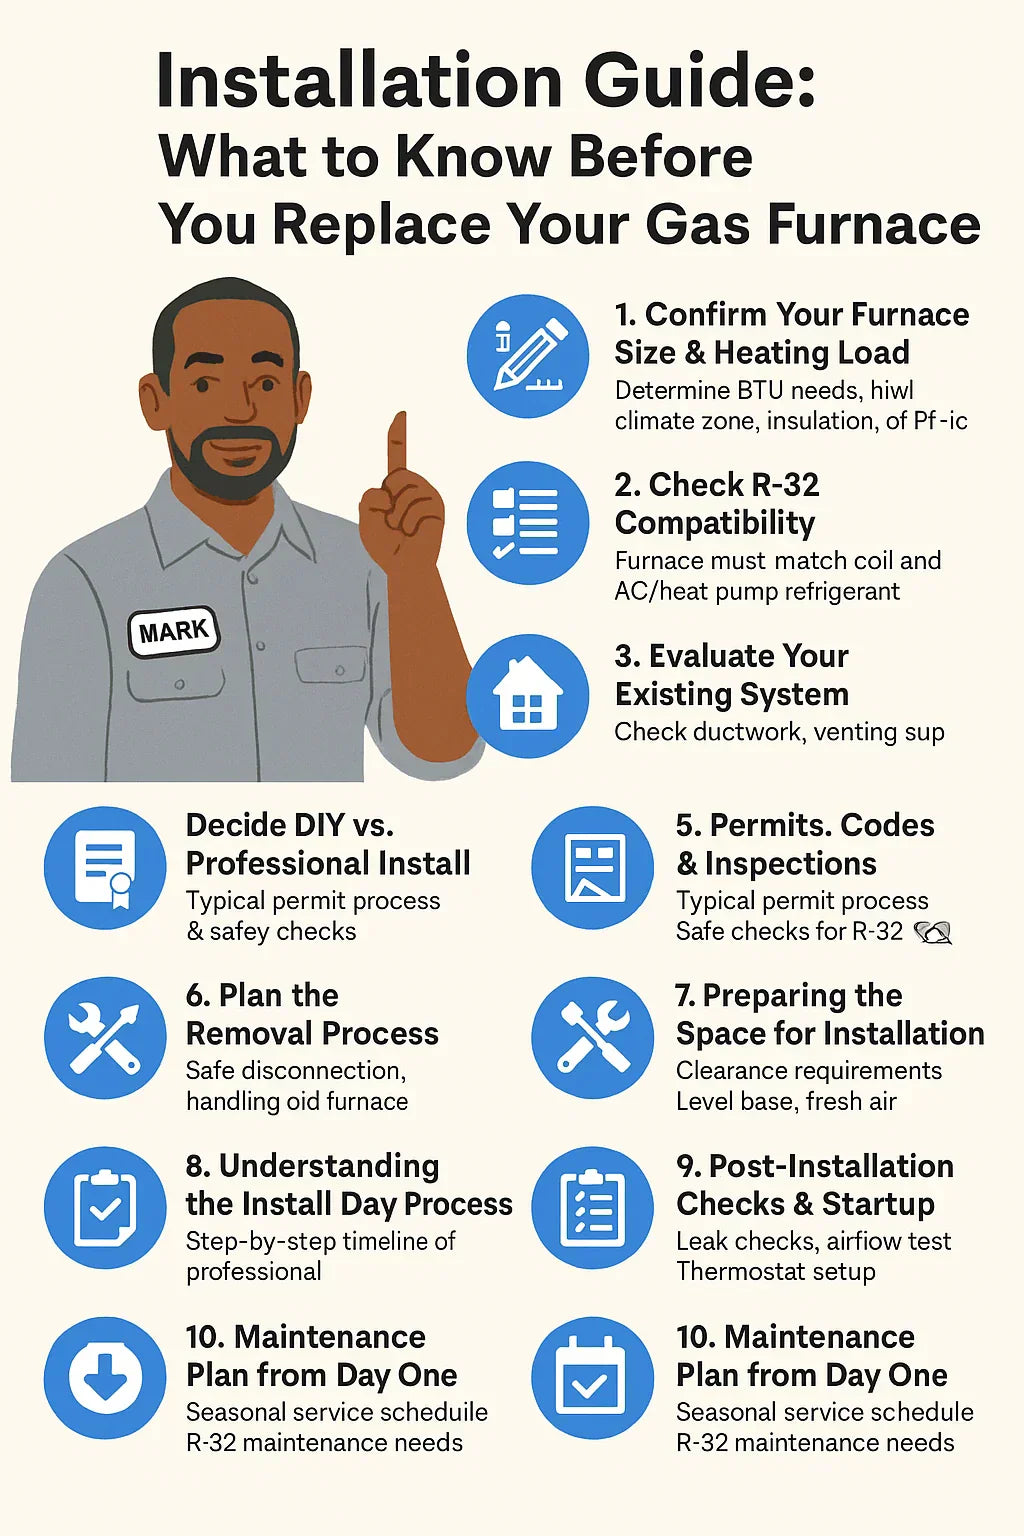
2. 📏 Step 1: Confirm Your Furnace Size & Heating Load
One of the biggest mistakes I see homeowners make is buying a furnace based only on what’s already installed.
That’s like buying new shoes without checking your size—you might fit, but you might also be uncomfortable for years.
How to Size Properly
-
Consider:
-
Square footage.
-
Insulation quality.
-
Climate zone.
-
Window efficiency.
-
For example, my 2,000 sq ft home in the Midwest, with decent insulation, came out to needing a 95,000 BTU output—perfect for a 100,000 BTU furnace with ~95% AFUE.
3. 📋 Step 2: Check R-32 Compatibility
While gas furnaces themselves don’t circulate refrigerant, if your system includes central air or a heat pump, the furnace and coil must match the refrigerant type.
Why I went with R-32:
-
Lower Global Warming Potential (GWP ~675 vs. 2,088 for R-410A).
-
Higher cooling efficiency in summer.
-
Future-proof for refrigerant phaseouts (EPA Kigali Amendment).
Pro Tip: If your old AC is R-410A and near the end of its life, upgrade to an R-32 coil now so you won’t have mismatched equipment later.
4. 🏚 Step 3: Evaluate Your Existing System
Before ordering your furnace, inspect your:
-
Ductwork – Leaks or undersized ducts can kill efficiency.
-
Venting – High-efficiency furnaces need PVC venting; standard efficiency uses metal flue.
-
Gas Line – Check for shutoff valve location and pipe condition.
-
Electrical Supply – Your furnace needs a dedicated circuit.
I learned the hard way that my 20-year-old ducts were leaky enough to justify resealing before the new unit went in.
5. 🛠 Step 4: Decide DIY vs. Professional Install
Some parts of furnace replacement you can do yourself:
-
Clear workspace.
-
Remove old furnace panels.
-
Basic dismantling (if comfortable).
What you must hire a pro for:
-
Gas line connection.
-
Venting modifications.
-
Electrical wiring.
-
Refrigerant coil hookup (if R-32 system).
Local codes almost always require licensed HVAC contractors for gas connections (International Residential Code).
6. 📜 Step 5: Permits, Codes & Inspections
Skipping permits might save a few days, but it can:
-
Void your insurance coverage.
-
Fail future home inspections.
-
Cause safety issues.
Typical costs: $50–$500 depending on jurisdiction.
For R-32 installs, inspectors may check:
-
Correct refrigerant labeling.
-
Proper ventilation for A2L refrigerants (AHRI Low-GWP Guidance).
7. 📦 Step 6: Plan the Removal Process
Here’s my removal-day checklist:
-
Shut off gas and power.
-
Disconnect duct plenum and return.
-
Cap or plug gas line after disconnect.
-
Remove old furnace carefully to avoid damaging floor or coil.
Disposal Tip: Many scrap yards accept old furnaces for metal recycling.
8. 🔧 Step 7: Preparing the Space for Installation
Clear the area—techs need 3–4 feet of working space in front and 12–30 inches on sides.
For high-efficiency models:
-
Ensure the drain line for condensate has a slope.
-
Plan the PVC vent path to the exterior.
-
Provide a level base.
9. ⚡ Step 8: Understanding the Install Day Process
Timeline for a Standard Install
-
8:00 am – Old furnace removal.
-
10:00 am – New furnace placement & venting setup.
-
12:00 pm – Gas/electric connections.
-
2:00 pm – Coil hookup & refrigerant work (if applicable).
-
4:00 pm – Startup & testing.
Complex installs (duct/vent modifications) may take 2–3 days.
10. ✅ Step 9: Post-Installation Checks & Startup
Ask your tech to:
-
Run a combustion analysis.
-
Check for gas leaks.
-
Verify AFUE rating.
-
Test airflow and static pressure.
-
Program your thermostat.
Also, register your warranty—some brands give extra coverage for doing it within 60 days.
11. 📅 Step 10: Maintenance Plan from Day One
I keep a seasonal checklist:
-
Spring/Fall: Full HVAC tune-up.
-
Monthly in winter: Check/change filter.
-
Every 2 years: Have R-32 refrigerant charge inspected.
-
Every 5 years: Inspect venting & drain line.
Mark’s Closing Advice:
“Replacing your furnace isn’t just about picking the right unit—it’s about preparing your home, knowing the code, and making sure the installation is done right. Take the time up front, and you’ll enjoy years of efficient, safe heating.”
In the next topic we will read more about: Single-Stage vs. Two-Stage 100,000 BTU Gas Furnaces: Which Should You Choose?


