If you’re upgrading your home, apartment, or small business with an Amana Distinctions PTAC unit, you’re already on the right track toward reliable, efficient comfort.
PTAC systems — short for Packaged Terminal Air Conditioners — are built to last, easy to maintain, and designed for steady heating and cooling in individual rooms. But before you dive into installation, it’s important to slow down and prepare properly.
I’ve walked through several PTAC installs with homeowners, and I can tell you firsthand: a successful installation isn’t about speed — it’s about precision.
This guide will help you understand what you need to know before starting your installation, from wall sleeves and electrical setup to drainage and final testing.
By the time you finish reading, you’ll know exactly what to check, measure, and prepare so your Amana Distinctions system runs quietly and efficiently for years.
🧱 1. Why Preparation Matters
Installing a PTAC unit isn’t as simple as plugging in a window air conditioner. You’re creating a permanent part of your wall structure — and that means a little planning goes a long way.
A proper installation ensures:
-
Better energy efficiency
-
Quieter performance
-
Longer system life
-
Fewer maintenance issues
When you skip planning, you risk:
-
Air leaks or vibration noises
-
Condensation problems
-
Electrical issues
-
Lost efficiency
“Installing a PTAC isn’t hard,” I always tell new homeowners, “but you need to give it the respect of a built-in system.”
That means double-checking your wall cutout, sleeve fit, voltage, and drainage before powering on the unit.
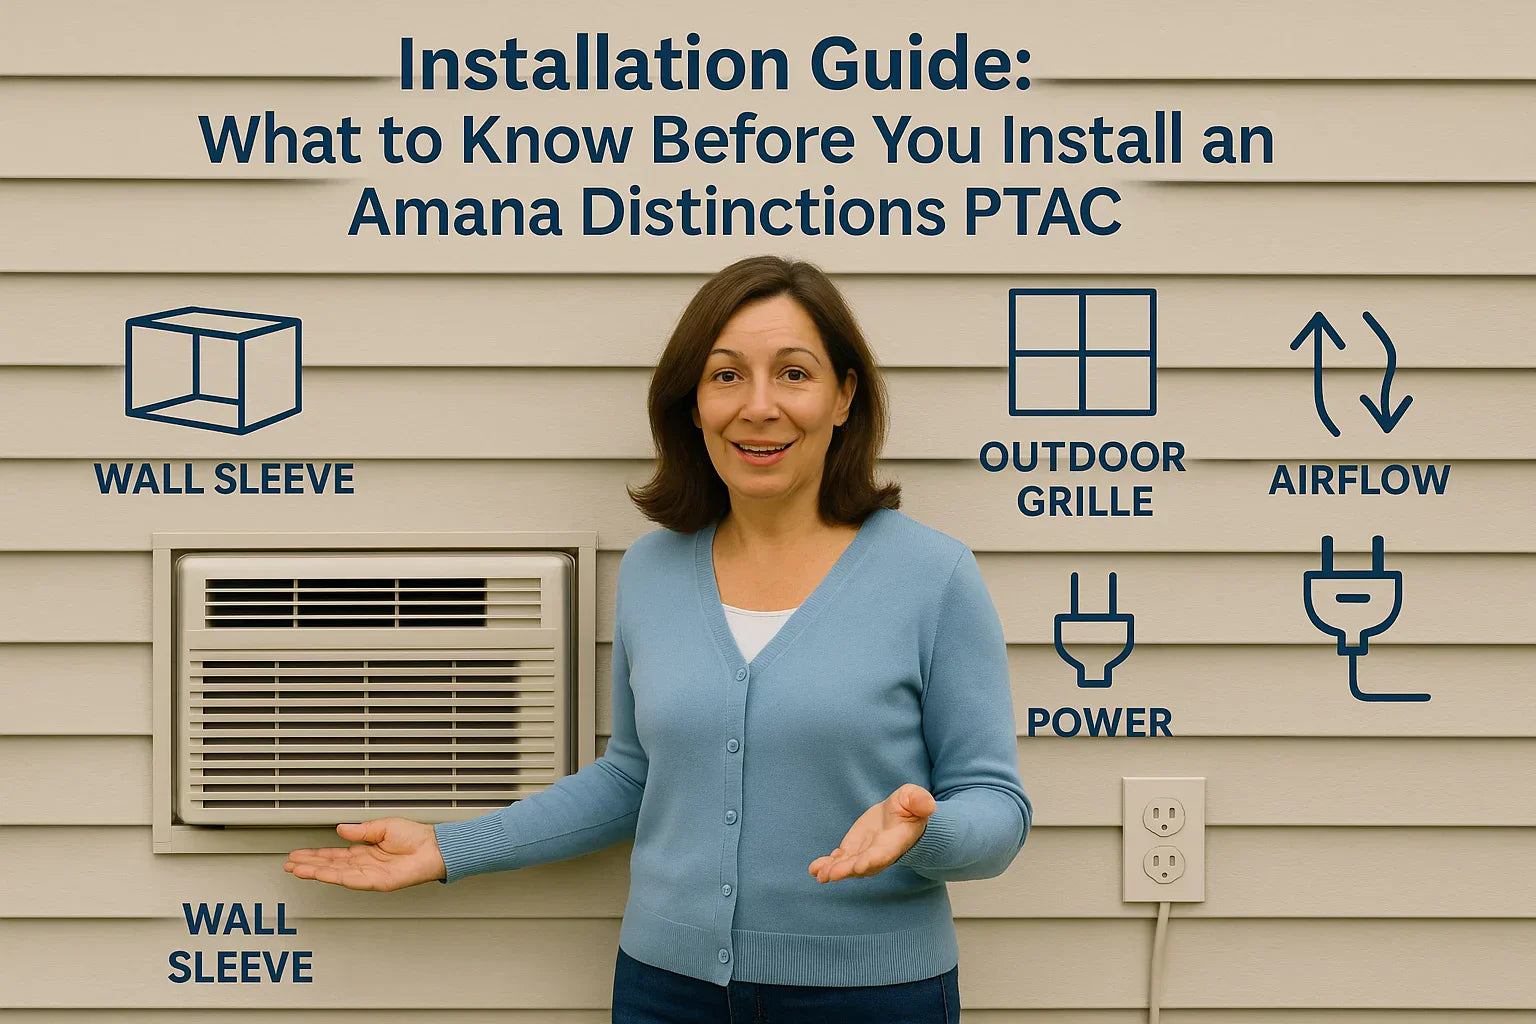
⚙️ 2. What’s Included in an Amana PTAC Setup
Before you begin, let’s make sure you understand what’s in the box — and what’s not.
🔹 Standard PTAC Components:
-
PTAC chassis – The main heating/cooling unit with compressor, coils, and controls.
-
Wall sleeve – The structural frame that holds the PTAC securely in your wall.
-
Exterior grille – Protects the condenser and manages outdoor airflow.
-
Power cord – Plug style depends on your model’s heat output (2.5, 3.5, or 5.0 kW).
-
Drain kit (optional) – For humid climates or installations requiring water removal.
Each component plays an important role in airflow, support, and moisture management. Together, they form a sealed-through-the-wall system that keeps conditioned air in and outdoor elements out.
📘 Reference: Amana PTAC Official Site
📏 3. Step One: Measuring and Planning Your Space
Before you grab a saw or drill, measure carefully — twice.
📐 Amana’s Standard Sleeve Size
Most Amana Distinctions PTACs fit the industry-standard 42” wide x 16” high x 14” deep wall sleeve.
If you’re replacing an old PTAC, measure your existing sleeve to confirm compatibility.
-
Width: 42 inches (horizontal opening)
-
Height: 16 inches (vertical opening)
-
Depth: 14 inches minimum
🧱 Wall Structure Requirements
-
Exterior Wall: Must be load-bearing and weatherproof.
-
Framing: Use studs or reinforced structure for sleeve anchoring.
-
Slope: Sleeve must tilt ¼ inch downward toward the outside for drainage.
If you’re reusing an older sleeve from another brand, check for corrosion, cracks, or warping. Even a slight misalignment can create noise and inefficiency.
🧰 Tools You’ll Need:
-
Tape measure
-
Level
-
Stud finder
-
Drill and screws
-
Silicone caulk or sealant
-
Insulation foam
“Before I cut, I always mark my area with painter’s tape,” I tell readers. “It helps visualize where the unit will sit and keeps lines straight during cutting.”
🔌 4. Step Two: Understanding Power and Voltage
This step is critical — you must match your PTAC’s power rating to your home’s electrical supply.
⚡ Amana Distinctions Power Configurations:
| Model Type | Voltage | Circuit | Heater Size | Plug Type |
|---|---|---|---|---|
| Standard Electric | 208/230V | 15A | 2.5 kW | NEMA 6-15P |
| Mid-Power | 208/230V | 20A | 3.5 kW | NEMA 6-20P |
| High-Output | 208/230V | 30A | 5.0 kW | NEMA 6-30P |
| Commercial | 265V | 20–30A | Varies | Hardwired |
Each Amana PTAC needs a dedicated electrical circuit — meaning it cannot share a breaker with other appliances.
🧯 Safety Notes:
-
Never use an extension cord or adapter.
-
Confirm outlet voltage with a multimeter.
-
Label your breaker for easy identification.
📘 Learn more: Energy.gov – Electrical Basics for HVAC Systems
🧍♀️ 5. Step Three: Picking the Perfect Wall Location
Where you install your PTAC affects how evenly it heats, cools, and drains.
Choose carefully to ensure maximum comfort and efficiency.
🏡 Placement Tips:
-
Center the unit on an exterior wall.
-
Keep at least 3 inches of clearance from the floor inside.
-
Allow 12–36 inches of outdoor clearance from bushes, walls, or fences.
-
Avoid direct sunlight or heat sources.
-
Do not install near water sources or sprinkler systems.
🧠 Samantha’s Note:
“I once saw a PTAC installed under a window that dripped constantly — it rusted the grille within a year. Always think about water exposure!”
📘 Reference: HVAC.com – PTAC Installation Best Practices
🧩 6. Step Four: Installing or Inspecting the Wall Sleeve
Your wall sleeve is the foundation of your PTAC setup. It provides support, structure, and a weather-sealed pathway between indoors and outdoors.
🛠️ For New Installations:
-
Cut the wall opening to sleeve dimensions.
-
Insert the sleeve with the flange facing inside.
-
Ensure outward slope (¼”) for drainage.
-
Fasten sleeve securely into studs with screws or brackets.
-
Seal edges with silicone caulk or weatherproof foam.
🔍 If Reusing an Existing Sleeve:
Check for:
-
Rust or corrosion
-
Debris or blockages in drain holes
-
Loose insulation
-
Warping or bending
If any are present, replace it with a new Amana-compatible sleeve.
📘 Shop options: The Furnace Outlet – PTAC Wall Sleeves
🪟 7. Step Five: Installing the Outdoor Grille
The grille isn’t just cosmetic — it protects your PTAC and ensures the condenser gets proper airflow.
🪛 Installation Tips:
-
Use the grille designed for your specific sleeve.
-
Secure with manufacturer-supplied screws.
-
Ensure vents face downward or outward (not upward).
-
Leave airflow unobstructed — don’t cover with mesh or screen.
For a more polished exterior, Amana offers architectural grilles in neutral finishes that blend with siding or brickwork.
⚙️ 8. Step Six: Sliding the Unit into Place
This is the most satisfying step — seeing your new PTAC in position.
🧰 Installation Steps:
-
Unbox the unit carefully. These weigh 90–120 lbs. Get help.
-
Align with the wall sleeve. Use slow, steady pressure.
-
Slide chassis in until it seats fully.
-
Secure with screws or retaining brackets.
-
Connect power plug or wiring harness.
Avoid tilting or forcing the unit. If it resists, check sleeve alignment.
“I like to slide the PTAC on a towel or cardboard piece — it prevents scratches and makes minor adjustments smoother.”
💧 9. Step Seven: Drainage and Condensation Management
PTACs generate condensation as they cool. Amana’s units reuse some of this moisture for heat exchange efficiency — a process called condensate re-evaporation.
However, in humid regions or multi-unit setups, external drainage may still be necessary.
💦 Drain Setup:
-
Verify the sleeve is tilted ¼” outward.
-
Ensure drain holes are open.
-
If needed, install Amana’s drain kit to route water outside.
-
Connect tubing to a proper drainage line (never indoors).
🧼 10. Step Eight: Testing and Final Sealing
With everything in place, it’s time to test your installation.
✅ Checklist:
-
Plug the unit into the dedicated outlet.
-
Power on and test both cooling and heating modes.
-
Adjust thermostat settings to verify cycling.
-
Check for:
-
Even airflow
-
Vibration or rattling sounds
-
Water leaks
-
Once confirmed, seal the sleeve perimeter with silicone caulk or foam gasket to block drafts and insects.
“That final bead of sealant not only keeps air out — it keeps your energy dollars in.”
🧯 11. Safety, Codes, and When to Hire a Pro
Even confident DIYers should know where to draw the line.
⚡ Electrical Safety:
-
Use a dedicated circuit (no shared outlets).
-
Follow local code requirements for 230V wiring.
-
Never modify a plug to fit another outlet.
🔥 Fire Safety:
-
Maintain 3 ft. clearance from flammable items.
-
Clean filters monthly to prevent overheating.
If your installation involves running new electrical lines or upgrading voltage, hire a licensed electrician. It’s worth the peace of mind — and keeps your Amana warranty intact.
📘 Resource: Energy.gov – HVAC Electrical Safety
🧠 12. Samantha’s Pro Tips
After years of helping homeowners and managing installs, here are my best tips for success:
-
Dry-fit everything first. Make sure the unit slides smoothly before sealing.
-
Check voltage twice. PTACs are unforgiving about power mismatches.
-
Label your breaker. Saves confusion during maintenance.
-
Add foam insulation strips. Prevent air leaks around the sleeve.
-
Keep the Amana manual nearby. It includes wiring and drain diagrams you’ll reference later.
🌡️ 13. Common Mistakes to Avoid
| Mistake | Problem It Causes |
|---|---|
| Using wrong voltage | Unit won’t run, may cause damage |
| Level sleeve (no slope) | Indoor water leakage |
| Airflow obstruction | Reduced efficiency, compressor strain |
| Reusing rusted sleeve | Noise and leaks |
| Skipping caulking | Drafts, insects, and heat loss |
Avoiding these simple errors will save you hundreds of dollars in repairs down the road.
🏡 14. Samantha’s Takeaway
“Installing your Amana Distinctions PTAC isn’t about rushing — it’s about setting yourself up for lasting comfort.”
If you measure accurately, use the correct power source, and ensure proper drainage, you’ll end up with a system that quietly keeps your space cozy year-round.
Remember: the Amana Distinctions line was built for ease of use and long-term reliability. With careful planning, you’ll enjoy quiet comfort, efficient operation, and lower utility bills from day one.
🧾 15. Final Pre-Installation Checklist
✅ Wall sleeve slope ¼” outward
✅ Voltage and plug match your breaker
✅ Outdoor grille installed with proper airflow
✅ Drain holes clear
✅ Sleeve sealed around edges
✅ Unit secured and vibration-free
✅ Power tested in both cooling and heating
If all boxes are checked — congratulations! Your Amana Distinctions PTAC is ready for years of efficient operation.
In the next topic we will know more about: Maintenance Tips for Your Amana Distinctions PTAC: Filters, Coils & Drains


