🏠 Introduction: From Curiosity to Confidence
When I decided to replace my old air conditioner, I wanted to understand everything about the process — not just the product. My new unit used R-32 refrigerant, which I’d heard was more efficient and environmentally friendly. But I also learned it requires a few installation steps that are different from older R-410A systems.
Best Air conditioner and Air Handler systems
Now, I’m not a licensed HVAC pro, but as a homeowner who’s done his share of renovations, I wanted to be involved and document the process. What follows is everything I learned — from pre-installation planning to startup testing — and the mistakes I made so you don’t have to repeat them.
Whether you plan to DIY part of your installation or simply want to understand what your contractor is doing, this guide will help you make sure the job gets done right.
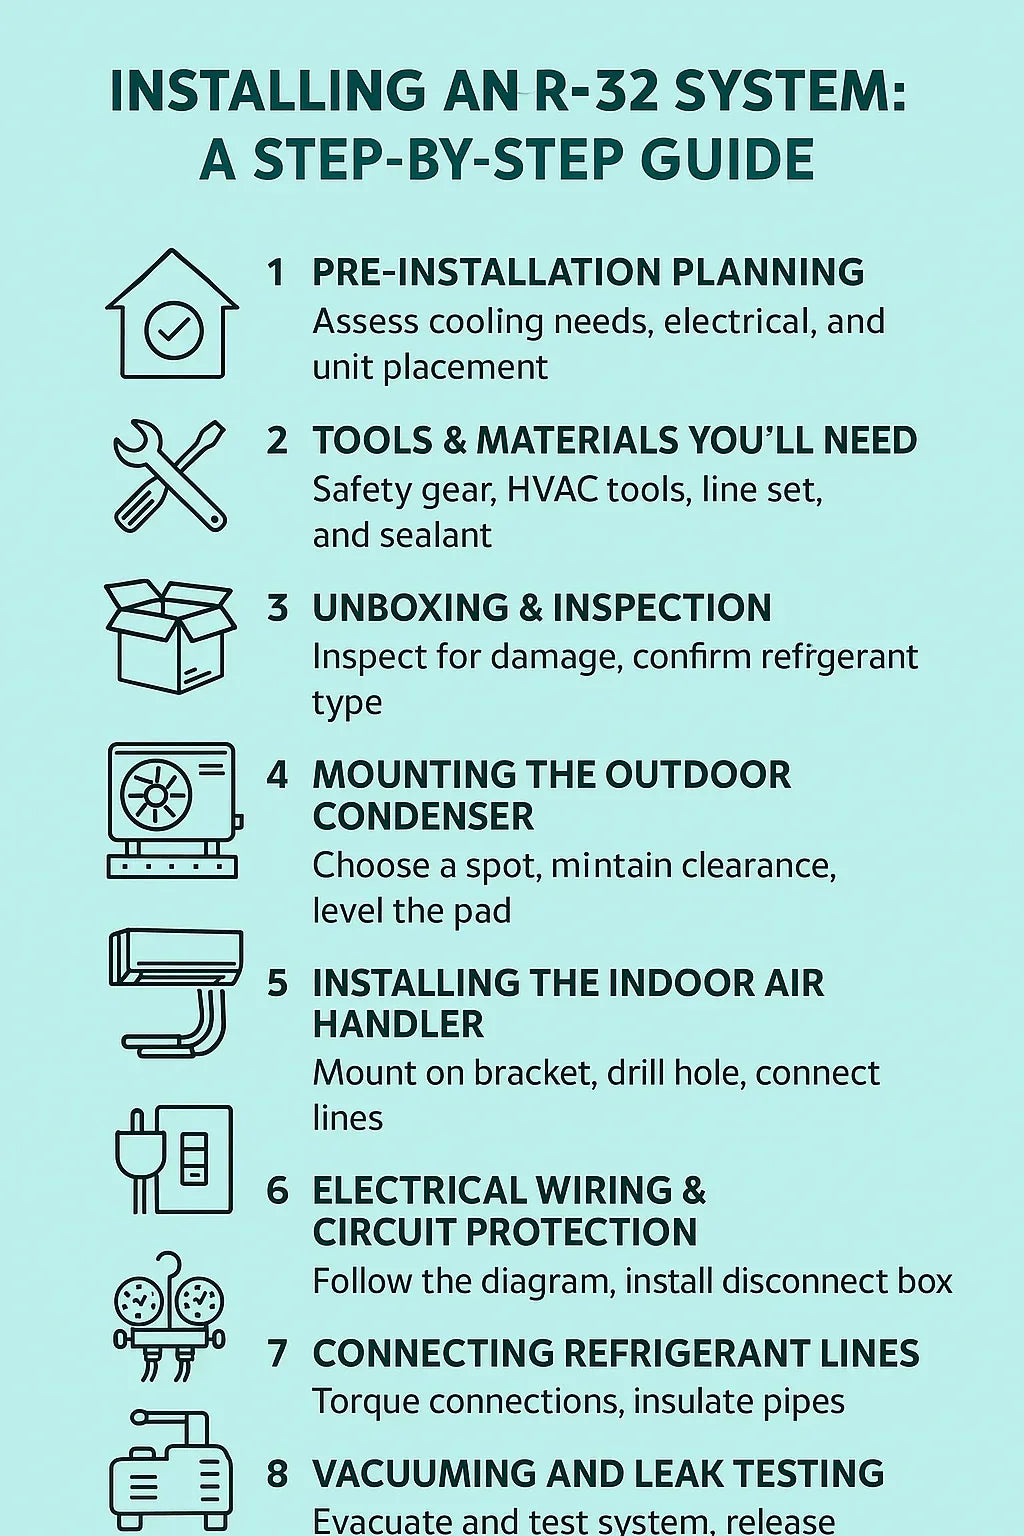
🏗️ 1. Pre-Installation Planning: Measure Twice, Cut Once
Every great installation starts before the first bolt is turned. My first lesson? Don’t skip planning.
📏 Step 1: Evaluate Your Home’s Cooling Needs
R-32 systems come in a variety of sizes, measured in tons (1 ton = 12,000 BTU). The key is matching the system size to your home’s square footage and insulation quality.
Quick rule of thumb:
-
1.5 tons — up to 900 sq. ft.
-
2.5 tons — up to 1,400 sq. ft.
-
3 tons — up to 1,800 sq. ft.
-
4 tons — up to 2,200 sq. ft.
If you install a unit that’s too small, it will run constantly and wear out early. Too large, and it will short-cycle — wasting energy and failing to dehumidify properly.
🔗 Reference: EnergyStar.gov – HVAC Sizing Guide
⚡ Step 2: Check Your Electrical Panel
My R-32 condenser required a 240V circuit and a 30-amp breaker. I had to verify that my electrical panel had enough capacity and a dedicated line for the new system.
If your system uses a heat pump, you may need a higher breaker rating (40–50 amps).
🧱 Step 3: Plan the Layout
Make sure both your indoor air handler and outdoor condenser have the proper clearance:
-
Outdoor Unit: At least 12–18 inches on each side and 24 inches above.
-
Indoor Unit: 6 inches of space around the sides and top for airflow.
Mike’s Tip: Don’t rush this step. I spent a full afternoon measuring walls, clearance, and routing paths for line sets before drilling the first hole. It saved me from costly mistakes later.
🧰 2. Tools & Materials You’ll Need
Installing an R-32 system requires both general construction tools and specialized HVAC equipment.
Here’s the checklist I used:
🔧 Basic Tools
-
Cordless drill with masonry bits
-
Torque wrench and adjustable spanners
-
Level and measuring tape
-
Screwdrivers and wire strippers
🧪 HVAC-Specific Tools
-
Vacuum pump (for evacuating air and moisture)
-
Digital manifold gauge set (R-32 compatible)
-
Nitrogen tank for pressure testing
-
Leak detector (electronic or soap solution)
⚙️ Materials
-
Pre-insulated copper line set rated for R-32 pressure (up to 550 psi)
-
Condensate drain hose
-
Electrical disconnect box
-
Weatherproof sealant and insulation tape
🔗 Reference: EPA Section 608 – Refrigerant Handling Certification
Mike’s Tip: If you’re not certified to handle refrigerants, let a licensed tech handle charging and leak testing. You can still install the wall sleeve, line set, and electrical prep yourself.
📦 3. Unboxing & Inspection: Check Before You Install
When the system arrived, I resisted the urge to dive straight in. First, I inspected everything carefully:
-
Check for shipping damage: Look for dents, loose fittings, or oil stains (which can indicate leaks).
-
Confirm the model number matches your order.
-
Verify refrigerant type: The outdoor unit label should clearly say “R-32”.
-
Confirm included parts: Brackets, wall sleeve, insulation tape, and owner’s manual.
Mike’s Tip: Take photos of all serial numbers and keep a digital record — it’s a lifesaver if you ever need warranty service.
🧱 4. Mounting the Outdoor Condenser
This is where the installation gets physical. The condenser needs to be secure, level, and well-ventilated.
🔩 Step-by-Step:
-
Choose the location: I picked a shaded spot on the north side of my house to reduce sun exposure.
-
Lay a solid foundation: Use a pre-fabricated pad or pour a small concrete slab.
-
Anchor the condenser: Use anti-vibration pads between the base and mounting bolts.
-
Maintain clearance: 12–18 inches on each side, 24 inches on top.
Safety Tip: Because R-32 is mildly flammable (A2L classification), always avoid placing the unit near open flames, gas meters, or sources of sparks.
🔗 Reference: ASHRAE – Refrigerant Safety Classifications
🪛 5. Installing the Indoor Air Handler
Mounting the air handler took precision. It needs to be perfectly level to avoid condensate leaks.
🪜 Steps I Followed:
-
Mark the bracket holes on the wall using a level.
-
Drill pilot holes and secure the bracket firmly with lag bolts.
-
Drill a 2.5–3" hole through the wall for refrigerant, power, and condensate lines.
-
Insert a wall sleeve with a downward slope of 5–10 degrees to allow proper drainage.
-
Connect the drain hose and verify it runs downhill to avoid water pooling.
Mike’s Tip: Wrap all three lines (refrigerant, condensate, electrical) in foam insulation and tape them tightly before routing them outside.
🔌 6. Electrical Wiring & Circuit Protection
Electrical work can be intimidating, but following the manual closely makes it manageable.
⚡ Key Steps:
-
Shut off main power at the breaker panel.
-
Mount a disconnect box within 4–6 feet of the condenser for safety.
-
Use properly rated wire: For my system, 10-gauge copper THHN wire was required.
-
Ground both units: Attach the green or bare copper wire securely to each chassis.
Mike’s Tip: Label both breakers and disconnects clearly — I wrote “AC Condenser” and “Air Handler” with a permanent marker.
🔗 Reference: NFPA – National Electrical Code HVAC Rules
🧮 7. Connecting Refrigerant Lines: Precision Matters
This was one of the most delicate parts of the job. R-32 systems run at higher pressures, so every flare and fitting must be perfect.
🧰 What I Did:
-
Measured and cut copper lines carefully — too long, and pressure drops; too short, and connections strain.
-
Deburred and flared the ends with a high-quality tool.
-
Applied torque to manufacturer specifications using a torque wrench.
-
Insulated both lines fully to prevent heat gain.
Then came the nitrogen pressure test — I pressurized the system to 400 psi and left it for an hour. If the pressure didn’t drop, the system was leak-free.
🔗 Reference: Daikin Global – R-32 Installation Guide
💨 8. Vacuuming and Leak Testing
Next came one of the most important steps — evacuating air and moisture from the system.
Step-by-Step:
-
Connect the manifold gauge to the service ports.
-
Run the vacuum pump for at least 30 minutes until the pressure reads 500 microns or lower.
-
Close valves and let the system sit for 15–30 minutes to ensure it holds vacuum.
-
Slowly open the refrigerant service valves on the condenser to release R-32 into the lines.
Mike’s Tip: Take your time here. Moisture or air in the lines can cause performance loss, acid formation, or compressor damage later.
Safety Note: R-32 is non-toxic but mildly flammable. Always work in a well-ventilated area and avoid sparks.
⚙️ 9. System Startup & Performance Testing
Once everything was connected, I flipped the breaker and powered the unit for the first time.
Here’s what I checked:
-
Cooling mode performance: Supply air should be 15–20°F cooler than return air.
-
Compressor sound: Should be smooth and steady.
-
Refrigerant pressure: 115–130 psi (low side), 400–430 psi (high side).
-
Drainage: Ensure condensate flows freely through the hose.
After 20 minutes, the temperature in my living room dropped noticeably, and the system ran whisper-quiet.
Mike’s Tip: Record your baseline readings (pressure, temperature, amperage). This helps troubleshoot future issues and verify efficiency.
🧾 10. Post-Installation Checks & First Week of Operation
After installation, I spent a week monitoring performance. Here’s my checklist:
-
✅ No refrigerant smell or oil residue at fittings
-
✅ Condensate drain clear and drip-free
-
✅ Airflow consistent in all rooms
-
✅ No vibration noise from the condenser
I also checked the thermostat’s temperature accuracy and made small airflow adjustments to balance rooms.
🧽 11. Maintenance Schedule After Installation
Keeping your system efficient means sticking to a simple maintenance plan:
🗓️ Monthly
-
Clean or replace return filters
-
Wipe indoor unit grille and coils
🌸 Seasonal
-
Clear leaves and debris from the outdoor condenser
-
Rinse the coil with gentle water spray
-
Check insulation around refrigerant lines
🔧 Annually
-
Schedule professional servicing for pressure checks, coil cleaning, and electrical inspection.
🔗 Reference: ASHRAE – HVAC Maintenance Guidelines
🧠 12. What I Learned From the Process
After spending a few weekends on this project, I took away several lessons that every homeowner should know:
-
Plan the airflow route early. I initially ran my line set too close to a stud, which caused insulation crimping.
-
Use nitrogen for leak testing — it’s the most reliable method.
-
Torque accuracy matters. Over-tightening can damage flares; under-tightening can cause leaks.
-
Vacuum thoroughly. Even 10 minutes more vacuum time makes a big difference in long-term reliability.
“Installing my R-32 system gave me a whole new appreciation for how precision and patience affect comfort and efficiency.”
⚠️ 13. DIY vs. Professional Help
While I handled most of the physical setup, I called in a licensed HVAC technician for the final charge verification and performance test.
✅ Homeowner-Friendly Tasks
-
Mounting indoor/outdoor units
-
Running drain lines
-
Electrical prep and labeling
⚠️ Pro-Only Tasks
-
Refrigerant charging or recovery
-
Leak testing
-
Final pressure verification
If you’re not EPA-certified, always let a pro handle refrigerant-related steps. This not only ensures safety but also keeps your manufacturer warranty valid.
🔗 Reference: EPA – Section 608 Certification Requirements
🏁 14. Final Checklist: Ready for Comfort
Before you flip the switch for good, use this final homeowner checklist:
| ✅ | Task |
|---|---|
| ☐ | Outdoor unit level, clear, and anchored |
| ☐ | Indoor unit sealed and aligned |
| ☐ | Refrigerant lines vacuumed and leak-free |
| ☐ | Breaker and disconnect labeled |
| ☐ | Condensate drain flowing properly |
| ☐ | Thermostat programmed correctly |
Once all boxes are checked — congratulations, your R-32 system is officially ready for years of efficient, quiet comfort.
🧭 Conclusion: A Smarter, Cleaner Cooling Era
Installing my R-32 system taught me that today’s HVAC technology is not just about cooling — it’s about precision, safety, and sustainability.
Whether you do it yourself or partner with a professional, understanding each step gives you confidence and control over your home’s comfort.
R-32 systems may be the future, but with the right guidance, they’re absolutely achievable for today’s homeowners.
So if you’re planning your next upgrade, take a cue from my experience:
“Prepare well, follow the details, and your R-32 system will reward you with quiet, efficient comfort for years.”
In the next topic we will know more about: Comfort in Every Room: Air Handler Placement & Airflow Tips


