When I first bought my Hotpoint 15,000 BTU PTAC (Model AHES15D3XXA), I thought installation would be a quick weekend job. I’ve done plenty of DIY projects — but I quickly discovered there’s a lot more to setting up a PTAC than just sliding it into the wall and plugging it in.
This guide isn’t just about the technical steps. It’s about the real lessons I learned along the way: where I made mistakes, what worked well, and how you can save yourself time and money when installing a PTAC in your own space.
If you’re considering installing a Hotpoint (or any PTAC unit), this step-by-step guide will give you everything you need to know.
📦 Step 1: Unboxing & Preparing the Unit
The first thing I noticed when the PTAC arrived: it’s heavy. The 15,000 BTU unit weighs over 100 pounds. You’ll want a buddy to help move it around.
What’s in the box:
-
The PTAC unit itself.
-
Power cord (depending on plug kit ordered).
-
User manual and installation guide.
What’s not in the box:
-
Wall sleeve (required).
-
Exterior grille (strongly recommended).
-
Drain kit (optional but useful if your climate is humid).
-
Thermostat (optional — built-in controls work fine, but wall thermostats give more precision).
👉 Tip from me: Lay everything out before you start. I wasted 45 minutes digging through packaging just to realize the drain kit wasn’t included.
📖 Reference: Hotpoint PTAC installation details: GE Appliances PTAC Support
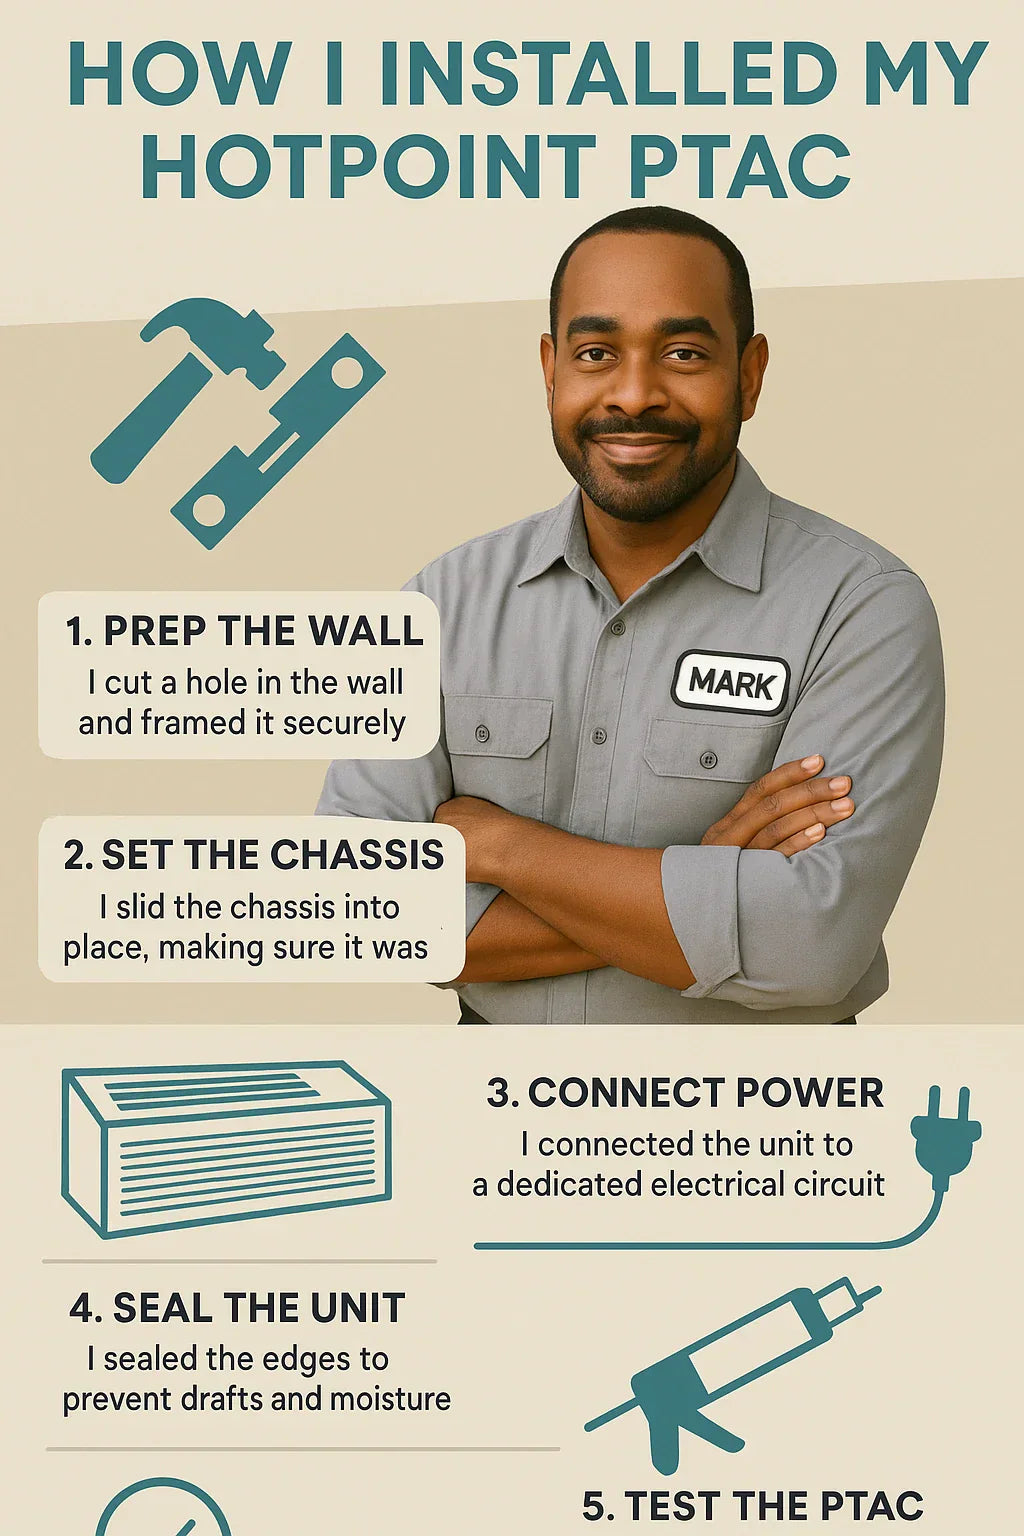
🧱 Step 2: Prepping the Wall Opening
PTACs use a standard wall opening: 42" wide × 16" high.
Since my basement already had an older unit, I thought the sleeve would be reusable. Wrong. The old sleeve had warped from years of condensation and wasn’t properly sealed. I ended up pulling it out.
Key checks before you begin:
-
Measure your wall cutout — confirm it’s the right size.
-
Make sure framing around the opening is solid.
-
Remove any old caulking or debris.
👉 Lesson learned: Don’t try to “make do” with an old sleeve. A new one costs about $150, and it makes all the difference in airflow and drainage.
📖 ENERGY STAR guidance on sealing and insulation: ENERGY STAR: Seal and Insulate
🔌 Step 3: Electrical Setup
This step is where most DIYers get tripped up. Unlike window ACs, PTACs require dedicated 208/230V circuits.
What I had to do:
-
Call an electrician to confirm my outlet was rated for 230V.
-
Choose the right amperage plug kit (my Hotpoint used a 20A).
-
Shut off power at the breaker before working near the wiring.
👉 My mistake: I thought I could just swap cords. But PTACs draw more power than standard appliances. If you don’t already have the right outlet, hire a pro.
📖 NEC safety guidelines for HVAC wiring: NFPA NEC Overview
🪟 Step 4: Installing the Wall Sleeve
The wall sleeve is basically the foundation of your PTAC setup. It supports the unit, manages drainage, and seals the wall opening.
Installation steps:
-
Slide the sleeve into the opening.
-
Ensure it slopes slightly outward (about ¼" drop) to let condensation drain.
-
Fasten it with screws into the wall framing.
-
Seal gaps around the sleeve with insulation or foam.
👉 My tip: I added foam insulation around the sleeve edges. It cut down on drafts and helped the unit run more efficiently.
📖 Sleeve installation details: Amana PTAC Sleeve Installation PDF
🌀 Step 5: Positioning the PTAC Unit
Now comes the heavy lifting. With the sleeve secure, it’s time to slide the unit in.
My experience:
-
I tried doing this alone — bad idea. The unit is bulky and easy to drop.
-
With two people, it slid into place smoothly.
-
Secure the unit with the included brackets/screws.
👉 Lesson learned: Don’t force it. If it’s not sliding in, check sleeve alignment. Mine was slightly tilted at first, and I had to re-level.
💧 Step 6: Drainage Setup
PTACs produce condensation. If you don’t manage it, you’ll get water leaks inside.
Options:
-
Internal evaporation: Uses heat from the condenser coil to evaporate most moisture.
-
External drain kit: Routes excess water outside — better for humid areas.
👉 My mistake: I skipped the drain kit initially. After the first humid day, I noticed water pooling inside. I had to reinstall with the kit.
📖 Drainage guide: ASHRAE HVAC Moisture Management
📲 Step 7: Thermostat & Controls
Hotpoint PTACs come with built-in electronic controls, but you can add a wired wall thermostat.
My setup:
-
Started with built-in controls.
-
Later upgraded to a wall thermostat for better accuracy.
👉 Advice: Start simple. If you’re happy with the built-in controls, you may not need to spend extra.
📖 Thermostat compatibility info: Energy.gov Smart Thermostats Guide
✅ Step 8: Testing the Unit
Before sealing everything up, test both cooling and heating.
My test checklist:
-
Run cooling for 20 minutes — check airflow and temperature drop.
-
Run heating for 10 minutes — confirm electric heat works.
-
Inspect for drips near the sleeve.
-
Listen for unusual rattles or hums.
👉 My first test showed a slight vibration noise. I hadn’t tightened the mounting screws enough. Quick fix.
🧹 Step 9: Sealing & Finishing Touches
With testing done, it’s time to weatherproof and finish.
Steps I took:
-
Caulked around the sleeve with exterior-grade sealant.
-
Installed the outdoor grille.
-
Cleaned up leftover insulation and foam.
👉 Trick: I used weatherproof silicone caulk — it keeps bugs and drafts out.
📖 Caulking techniques: EPA Weatherization Guide
🛠️ Troubleshooting Common Installation Issues
Here are some problems I ran into — and how I fixed them:
-
Unit won’t power on → Check outlet voltage and breaker.
-
Leaking water → Recheck sleeve slope and drain kit.
-
Excess noise → Confirm unit is level and screws are tight.
-
Weak airflow → Clean filters and ensure no blockage at grille.
👉 Biggest lesson: 90% of problems come from installation mistakes, not the PTAC itself.
💲 Cost Breakdown: DIY vs. Pro Installation
Here’s what I spent:
-
Hotpoint PTAC 15,000 BTU: $999
-
Wall sleeve: $160
-
Exterior grille: $80
-
Drain kit: $50
-
Foam/caulk/insulation: $40
-
Electrician (outlet check/install): $200
Total DIY cost: $1,529
Pro installation quote I got: $1,950–$2,200 (including labor).
👉 By doing it myself, I saved about $450–$600.
🎯 Final Thoughts: What Mark Learned
Installing my Hotpoint PTAC wasn’t as “plug-and-play” as I expected. But by the end of the project, I gained three big lessons:
-
Double-check measurements — your sleeve and wall opening have to be exact.
-
Don’t skip drainage — leaks are the #1 PTAC complaint, and they’re preventable.
-
Hire a pro for electrical — it’s worth the peace of mind.
Most importantly: the satisfaction of cooling and heating my basement suite with a system I installed myself was priceless.
If you’re willing to put in the work, you can absolutely DIY this — just learn from my mistakes and take your time.
In the next topic we will know more about: Do PTAC Units Like Hotpoint Qualify for Rebates or Tax Credits in 2025?


