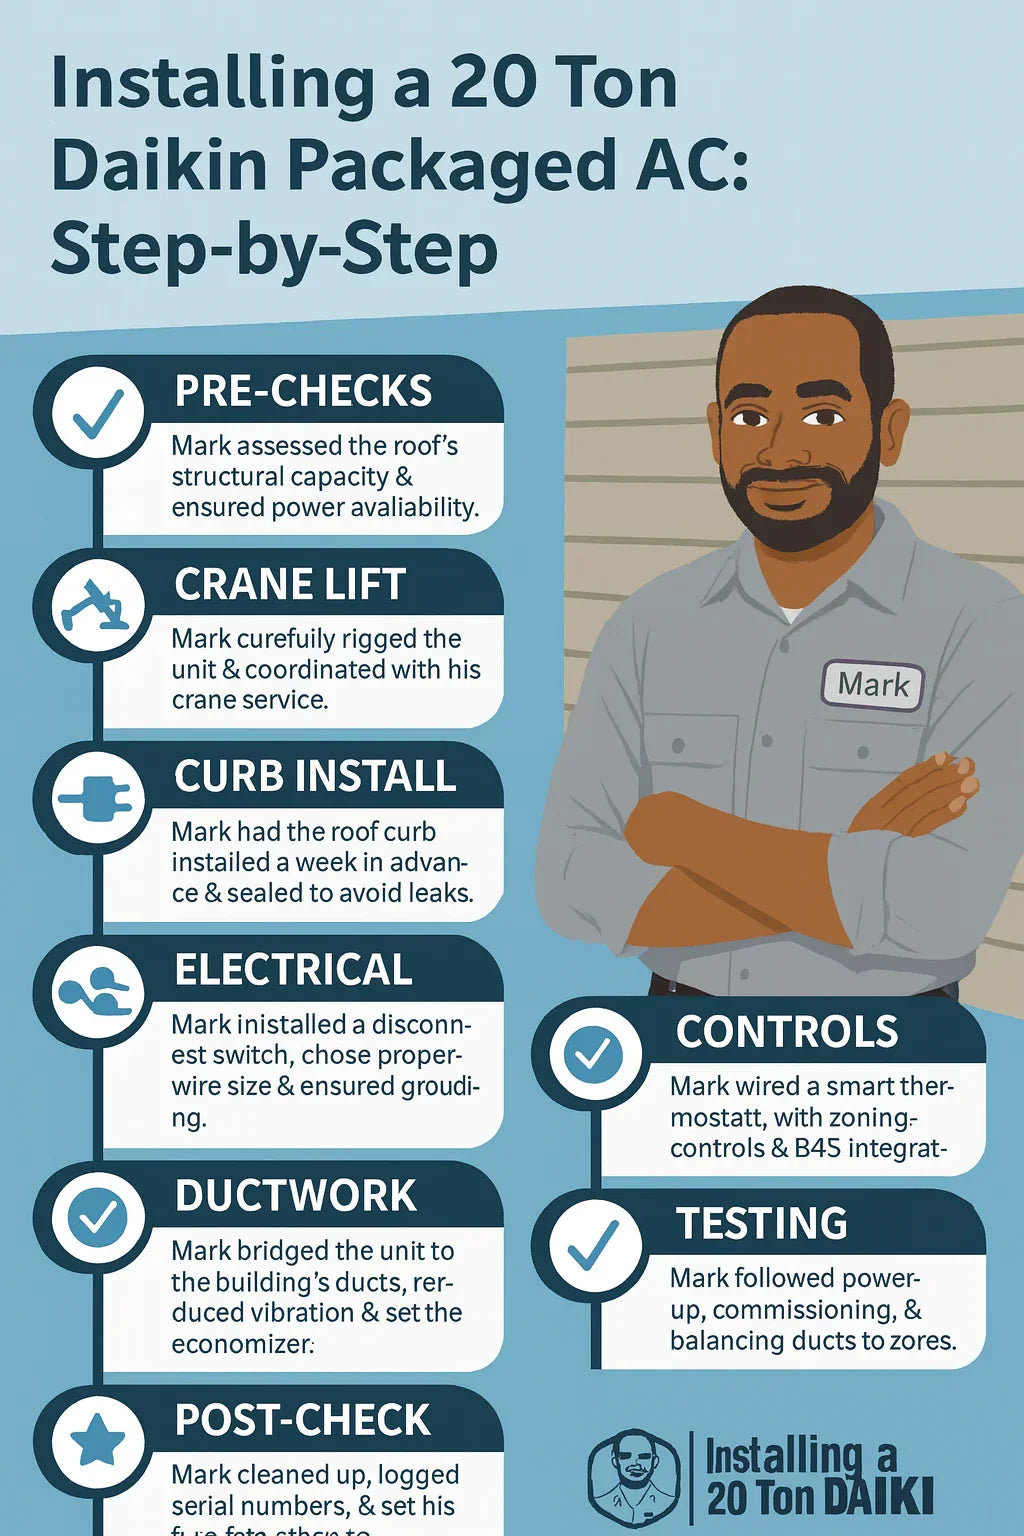
When I first decided to upgrade my building’s HVAC, I knew it wasn’t going to be as simple as swapping out a home AC. Commercial systems—especially a 20 ton Daikin packaged unit—are a whole different beast. From crane lifts to electrical service upgrades, I learned a lot during this project. This guide walks through the full process of installing a 20 ton commercial AC system, step by step, so you know what to expect before taking the plunge.
🏢 Why I Chose the Daikin 20 Ton 14.2 IEER2 System
Before we get into the “how,” let’s talk about the “why.”
-
Size & Capacity: At 20 tons (240,000 BTUs), this Daikin model is designed for light commercial spaces like retail, offices, and small warehouses.
-
Efficiency: It carries a 14.2 IEER2 rating, which meets 2023–2025 Department of Energy standards for rooftop and packaged units (DOE efficiency standards).
-
Reliability: Daikin has a strong reputation for durability, which mattered since downtime costs me money.
-
Packaged Design: Everything is self-contained in one rooftop unit, which simplified ductwork and installation.
📐 Pre-Installation Planning: Site, Space & Power
1. Roof Structural Assessment
The first surprise? This unit weighs over 2,000 lbs. Before ordering, I had to bring in a structural engineer to confirm my roof could handle the load. They checked:
-
Beam spacing and reinforcement
-
Roof curb compatibility
-
Load distribution points
👉 If you skip this step, you could be looking at sagging roofs or denied building permits.
2. Clearances & Placement
Daikin specifies minimum service clearances (usually 36–48 inches on all service sides). You’ll want enough space for:
-
Opening panels
-
Filter changes
-
Coil cleaning access
Daikin’s commercial installation manuals are essential references.
3. Power Availability
This model runs on 460V, 3-phase, 60Hz. That meant checking:
-
My building’s existing electrical service
-
Transformer size
-
Breaker panel space
I had to work with my utility provider to confirm capacity. If your building only has single-phase service, you’ll need costly upgrades.
🧰 Tools, Equipment & Team Needed
No way around it—this is not a one-person job. Here’s what we needed:
-
Crane service (for rooftop placement)
-
Forklift or dolly (to move on the ground)
-
Licensed electricians (for high-voltage connections)
-
HVAC techs (for duct and controls)
-
Sheet metal crew (to fabricate and install transitions)
-
Safety gear: harnesses, PPE, lockout/tagout kits
👉 OSHA has strict guidelines for commercial HVAC installation safety.
🏗️ Delivery, Rigging & Crane Lift
When the Daikin unit arrived on a flatbed, it looked massive—almost the size of a car.
-
Rigging Prep: We attached lifting lugs and spreader bars to avoid damaging the panels.
-
Crane Coordination: Scheduled early morning before traffic. The lift required street permits.
-
Setting on the Roof Curb: The curb had been installed a week earlier, sealed, and flashed for waterproofing.
Mark’s tip: Don’t skimp on the curb sealant—water leaks through the roof are expensive headaches.
🔌 Electrical & Power Requirements
This was one of the trickiest parts.
-
Disconnect Switch: Installed within sight of the unit as required by NEC code.
-
Conduit & Wire Size: Based on Daikin’s amp draw charts. For a 20-ton, it required heavy-gauge copper wiring.
-
Breaker Sizing: Coordinated with my electrician to meet both unit specs and building code.
-
Grounding: Proper grounding is critical to protect sensitive control boards.
Lesson learned: Always have an electrical permit pulled before starting. Inspectors will check.
🌬️ Ductwork, Airflow & Economizer Setup
This Daikin system connected directly to my building’s supply and return ductwork.
Duct Transitioning
-
Fabricated sheet metal to match the unit’s supply/return openings.
-
Installed flexible connectors to reduce vibration.
-
Ensured insulation was sealed to avoid energy loss.
Economizer Setup
Many 20-ton units come with an optional economizer for free cooling. Mine did.
-
Adjusted dampers for minimum outside air (ASHRAE 62.1 compliance: ventilation standards).
-
Tested actuator motor and sensors.
🧑🔧 Controls, Thermostats & Integration
This was where the system met the smart controls I wanted.
-
Installed a programmable commercial thermostat with zoning.
-
Integrated with my building automation system (BAS).
-
Wired sensors for supply air temp and outdoor air temp.
Mark’s note: If you have multiple tenants or zones, zoning dampers are worth every penny.
✅ Testing, Balancing & Commissioning
After all hookups were complete, the commissioning process began.
-
Leak Check: Pressurized refrigerant circuit and duct system.
-
Power-Up Sequence: Verified voltage and phase rotation.
-
Airflow Balancing: Used an anemometer to balance CFM to each zone.
-
Functional Testing: Tested cooling stages, economizer, and fan speeds.
Commissioning took about half a day but was critical for efficiency and warranty validation.
🧽 Post-Install Cleanup & First Maintenance Steps
The last steps were surprisingly important:
-
Removed construction debris from ducts.
-
Logged system serial numbers for warranty.
-
Scheduled first filter change after 30 days (construction dust clogs filters fast).
-
Signed up for a quarterly maintenance plan.
For more info, Daikin recommends following their commercial maintenance guidelines.
💡 Lessons Learned: My Personal Takeaways
After going through the installation, here are my biggest lessons:
-
Plan early. Structural and electrical assessments take weeks.
-
Budget realistically. Crane costs, permits, and electrical upgrades add up.
-
Hire pros. This isn’t a DIY job—too many code and safety factors.
-
Document everything. From load calcs to permit numbers, paperwork saves headaches.
-
Schedule downtime. The building was without AC for a full day—coordinate with tenants or staff.
In the next topic we will know more about: How Much Does a 20 Ton Commercial AC Cost? Equipment, Labor & Long-Term Savings


