1. 🎯 Why Understanding Mode Switching Matters
For homeowners like you, Mike, switching between Heating and Cooling mode is more than a temperature change—it’s about comfort, efficiency, and system longevity. Being precise ensures:
-
Energy efficiency: Only run the compressor when needed—avoid overlap between heating and cooling
-
Comfort control: Maintain exact temperature without whiplash
-
System health: Prevent the “short-cycling” issues that can damage compressors and reduce life
-
Troubleshooting clarity: Easier to diagnose when you know exactly what mode the system is in
Switching modes cleanly is the difference between smooth comfort and inefficient system wear.
2. 🧭 MRCOOL Remote Basics & Display Icons
Each zone has a wireless remote that displays:
-
FAN: Circulating air only
-
DRY: Dehumidification mode
-
COOL: Louvers & compressor for cooling
-
HEAT: Reverse-cycle heat mode
-
AUTO: System selects the mode based on temperature range
-
TEMP: Desired temperature
-
FAN SPEED: Low/Med/High/Auto
-
SWING: Louver sweep
-
CLOCK: Displaying time/schedule functions
Understanding these icons keeps you in control and avoids accidental mode overlaps.
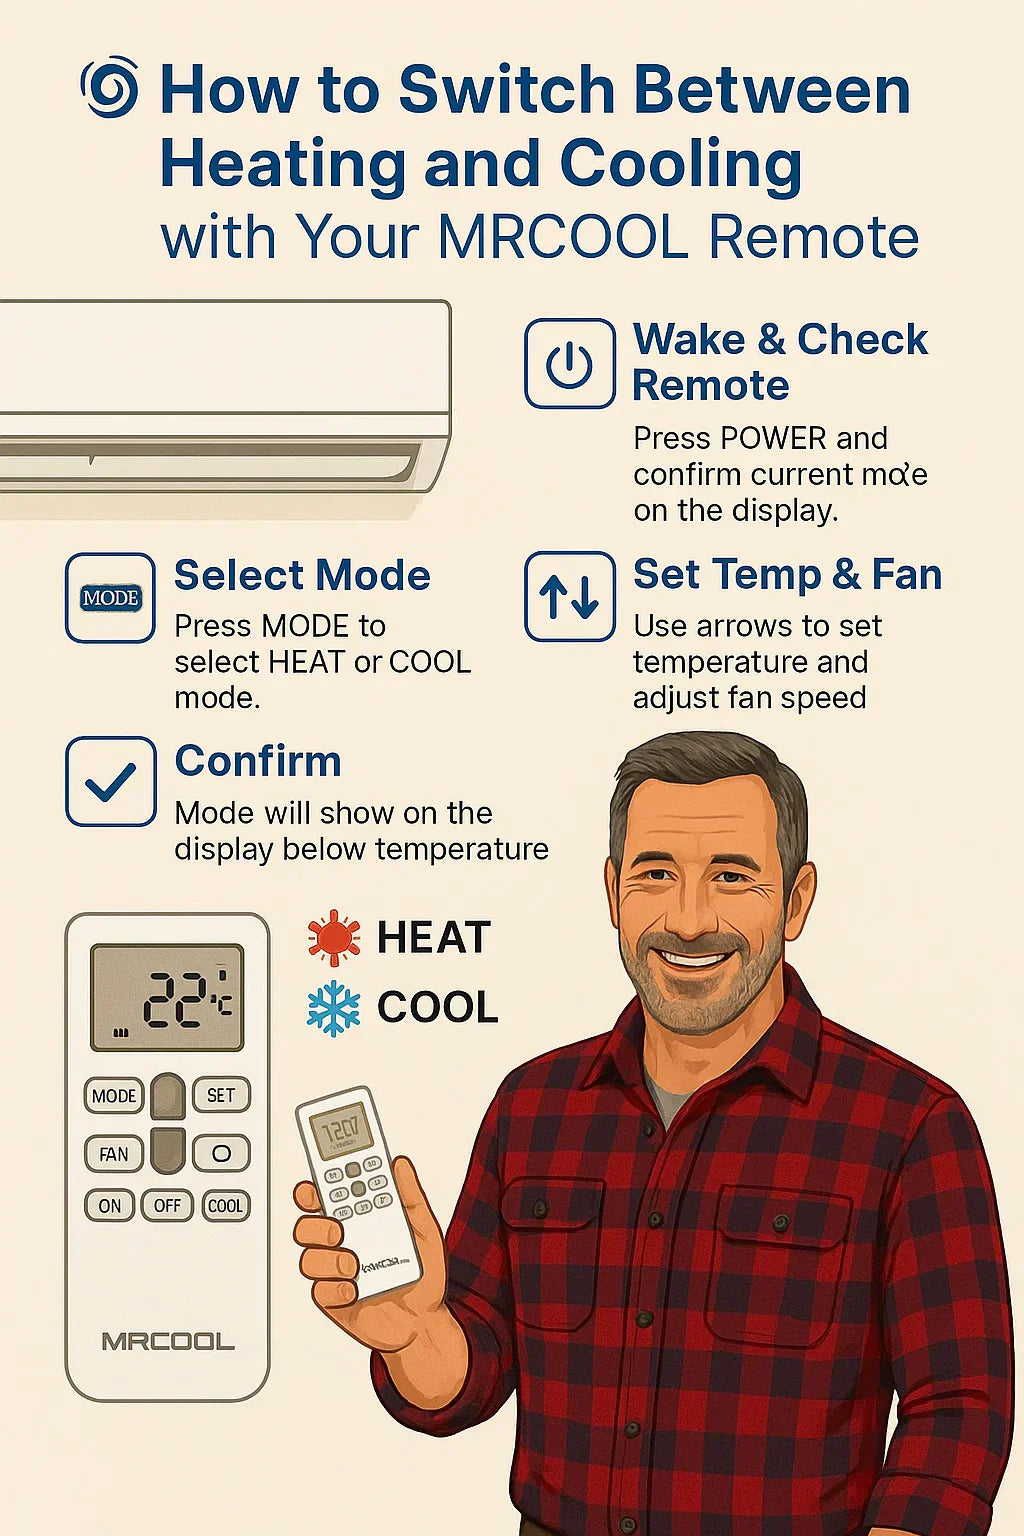
3. 🔄 Step-by-Step Mode Switching
A. Wake and Check Remote
-
Press POWER
-
Confirm current mode via icon illumination
B. Select Mode
-
Press MODE until desired icon is highlighted
C. Set Temperature & Fan
-
Use Up/Down arrows to set comfort range
-
Adjust Fan & Swing to personal preference
D. Confirm
-
Info displays together—e.g., COOL • 22 °C • AUTO FAN
-
A background beep confirms the signal
-
Zone responds within ~30 seconds
Repeat individually for each zone you want to alter, adjusting for personal comfort needs.
4. ⚠️ Handling the “--” Double Dash Error
The “– –” icon appears when zones are in conflicting modes (one cooling, one heating). It’s a safety pause. Here’s how to handle it:
A. Identify Conflict
-
Zone A: COOL icon displayed
-
Zone B: HEAT icon displayed
-
Outdoor unit flashes “– –”
B. Correct Both Zones
-
Set both zones to COOL or HEAT
-
Or use AUTO mode—system will coordinate
-
or use STOP/OFF and restart both units in same mode
C. Reset
-
Power off at remote/outdoor disconnect
-
Wait 1–2 minutes and restart
-
New mode settings should take effect—no “– –” displayed
This ensures both indoor units operate in harmony for the outdoor unit.
5. 📱 Switching Modes via SmartHVAC App
Want to stay smart and touch-screen? Here's how:
A. Pairing Setup
-
Install SmartHVAC in thermostat slot
-
Follow prompts with QR code or manual entry
B. Change Mode
-
Open the zone in the app
-
Tap current mode icon
-
Select COOL, HEAT, AUTO, DRY, or FAN
Commands are sent via Wi-Fi and confirmed on the app. The indoor unit's remote mirrors these changes.
6. 🌡️ Seasonal Best Practices
A. Fall → Winter (Heating)
-
Switch to HEAT before outside temps drop to 55 °F
-
Raise heat temp gradually over 5–7 days
B. Winter → Spring (Cooling)
-
Start with AUTO, then switch to COOL at 70–75 °F
-
Gradually lower to 68 °F–70 °F
C. Off-Seasons
-
Switch to FAN mode for mild weather
-
Consider a monthly DRY cycle to prevent odors/mold
-
Power unit off if unused for >2 weeks
These steps prepare your system for efficiency and durability.
7. 🛠️ Common Mode-Switching Issues & Solutions
| Problem | Cause | Fix |
|---|---|---|
| No response after mode change | Remote batteries low / unit signal timeout | Replace batteries; wait 1–2 minutes; move closer during command |
| Zone stuck in old mode | Receive timeout or double dash conflict | Power cycle remote, indoor unit, and outdoor disconnect |
| App won’t update mode | Smart module offline or app glitching | Reboot home Wi-Fi or force-close app; check firmware/update status |
| Heating/cooling overlap | AUTO confusion or temperature miscalibration | Set both zones to COOL/HEAT; avoid AUTO during trend changes |
| Zone fan active after off | Cooling/heating standby animation | Use FAN mode to clear standby cycle; shutdown fully afterward |
8. 📚 Verified External References
9. ✅ Quick Reference Guide
-
To change mode: POWER → MODE → arrows → FAN/SWING
-
To avoid “– –”: Ensure both zones share same mode
-
Use app for: scheduling, remote access, and voice control
-
Seasonal tips: AUTO in transition; COOL/HEAT when temps stabilize
-
Troubleshoot issues: Power cycle, battery checks, signal clarity
Final Take
Switching modes may seem straightforward, but the MRCOOL 2-Zone system offers precision and nuance—especially in multi-zone setups. By mastering the remote and app, avoiding common errors like the “double dash,” and adopting seasonal best practices, you're keeping your system efficient and your home comfortable year-round.
In the next topic we will read more about: Electrical Requirements for the 27,000 BTU 2-Zone MRCOOL System


