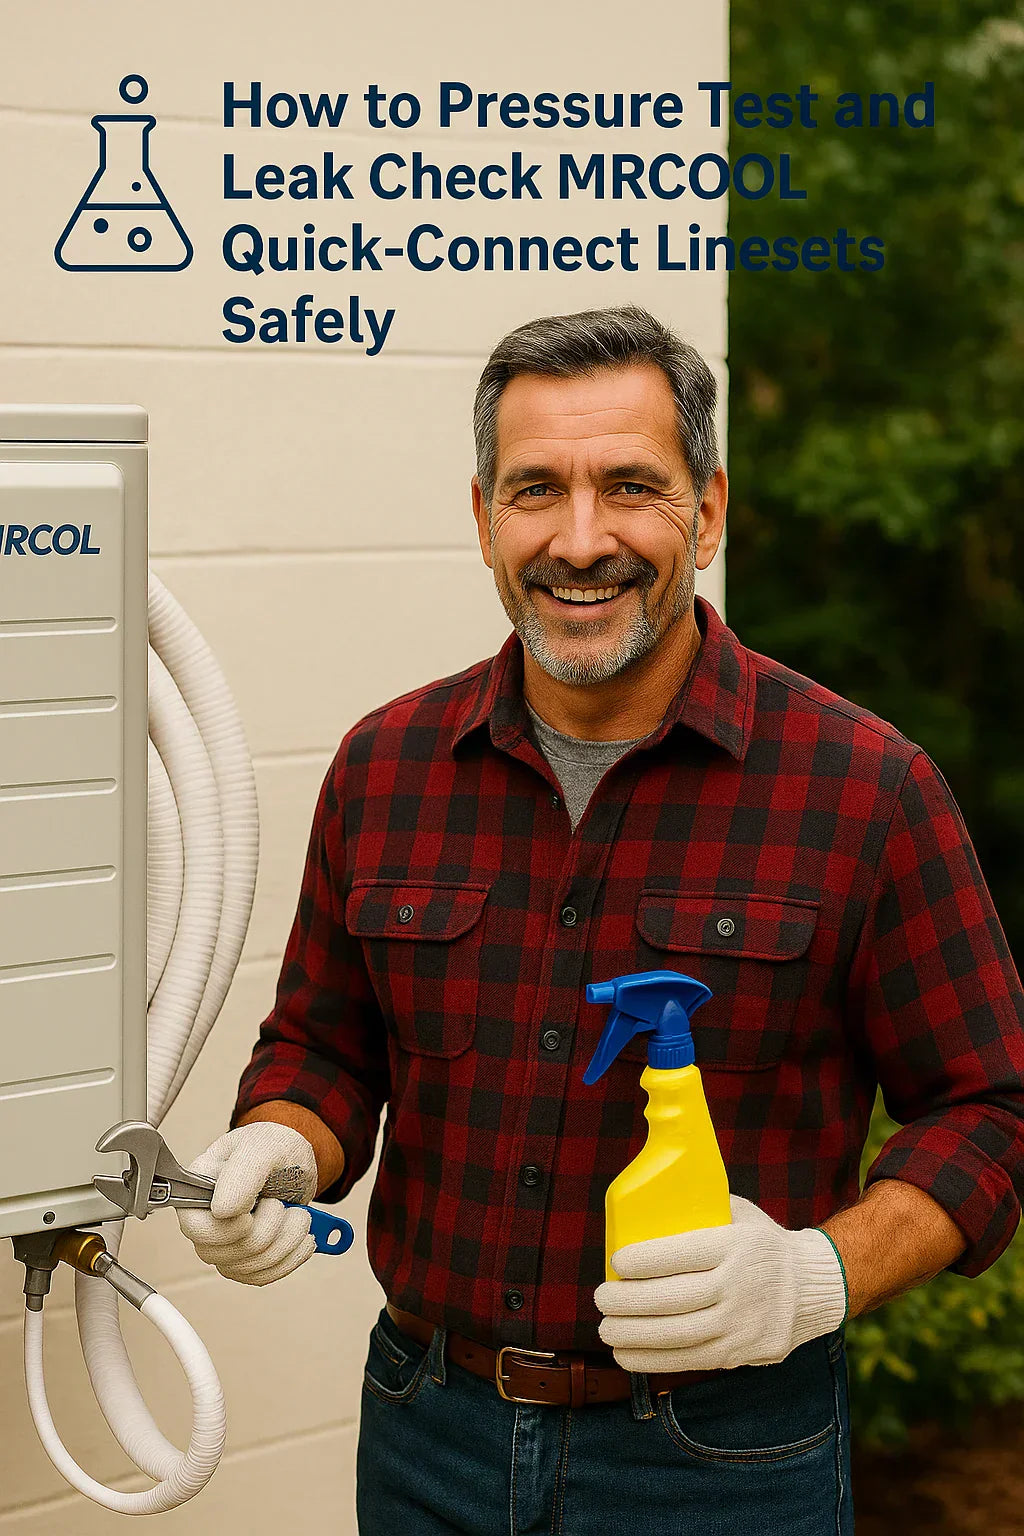
👷♂️ 1. Why Mike Needs This Guide
As a practical DIY homeowner, Mike needs to ensure his MRCOOL lineset installation is solid—no leaks, no lost refrigerant, no voided warranty. Pressure testing and leak checks are essential steps that instill confidence and efficiency in your system.
🌬️ 2. Understanding Quick‑Connect Lineset Design
MRCOOL Quick‑Connect pre‑charged linesets are built with spring-loaded valve fittings. They’re designed for homeowner-friendly installs—no vacuum pumps, no crimping, no refrigerant handling required. These connectors seal internally when tightened, keeping the system closed until ready to use (MRCOOL DIY Mini Split FAQ and Troubleshooting Guide)
Yet, even the best designs benefit from testing—to prove a tight seal and avoid long-term issues.
⚠️ 3. Why Testing Matters
-
Catch Leaks Immediately – Even a tiny imperfection at connection points can let refrigerant escape, harming efficiency and risking failure.
-
Protect Warranty – MRCOOL requires testing and inspection before system startup
-
Environmental & Legal Compliance – Refrigerant leakage is regulated. Preventing it means avoiding liability.
-
Long-term Peace of Mind – A leak-free system ensures consistent comfort and avoids costly mid-season repairs.
(Finding Leaks in an HVAC System: Methods and Techniques)
🧰 4. Tools and Materials You’ll Need
-
Two open-ended or adjustable wrenches (match connector sizes)
-
Leak detection tools: soapy water or commercial leak spray
-
Nitrogen (optional) with regulator—but NOT mandatory for DIY Quick‑Connect
-
Soap sprayer or brush for bubble tests
-
Safety gear: gloves & goggles
DIY® Multi-Zone Do-It-Yourself Ductless Mini-Split Heat Pump A/C
Running a Refrigerant Line Set Uphill
🔩 5. Step‑By‑Step Installation & Leak Check
Step A: Quick‑Connect Connection
-
Ensure fittings are clean / dry—debris may cause leaks
-
Remove caps, fit connectors by hand, then tighten per MRCOOL specs: snug + slight turn past finger tight—use wrench #2 only
Step B: Open Service Valves
-
Remove valve caps and use 5 mm Allen key to open each valve. Expect a slight hiss as refrigerant enters the line
-
Reattach valve caps securely.
Step C: Leak Testing (Soap Bubble Technique)
-
Spray soapy water on each Quick‑Connect fitting and connection points (indoor and outdoor)
-
Wait 5+ minutes—bubbles indicate a leak.
-
If bubbles appear, tighten fitting a quarter turn until they stop. Confirm no further bubbling.
DIY® E Star™ Series 3RD GEN Do-It-Yourself Ductless Mini-Split Heat Pump A/C
🧪 6. Advanced Pressure Testing (Optional)
While not needed for Quick‑Connect sets, Mike may choose further assurance:
-
Use dry nitrogen to pressure test—start low (50 psi), gradually increase to ~400–500 psi. Hold for 30 mins–2 hours, spray soap and inspect
-
Keep below maximum rated line pressure; MRCOOL fittings are tested to 400 psi for 8 hours and passed pull tests over 500 lb force
🚩 7. Common Mistakes & How to Avoid Them
| Mistake | Risk | Solution |
|---|---|---|
| Dirty fittings | Poor seal → leaks | Clean fittings before connecting |
| Over-tightening | Damaged threads, stress | Tighten to spec only—snug + slight turn |
| Missing soap test | Leaks go unnoticed | Always bubble-check after opening valves |
| Hiding fittings | No access for future tests | Keep Quick‑Connects visible and accessible |
| Skipping nitrogen test (in difficult installs) | Small leaks undetected | Optional for verification, but soap test OK for most DIY installs |
🔄 8. Real-World Leak Check Scenarios
Replacing a lineset
Dan from Ingrams says: if only the lines leaked (e.g. shipping damage), you can swap them out and connect a new one. If refrigerant level dropped, you may need a pro to check charge
Multi-zone systems
Check each zone’s fitting. Foamy bubbles at any zone mean a failed seal—tighten and recheck .
Using nitrogen
HVAC tech "roughneck" suggests holding lines at 400–500 psi for 1–2 hours with soap check—effective but optional
🛡️ 9. What To Do If You Find a Leak
-
Tighten the leaking-fitting with wrench #2 by ~1/8 turn.
-
Wait 5 minutes and re-test with bubbles.
-
If still leaking, disconnect and inspect for damaged O-rings or threads
-
Replace O-rings or connectors as needed, retest.
-
In severe leaks or lost refrigerant, contact HVAC certified technician to recharge and inspect.
🔧 10. When to Call a Pro
-
Repeated leaks at connection points
-
Lost refrigerant beyond lineset volume
-
Need for vacuuming and refrigerant recharge (beyond DIY limits)
-
Multi-zone complex diagnostics after pressure test
-
Error codes or frost on lines after starting system
💡 11. Maintenance & Rechecks
-
Initial check: Immediately after connection
-
Re-inspect: 24 hrs later to confirm
-
Seasonal checks: Every 6 months, or after extreme weather
-
Visible fittings: Keep them free of dirt and insulation debris for easy testing
✅ 13. Final Takeaways for Mike
-
Always soap-test your Quick‑Connect fittings after opening valves
-
Use proper tightening torque—snug + slight turn, not overtight
-
Consider nitrogen testing for longer or uphill lines, but not essential
-
Fix leaks early with tightening or parts replacement
-
Keep fittings visible for future checks and easy maintenance
-
Document the process—your diligence protects comfort, efficiency, and warranty
Mike, pressure testing and leak checking are the final steps that separate a good DIY install from a great one. Follow these steps, and your MRCOOL system will hum reliably for years.
In the next topic we will read more about: What to Do If You Suspect a Leak in Your MRCOOL Lineset


