A through-the-wall air conditioner is one of the most durable, reliable, and space-efficient ways to cool — and sometimes heat — a room. But even the best unit will lose efficiency and lifespan if neglected.
Regular maintenance is the difference between:
-
Paying more each month in energy bills vs. saving 10–20% through efficiency.
-
A unit lasting 5–7 years vs. 10–15 years or longer.
-
Fresh, cool air vs. weak airflow, leaks, and costly repairs.
This comprehensive guide covers:
-
How to clean and maintain filters
-
The right way to care for coils
-
How to keep drainage systems clear
-
Seasonal maintenance for peak performance year-round
-
Tools, supplies, and when to call a pro
Each section is designed to be actionable and includes trusted external resources for deeper reference.
⚙️ 2. Understanding Your Through-the-Wall AC System
Before you clean, you need to understand what you’re cleaning and why.
A standard unit includes:
-
Evaporator Coil (indoor): Absorbs heat from inside air.
-
Condenser Coil (outdoor): Releases heat outdoors.
-
Filter: Prevents dust and debris from reaching the evaporator coil.
-
Fan(s): Circulate air over coils for heat exchange.
-
Drain Pan & Line: Remove condensation.
-
Control System: Thermostat, sensors, and electronics.
Why maintenance matters:
When dust, pollen, pet hair, and other particles build up on filters and coils, the system’s airflow is restricted. This forces the compressor and fan motors to work harder, consuming more energy and wearing out faster.
Reference: The U.S. Department of Energy notes that dirty coils can reduce energy efficiency by 30% or more
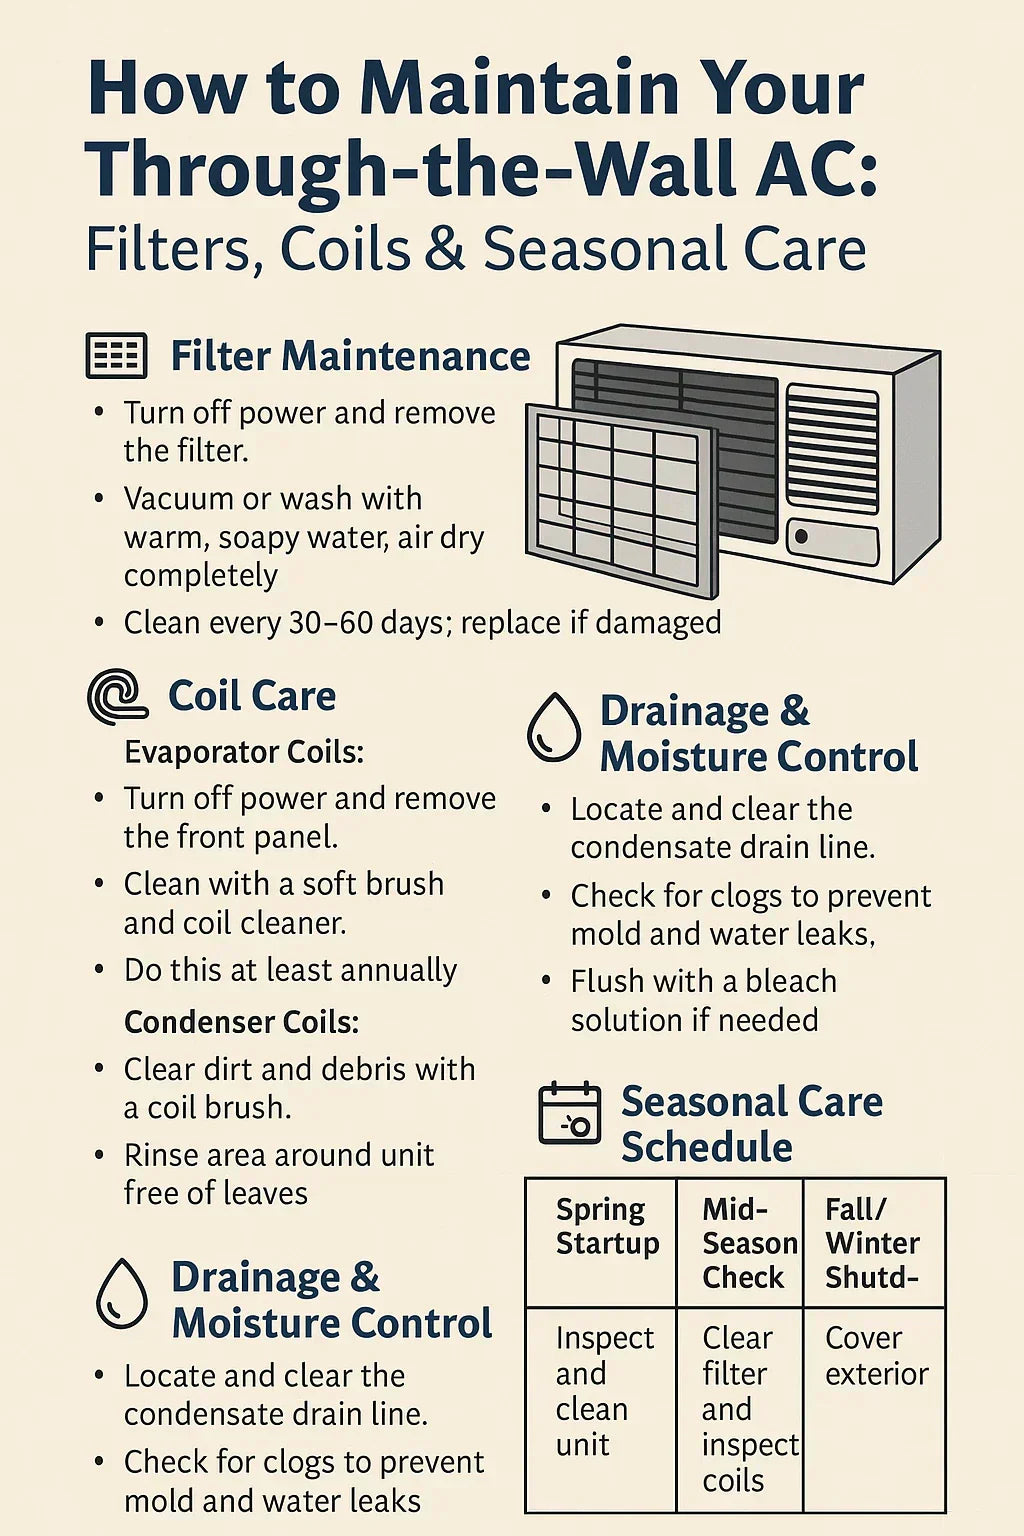
🪶 3. Filter Maintenance
Why Filters Matter
The filter is your first defense against:
-
Dust
-
Pollen
-
Pet dander
-
Airborne debris
A clean filter:
-
Improves airflow
-
Keeps indoor air cleaner
-
Protects the evaporator coil from dirt buildup
A dirty filter can cause:
-
Reduced cooling power
-
Ice buildup on coils
-
Higher energy consumption (up to 15% more, per ENERGY STAR)
How Often to Clean or Replace
-
Heavy use: Every 30–45 days
-
Moderate use: Every 60 days
-
Homes with pets or high dust: Every 2–3 weeks
Step-by-Step Cleaning Guide
-
Turn off the unit for safety.
-
Remove the filter (check your manual — typically behind the front grille).
-
Vacuum with a soft brush attachment.
-
Wash reusable filters with warm, soapy water.
-
Rinse thoroughly and air dry completely.
-
Reinstall before turning the unit back on.
💡 Pro Tip: Keep a spare filter on hand so you can rotate and clean without downtime.
When to Replace
Replace the filter if:
-
It’s torn or warped
-
It remains discolored after cleaning
-
The frame is damaged
Replacement frequency depends on usage, but generally every 6–12 months for reusable filters and every 1–3 months for disposable ones.
❄️ 4. Coil Care
Both coils are critical for heat transfer and must be clean to operate efficiently.
Evaporator Coils (Indoor)
Role: Absorb heat from your indoor air.
Issue: Dirt insulates the coil, making it harder to absorb heat.
Result: Reduced cooling, higher energy use, and possible freezing.
Cleaning Steps:
-
Shut off power.
-
Remove the front panel and filter.
-
Use a soft brush to gently loosen dirt.
-
Spray with a no-rinse coil cleaner
-
Allow to dry before reassembling.
Condenser Coils (Outdoor)
Role: Release heat to the outside air.
Issue: Outdoor coils collect dirt, leaves, grass, and lint.
Result: Higher pressure, more strain on the compressor.
Cleaning Steps:
-
Turn off power.
-
Access the outdoor coil via the exterior wall or by sliding the unit from its sleeve.
-
Brush off loose debris.
-
Spray with coil cleaner and rinse gently (low pressure).
-
Straighten bent fins with a fin comb
How Often to Clean
At least once a year, ideally before the cooling season starts. In dusty or coastal areas, clean every 3–6 months.
💧 5. Drainage & Moisture Control
Why It Matters
Through-the-wall AC units dehumidify as they cool. This moisture drips into a drain pan and exits via a drain hole or tube. A clogged drain can cause:
-
Indoor water leaks
-
Mold/mildew growth
-
Musty odors
How to Check & Clear the Drain
-
Locate the drain hole/tube (often on the outdoor side).
-
Use a pipe cleaner or small wire to remove blockages.
-
Flush with a water + mild bleach solution (about 1:10 ratio).
-
Ensure the drain pan is angled slightly toward the hole for proper flow.
Reference: The EPA’s mold prevention guide emphasizes controlling moisture to avoid mold hazards.
📆 6. Seasonal Care Schedule
Spring Startup
-
Remove any winter cover.
-
Clean filters, coils, and drains.
-
Test thermostat and controls.
-
Inspect for unusual noise or vibration.
Mid-Season Check
-
Clean or replace filter.
-
Inspect coils for debris.
-
Verify proper drainage.
Fall Shutdown (Cooling-Only Models)
-
Unplug the unit.
-
Clean filters, coils, and drain.
-
Cover the outdoor section to block cold air and pests.
Winter Use (Heating Models)
-
Clean filters monthly.
-
Keep the outdoor coil free from snow/ice.
-
Inspect drainage monthly in humid winter climates.
🛠️ 7. Troubleshooting Common Issues
| Problem | Likely Cause | Fix |
|---|---|---|
| Weak airflow | Dirty filter or coils | Clean filter/coils |
| Water leaking inside | Clogged drain | Clear drain hole/tube |
| Musty smell | Mold in filter or drain pan | Clean with bleach solution |
| Frequent cycling | Dirty coils or wrong BTU rating | Clean coils / confirm sizing |
| Ice on coils | Dirty filter, low refrigerant, or airflow block | Clean filter / call pro |
Reference: The U.S. DOE Troubleshooting Guide has more solutions for common AC issues.
🧰 8. Tools & Supplies for DIY Maintenance
-
Soft brush
-
Vacuum with brush attachment
-
Mild detergent
-
No-rinse coil cleaner
-
Fin comb
-
Pipe cleaner or compressed air
-
Gloves & safety glasses
💡 Savvy Tip: Create a labeled storage bin with all your AC maintenance supplies for quick seasonal upkeep.
👷 9. When to Call a Professional
Some tasks are better left to an HVAC technician, including:
-
Refrigerant level checks
-
Electrical inspections
-
Deep coil cleaning without removing the unit from the wall
-
Motor or fan replacement
Annual professional maintenance ($75–$150) can prevent costly repairs and keep your warranty valid.
🗓️ 10. Savvy’s Maintenance Calendar
Monthly (during use):
-
Check and clean/replace filter
-
Listen for unusual sounds
Spring:
-
Full system clean (filters, coils, drain)
-
Test cooling before first hot day
Mid-Summer:
-
Filter cleaning and coil inspection
Fall:
-
End-of-season clean
-
Cover exterior (if cooling-only)
Winter (heating models):
-
Monthly filter clean
-
Keep outdoor coil clear
📌 11. Final Recommendations
-
Consistency saves money — cleaning a filter is cheaper than replacing a compressor.
-
Document your maintenance — a simple log helps track performance and warranty compliance.
-
Don’t wait until it breaks — preventive care is always cheaper than emergency repair.
In the Next topic we will read more about: Troubleshooting a Through-the-Wall AC: What to Do If It’s Not Cooling (or Heating)


