Hi friends—Samantha here again!
When I first started shopping for my MRCOOL Advantage 18,000 BTU Mini Split, I thought the price I saw online was the full story. “Oh, it’s just $1,400, great—I can budget for that,” I told myself.
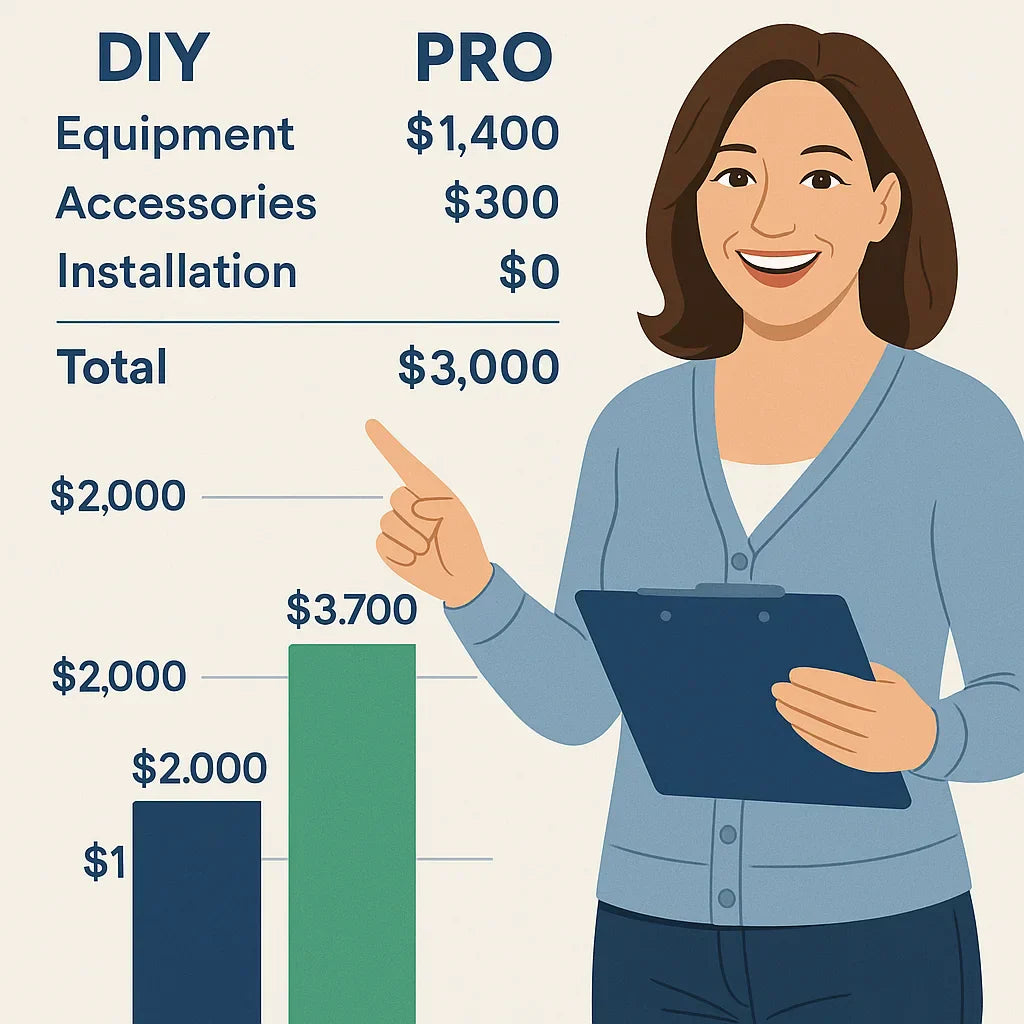
But then I realized: you also need line sets, mounting brackets, electrical work, drain lines, maybe permits, and of course installation if you don’t go DIY. Suddenly, that $1,400 turned into closer to $2,500 (since I did some parts myself) or $3,500+ if you hire a professional from start to finish.
This guide is my attempt to save you the same budgeting surprises I went through. We’ll break down every cost—equipment, accessories, labor, and even hidden extras—so you know what you’ll really spend on an 18k mini split.
🏷️ Equipment Costs: The Base Unit
📦 Price Range for MRCOOL Advantage 18k
-
Typical price: $1,000–$1,800 depending on seller, SEER2 rating, and whether it’s on sale.
-
The MRCOOL Advantage line is usually a little cheaper than the DIY series, since it often requires professional installation for warranty compliance.
📌 Reference: MRCOOL Official Product Pages
🔍 How It Compares to Other MRCOOL Lines
-
MRCOOL DIY Series: $1,500–$2,200, but includes pre-charged line sets and easier DIY install.
-
MRCOOL Olympus Series: $2,000+, designed for multi-zone installs and higher-end performance.
-
Advantage Series: The best value if you’re willing to piece together accessories and possibly bring in a pro.
🛠 What’s Included in the Box?
-
Indoor wall-mounted air handler
-
Outdoor condenser
-
Remote control
-
Basic installation kit (may or may not include line set)
💡 Samantha’s Note: Always check whether your package includes the line set—this is where many homeowners get caught off guard.
🛠️ Accessories You’ll Need
Here’s the “extras” list that often sneaks up on first-time buyers.
📦 Line Sets
-
Carry refrigerant between the indoor and outdoor units.
-
Standard length: 16–25 feet, but can be extended if needed.
-
Cost: $120–$250 depending on size.
📌 Reference: Energy Star – Ductless Heat Pumps
🪜 Mounting & Support
-
Condenser pad: Plastic or concrete slab to keep the outdoor unit level ($50–$150).
-
Wall brackets: Alternative to pad, especially useful for snowy climates ($100–$200).
-
Line set covers: For aesthetics and protection ($60–$150).
⚡ Electrical Setup
-
Disconnect box: Required by code near the outdoor unit ($20–$50).
-
Breaker & wiring: $100–$300 depending on length and panel type.
-
Panel upgrade (if needed): $300–$1,000+ if your electrical service is outdated.
📌 Reference: Carrier – Mini Split Installation Insights
💧 Drainage Accessories
-
Standard PVC tubing: $20–$40.
-
Condensate pump: If gravity drain isn’t possible ($100–$200).
👷 Installation Costs
Now let’s talk labor.
🛠 DIY Installation
-
Labor cost: $0 (your time and effort).
-
Extra tools:
-
Vacuum pump + gauge set ($150–$300 to buy, $50–$75 to rent).
-
Torque wrench ($50–$100).
-
Miscellaneous tools (drill, hole saw, level).
-
💡 The Advantage Series is not fully DIY like the MRCOOL DIY line—it usually requires a professional to pull a vacuum for warranty protection. But you can still save thousands by doing prep work yourself (mounting indoor/outdoor units, drilling wall penetration, running lines).
👷 Professional Installation
According to HomeAdvisor:
-
Single-zone 18k install: $1,500–$3,500
-
Multi-zone setups: $3,500–$7,500 depending on zones and complexity
-
Electrical upgrades: $200–$1,000 extra if panel work is needed
📌 Regional pricing matters—urban installs run higher.
🌟 Why Some Homeowners Choose Pros
-
Warranty protection
-
Faster install (1 day vs 2–3 days DIY)
-
Correct refrigerant handling and compliance with EPA rules
📌 Reference: Energy.gov – Ductless Systems
📊 Budget Scenarios
Let’s build some real-world examples.
DIY Route
-
Equipment: $1,400
-
Accessories: $400
-
Tools: $200 (rented)
-
Electrician for breaker hookup: $250
-
HVAC tech for vacuum pull: $200
Total: ~$2,250
💡 Samantha’s Example: This was basically my route. I did the mounting/drilling, then paid pros for the risky steps.
Full Professional Install
-
Equipment: $1,400
-
Accessories: $400
-
Labor: $2,000
Total: ~$3,800
High-End Case
-
Equipment: $1,600 (higher SEER2)
-
Accessories: $600 (extra long line set, covers, pad, pump)
-
Electrical upgrade: $600
-
Pro install labor: $2,500
Total: ~$5,300
🏡 Hidden/Unexpected Costs
These often get overlooked:
-
Permits & inspections: $50–$300 depending on local codes.
-
Wall repair/painting: If drilling holes or rerouting lines.
-
Maintenance plan: Annual checkups cost $150–$300
-
Future repairs: Refrigerant leaks, sensors, or drain issues.
💡 Samantha’s Real Example
When I bought my MRCOOL Advantage 18k:
-
Base unit: $1,500
-
Accessories: $350 (line set, pad, covers)
-
Electrician: $250
-
HVAC tech: $200
-
Miscellaneous tools: already owned
👉 My total came to $2,300. That was about $1,500 cheaper than if I had hired a contractor for everything.
The best part? I felt proud every time I looked at the neatly mounted indoor unit, knowing I did most of it myself!
🏁 Conclusion
So—how much does an 18,000 BTU mini split really cost?
-
DIY-friendly route: ~$2,000–$2,500
-
Full pro install: ~$3,500–$4,000+
-
High-end cases: $5,000+ if electrical upgrades and extras are needed
💡 My advice? Budget 25–30% extra beyond the unit’s sticker price for accessories and installation. That way, you won’t be caught off guard.
👉 Samantha’s Tip: “Think of your budget in layers: equipment, accessories, install, and hidden extras. Plan for them all, and you’ll enjoy your MRCOOL Advantage without the stress of surprise costs.”
In the next topic we will know more about: Cold Climate Performance: Does the MRCOOL Advantage Handle Winter Heating?


