By Samantha Reyes — Smart Shopper, Comfort Strategist, and the homeowner who learned the hard way that square footage doesn’t determine comfort… heat flow does.
When most homeowners ask what size HVAC system they need, they get the same generic answer:
“One ton for every 500–600 square feet.”
Or its cousins:
-
“A 3-ton should be plenty for your home.”
-
“We’ve always used this formula.”
-
“Square footage is all you need for sizing.”
But this rule is wrong.
Dangerously wrong.
It’s the reason so many systems:
-
short-cycle
-
run loud
-
overheat
-
leave rooms freezing or boiling
-
produce dust and humidity
-
consume far more energy than necessary
-
wear out years earlier than expected
After years of obsessively studying system performance, I finally realized the truth:
Square footage has almost nothing to do with comfort.
Heat flow — how heat moves through your home — is what really matters.
This is the method I now use to design airflow, choose equipment, and diagnose system failures long before installation.
Let me show you the approach that changed everything for me.
Goodman 3.5 Ton 15.2 SEER2 System
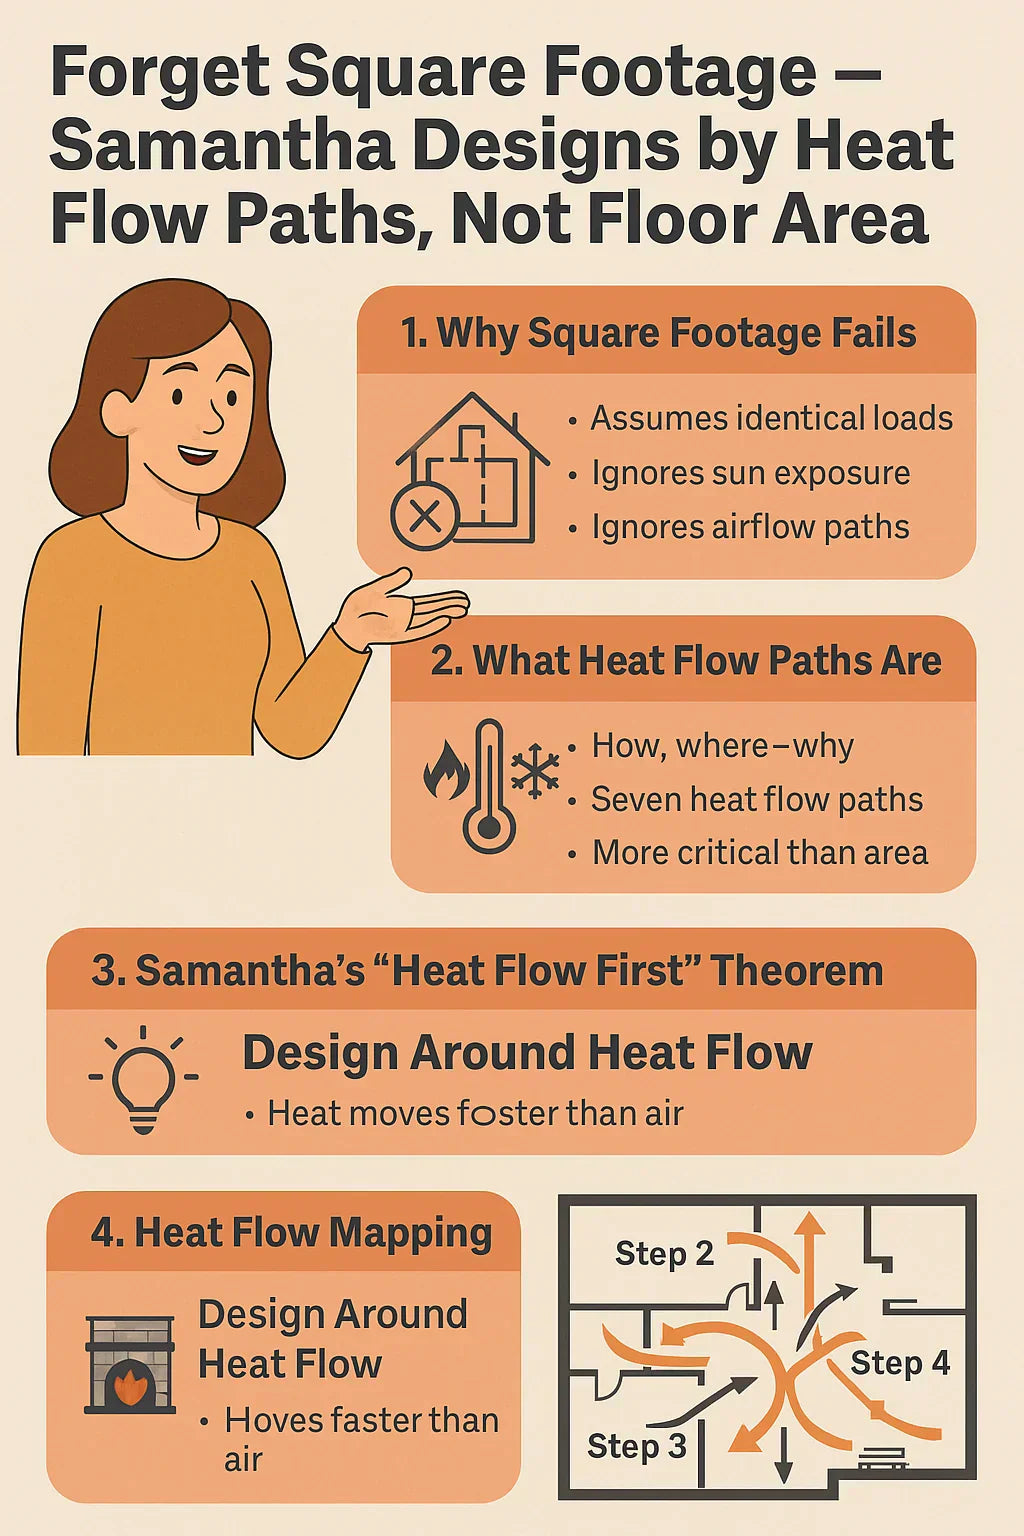
🌡️ 1. Why Square Footage Fails: The Science Your Installer Didn’t Tell You
📌 Icon: ❌ House Floorplan
Square footage is a static number.
Heat flow is a dynamic process.
The U.S. Department of Energy confirms that HVAC loads depend on dozens of variables — not just size:
🔗 https://www.energy.gov/energysaver/energy-saver
Here’s why square footage sizing collapses:
1. It assumes all rooms have identical loads.
They don’t. Ever.
2. It ignores direction and sun exposure.
A 200 sq. ft. west-facing room can need 3× the cooling of a 200 sq. ft. north-facing one.
3. It ignores insulation quality.
A poorly insulated attic can double cooling load.
4. It ignores airflow paths.
Airflow is what delivers heating/cooling — not the equipment capacity.
5. It ignores occupant behavior.
Cooking, showering, electronics, pets — all change the heat flow.
6. It ignores building pressure.
Pressurized or depressurized rooms alter thermal load dramatically.
7. It ignores ceiling height.
A 400 sq. ft. room with 20-foot ceilings can behave like a 1,000 sq. ft. space.
Square footage is easy — but comfort is not.
🔀 2. What Heat Flow Paths Are — and Why They Matter More Than Area
📌 Icon: 🔥➡️❄️ Airflow Arrows
Heat flow pathways tell you how, where, and why heat enters, leaves, or moves around your home.
Heat doesn’t respect walls.
It doesn’t care about square footage.
It follows physics:
-
Hot → cold
-
High pressure → low pressure
-
Sunlight → mass surfaces
-
Moisture → cool areas
-
Air → openings or leaks
ASHRAE views heating and cooling loads as flow patterns — dynamic, time-dependent, directional behavior:
🔗 https://www.ashrae.org/technical-resources
The Seven Heat Flow Paths I Use:
-
Solar Flow Path – Sun-driven heat (windows, west walls)
-
Conduction Flow Path – Heat through materials (attics, insulation)
-
Infiltration Flow Path – Air leaks through envelope gaps
-
Internal Gain Flow Path – People, appliances, electronics
-
Distribution Flow Path – How ducts deliver air
-
Pressure Flow Path – How pressure moves air room-to-room
-
Stratification Flow Path – Vertical movement of heat
Once you map ALL these flows, you don’t need square footage at all.
You start designing by how heat behaves — not how big the house is.
🧭 3. Samantha’s “Heat Flow First” Theorem (My Entire Method in One Rule)
📌 Icon: 🧠 Lightbulb
Here’s the rule:
“Heat moves faster than air.
So if you design around air, you’ll always lose.
Design around heat flow — and air will follow.”
If your home loses heat rapidly through walls, ceiling, ducts, or pressure differentials, no amount of airflow will fix comfort.
You must understand where heat is coming from, where it's escaping, and how it migrates between rooms.
That’s what the next section explains.
📍 4. Heat Flow Mapping: The Technique I Use in Every Home
📌 Icon: 🗺️ Blueprint Map
Here’s how I plot heat flow paths — step by step.
Step 1 — Identify Heat Sources & Heat Sinks
A “heat source” adds warmth:
-
west-facing windows
-
cooking
-
attic conduction
-
electronics
-
occupants
-
garages
A “heat sink” absorbs heat:
-
crawlspaces
-
basement slabs
-
shaded rooms
-
north walls
Step 2 — Find Thermal Boundaries
Mark every boundary between:
-
conditioned → unconditioned space
-
insulated → uninsulated space
-
high load → low load rooms
Step 3 — Identify Airflow Restrictions
Look for:
-
door-closed rooms
-
dead-end hallways
-
long duct runs
-
undersized returns
-
pressure traps
ENERGY STAR shows return-air bottlenecks reduce performance dramatically
Step 4 — Trace Heat Flow Arrows
Draw arrows showing heat movement:
-
from attic → top floor
-
from garage → bonus room
-
from west wall → afternoon rooms
-
from kitchen → living area
-
from crawlspace → first floor
-
through unsealed duct systems
Step 5 — Match Airflow to Oppose Heat Flow
Air conditioning is simply the system opposing heat flow.
Cold air must attack heat where it enters, not where it ends up.
Example:
If your west wall loads + heat from the roof push hot air into a bonus room, delivering cold air to the opposite interior wall won’t work.
Step 6 — Size Equipment by Load Paths, Not Square Feet
Only after mapping load sources do you estimate:
-
CFM needed
-
Return placement
-
Coil size
-
Supply distribution
-
System tonnage
This is the only reliable method for high-performance homes.
📊 5. Real-World Example: 2,400 sq. ft. Home With a 4-Ton Recommendation (Incorrect)
📌 Icon: 🏡 Case Study
A contractor told my neighbor her home needed a 4-ton system “because of the square footage.”
When I mapped her heat flow:
Heat Gain Summary:
-
West-facing master bedroom: high solar load
-
Open-concept living room: air dilution
-
Bonus room above garage: conduction heat
-
Undersized return in hallway: high static pressure
-
Kitchen + living room connected: internal heat gains
-
Stairwell acting as a chimney: vertical heat movement
**My heat flow–based load result:
She only needed a 3-ton.**
But she needed:
-
two additional supply vents
-
one added return
-
rebalancing airflow
-
attic insulation correction
-
coil matched to humidity load
-
correct blower profile
Once this was done, her home became the most comfortable on the block.
The tonnage wasn’t the problem.
The heat flow was.
⚙️ 6. Samantha’s Heat Flow Corrections for Common Home Layouts
1️⃣ Open-Concept Layouts
📌 Icon: 🛋️ Large Living Room
Heat Flow Problem:
Air disperses; heat enters faster than cold air can spread.
Fixes:
-
Long-throw supply registers
-
Multiple supply points
-
Ceiling fans for vertical mixing
-
High-CFM blower profiles
-
Large central returns
-
Zoning or smart ventilation controls
2️⃣ Compartmental Homes
📌 Icon: 🚪 Doorways
Heat Flow Problem:
Rooms trap heat and pressure.
Fixes:
-
Transfer grilles
-
Jump ducts
-
Larger return paths
-
Low-velocity diffusers
-
Dedicated returns for bedroom clusters
EPA confirms pressure imbalance worsens air infiltration:
🔗 https://www.epa.gov/indoor-air-quality-iaq
3️⃣ Homes With Bonus Rooms Above Garages
📌 Icon: 🛠️ Bonus Room
Heat Flow Problem:
Heat flows upward from garage slab and sideways from attic.
Fixes:
-
Add extra supply
-
Increase duct size
-
Add return
-
Seal knee-wall cavities
-
Deep insulation upgrades
4️⃣ Two-Story Homes With Open Stairwells
📌 Icon: 🔽 Staircase Airflow
Heat Flow Problem:
Warm air rises and escapes upstairs; AC “falls” downstairs.
Fixes:
-
High-wall returns upstairs
-
Low-wall returns downstairs
-
Separate supply trunks
-
Smart blower modulation
5️⃣ Homes With South/West-Facing Windows
📌 Icon: 🌞 Sun on Windows
Heat Flow Problem:
Direct solar gain spikes afternoon temperatures.
Fixes:
-
Increase CFM to hot rooms
-
Use long-throw registers
-
Add reflective window film
-
Add shading or awnings
-
Use higher-SEER2 coil with better latent removal
DOE confirms window orientation is a major load factor:
🔗 https://www.energy.gov/energysaver/energy-saver
📐 7. Samantha’s Heat Flow Formulas (Simple Versions Homeowners Can Use)
Here are the quick formulas I use to estimate airflow needs:
1. Solar Load Factor (SLF):
SLF = Window Area × Solar Intensity × Shading Coefficient
More solar load = more afternoon CFM.
2. Room Load Multiplier (RLM):
Based on room type:
-
Bonus room: × 1.75
-
Open-concept living room: × 1.5
-
Standard bedroom: × 1.0
-
Basement: × 0.7
3. Airflow Requirement (CFM):
CFM = Room BTU Load ÷ 30
Higher load = more CFM.
4. Return Air Ratio (RAR):
RAR = Total CFM ÷ Number of Returns
Ideal:
-
350–450 CFM per return
-
1 return per 300–400 sq. ft. (heat-flow dependent)
ENERGY STAR recommends balanced supply and return flows
5. Pressure Relief Factor (PRF):
PRF = Door Undercut + Return Proximity + Air Path Length
Goal:
PRF ≥ 1.0 = Stable Pressure
PRF < 1.0 = Pressure imbalance likely
🎯 8. The Big Myth: “Bigger Systems Fix Heat Problems”
No.
They make them worse.
Oversizing causes:
-
short cycling
-
poor dehumidification
-
pressure spikes
-
uncomfortable air blasts
-
humidity retention
-
equipment strain
-
uneven temperatures
Heat flow mismatch is why high-SEER2 units fail in poorly designed homes.
The equipment is rarely the problem.
The heat flow design is.
🌬️ Final Thoughts — Your Home Doesn’t Need More Cooling. It Needs Better Heat Flow Control.
After all these years, I’ve learned this truth:
Square footage is a number.
Heat flow is a story.
And your HVAC system is trying to keep up with that story every minute of the day.
Once you design around heat flow:
-
your rooms balance
-
your energy bills drop
-
your humidity stabilizes
-
your system runs quieter
-
your comfort becomes consistent
-
your equipment lasts longer
That is the power of looking beyond square footage.
Buy this on Amazon at: https://amzn.to/43doyfq
In the next topic we will know more about: Smart Sensors, Smart Design: How This $20 Amazon Tool Reveals Your Home’s Real Airflow Weak Points


