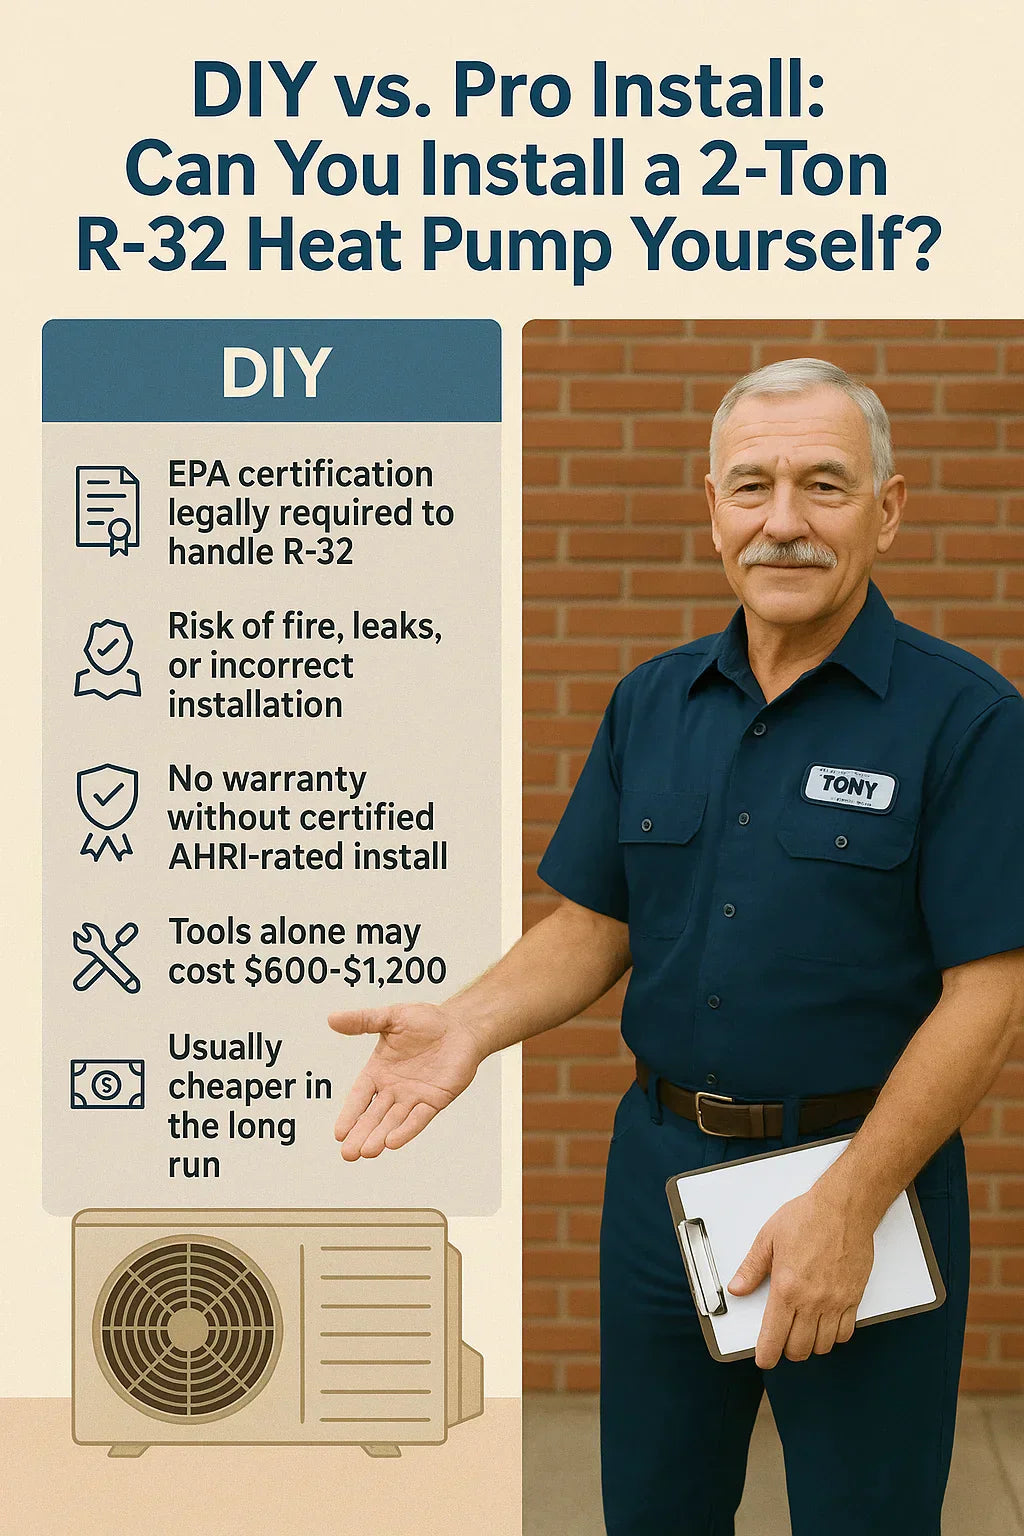
1. Why This Question Matters in 2025
The HVAC world changed in 2025: R‑32 refrigerant is now the industry standard, replacing R‑410A. That’s good news for efficiency and the environment, but it also raises a serious question for homeowners:
👉 Can you install a 2‑ton R‑32 heat pump yourself, or should you leave it to the pros?
On the surface, DIY looks tempting. Labor costs are rising, and the internet is full of tutorials. But with R‑32’s A2L (mildly flammable) classification, plus stricter EPA rules, it’s not as simple as bolting in a unit.
Tony’s goal here: show you the real math, risks, and rewards so you can make the smart choice for your home and budget.
🛠️ 2. What Installing a 2‑Ton R‑32 Heat Pump Involves
A heat pump installation isn’t like swapping a dishwasher. It’s a complex project that requires:
Step‑by‑Step Overview
-
Site preparation – choosing a stable outdoor location, pouring a pad, or mounting a wall bracket.
-
Outdoor unit placement – ensuring clearance for airflow and noise control.
-
Indoor air handler/coil setup – matching the tonnage and SEER2 rating.
-
Refrigerant line installation – running copper line sets between the units.
-
Vacuuming & pressure testing – removing air/moisture and confirming leak‑free lines.
-
Electrical connections – dedicated 240V circuit, breakers, and disconnect box.
-
Thermostat installation & programming – often requires a smart thermostat.
-
Final charge & commissioning – confirming proper refrigerant levels, airflow, and system performance.
⚖️ 3. The Legal Side: What the EPA Requires
EPA Section 608 Certification
Handling refrigerants in the U.S. requires EPA Section 608 certification Without it, buying or handling R‑32 is illegal.
R‑32 Flammability & Safety Codes
-
Classified as A2L (mildly flammable) under ASHRAE.
-
Installers must follow UL 60335‑2‑40 safety standards.
-
Local building departments may require proof of installer certification for permits.
Insurance & Liability Risks
If you install your own R‑32 system and something goes wrong:
-
Your homeowner’s insurance may deny claims.
-
Manufacturer warranties become void.
-
You may face fines if refrigerant leaks are detected.
Tony’s tip: Legal compliance isn’t optional—it’s the foundation of a safe, efficient system.
🔧 4. Tools & Skills You’d Need for DIY
If you’re still considering DIY, here’s what you’d need:
Required Tools
-
Vacuum pump (to pull lines down to 500 microns)
-
Micron gauge (to verify vacuum)
-
Recovery machine (if removing old R‑410A)
-
A2L‑rated manifold gauges
-
Torque wrenches & flaring tools
-
Electronic leak detector
-
Refrigerant scale
-
Electrical tools: conduit benders, breakers, disconnects
Skills You Must Have
-
Ability to wire a dedicated 240V circuit safely
-
Comfort with brazing or flare fitting copper lines
-
Knowledge of refrigerant pressure charts
-
Familiarity with Manual J load sizing
🚧 5. Risks of DIY Installation
🔥 Safety Risks
-
R‑32 is mildly flammable—a leak during brazing or charging could ignite.
-
Improper ventilation can lead to indoor hazards.
⚡ Performance Risks
-
Undercharging or overcharging refrigerant reduces efficiency.
-
Leaks can destroy compressors, costing thousands to replace.
-
Incorrect line sizing leads to short cycling.
🛑 Financial Risks
-
No warranty coverage without certified install.
-
No rebates or tax credits if not AHRI‑matched and professionally installed.
-
Risk of redoing the work if inspections fail.
Tony’s advice: weigh the risks carefully—saving $2,000 upfront might cost you $8,000 later.
👷 6. The Case for Professional Installation
Certified Pros Provide:
-
EPA Section 608 compliance
-
Knowledge of A2L safety standards
-
AHRI‑matched installations (required for rebates)
-
Warranty validation from manufacturers
-
Correct Manual J sizing to prevent undersizing/oversizing
Added Value
-
Pros handle permits and inspections.
-
They carry insurance to cover accidents.
-
They ensure refrigerant recovery and disposal is legal.
Tony’s bottom line: a good installer doesn’t just connect pipes—they protect your comfort, safety, and wallet.
💰 7. Cost Comparison: DIY vs. Pro Install
| Factor | DIY Attempt | Pro Installation |
|---|---|---|
| Equipment | $4,000–$5,000 | $4,000–$5,500 |
| Tools & Supplies | $600–$1,200 | Included |
| Permits & Inspections | $200–$500 | $200–$500 |
| Labor | Your time (unpaid) | $1,500–$2,500 |
| Rebates/Tax Credits | Not eligible | Up to $2,000 |
| Warranty | Void | 5–10 years |
| Risk | High | Low |
| Total Net | $4,800–$6,700+ | $6,000–$7,500 → $4,500–$6,000 after rebates |
👉 Tony’s conclusion: after rebates, pro installs often cost less long‑term.
📉 8. When DIY Might Actually Work
There are limited cases where DIY makes sense:
-
Pre‑charged mini‑splits like MRCOOL that don’t require refrigerant handling.
-
Doing prep work yourself (site clearing, pouring pad) while hiring a pro for the technical install.
-
Installing accessories (smart thermostats, surge protectors) that don’t involve refrigerants.
But for a full 2‑ton R‑32 heat pump system, Tony strongly advises pro installation.
🏡 9. Tony’s Advice: How to Decide
✅ Go Pro If:
-
You want rebates and tax credits
-
You value a valid manufacturer’s warranty
-
You aren’t EPA‑certified
-
You don’t want to invest in $1,000 worth of tools
⚠️ Consider DIY Only If:
-
You’re EPA Section 608 certified
-
You already own the required tools
-
You’re comfortable accepting risks
-
You’re working with a pre‑charged DIY‑friendly kit
🏁 Final Thoughts
Tony’s bottom line:
-
A DIY install for a 2‑ton R‑32 heat pump is rarely the smart move.
-
Without certification, you risk safety hazards, legal penalties, and financial losses.
-
Pro installation ensures compliance, warranty, and rebate eligibility—often making it cheaper in the long run.
👉 If you want to save money, do prep work yourself and let a certified pro handle refrigerant, wiring, and commissioning.
That way, you balance your budget with peace of mind.
In the next topic we will know more about: How to Maintain Your R-32 Heat Pump for Long-Term Performance.


