Installing your own ductless mini split system might sound like a job for a licensed HVAC tech—but the MRCOOL DIY 5th Generation 48,000 BTU 4-Zone Heat Pump System is built to change that.
Thanks to its Quick Connect® precharged line sets and user-friendly design, it’s one of the few systems that truly empowers homeowners to DIY a multi-zone HVAC install—no vacuum pump required.
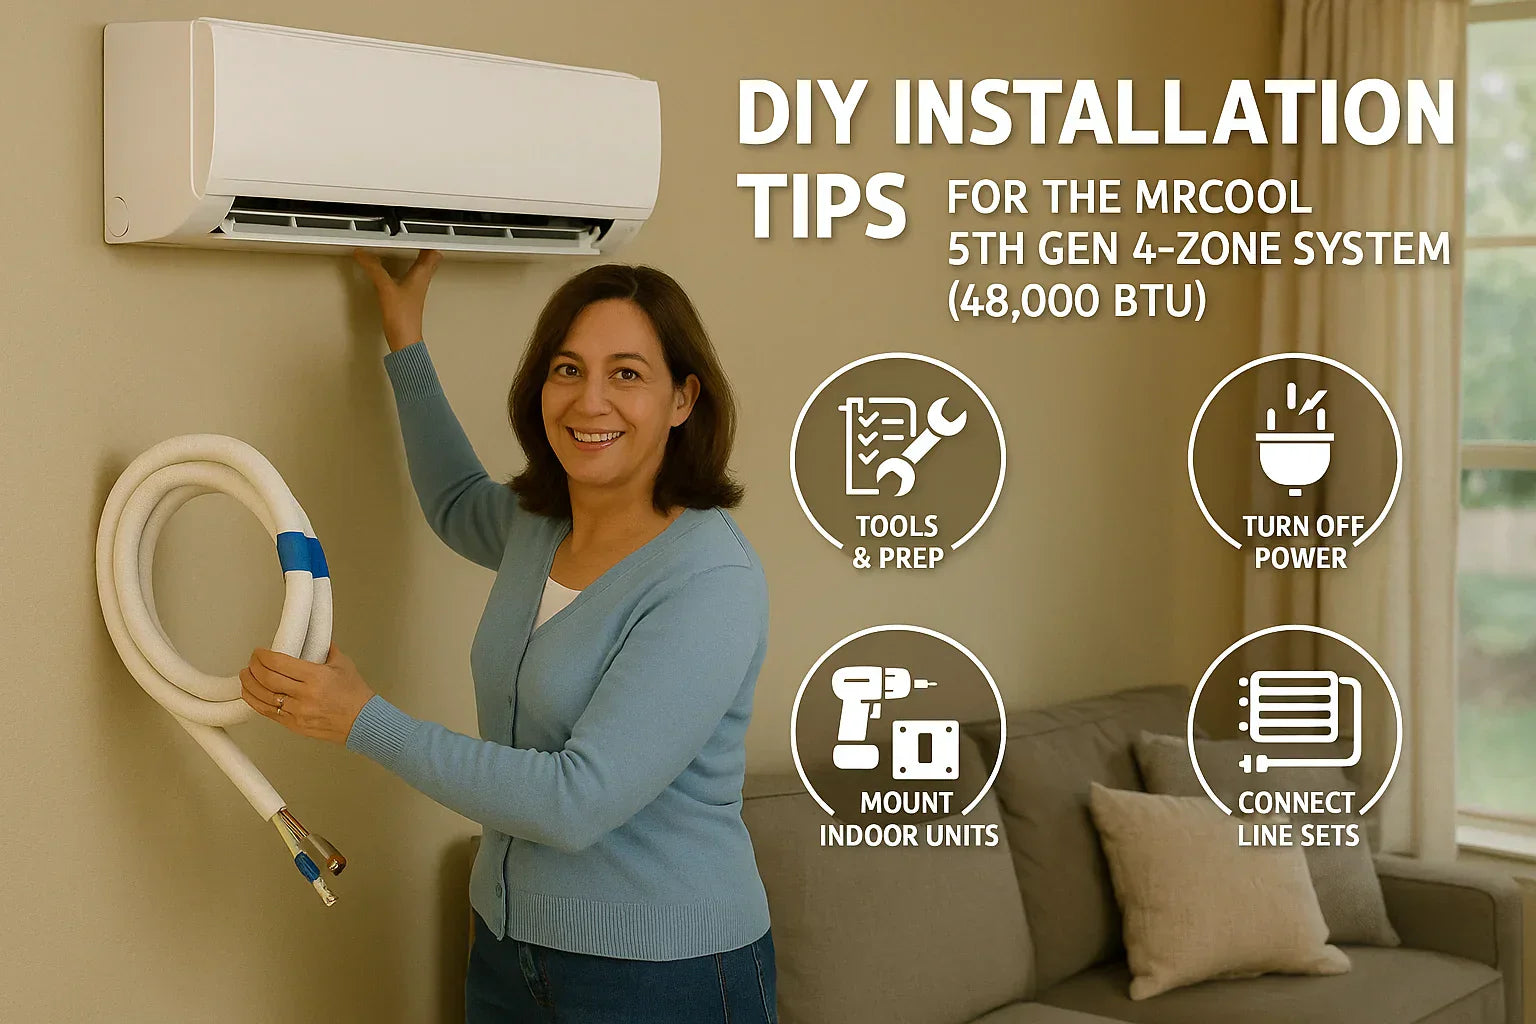
This guide will walk you through the complete installation process from tools and prep to mounting, wiring, and startup.
📦 What’s in the Box?
Each MRCOOL 5th Gen 48k 4-Zone Kit typically includes:
-
3 × 9k BTU air handlers (indoor units)
-
1 × 18k BTU air handler
-
1 × 48k BTU condenser (outdoor unit)
-
Precharged line sets for each zone
-
Wall mounting brackets
-
Remote controls (one per indoor unit)
-
SmartHVAC WiFi modules
-
Drain lines
-
Instruction manuals
🔗 MRCOOL DIY Installation guide
🧰 Tools You’ll Need
While MRCOOL simplifies installation, you still need some essential tools:
-
Cordless drill + drill bits
-
Stud finder
-
Level
-
Hole saw (2.5–3.5 inches)
-
Adjustable wrench
-
Torque wrench (for flare nuts)
-
Screwdrivers
-
Caulk/sealant (for line set hole)
-
Zip ties or clamps (for securing drain lines)
-
Safety gear: gloves, eye protection
Optional but helpful:
-
Line set cover kit
-
Condensate pump (for long drain runs or upward routes)
🔗 MRCOOL DIY Installation Guide PDF
🔌 Electrical Requirements
⚡ Outdoor Unit Power
-
Requires 240V, 60Hz dedicated circuit
-
40A breaker is standard for 48k condenser
-
Must be wired to disconnect box near the unit
⚡ Indoor Units
-
Powered via communication cables from outdoor unit
-
Each zone has its own cable and Quick Connect line
-
No separate indoor electrical circuit needed
📘 Refer to National Electrical Code (NEC) for circuit breaker sizing and GFCI rules.
IMPORTANT: Always shut off power at the breaker before working with wiring.
📐 Step-by-Step Installation
🔲 STEP 1: Choose Mounting Locations
Indoor Units:
-
Mount 7–8 feet above floor
-
Leave at least 6” above the unit for airflow
-
Avoid placing directly above electronics or windows
-
Ensure line set has a clear path to outdoor wall
Outdoor Unit:
-
Place on level pad or bracket at least 6” off the ground
-
Keep 12–24” clearance on sides and rear
-
Avoid areas exposed to falling snow, leaves, or sprinkler spray
💡 Pro Tip: The outdoor unit should be as central as possible to your zones to minimize line set lengths.
🪛 STEP 2: Install Indoor Mounting Brackets
-
Use stud finder to locate wall studs
-
Attach mounting plate level and centered
-
Use wall anchors if studs aren't available
-
Mark the line set hole location with a template
📏 Standard line set hole size is 2.75"
🪚 STEP 3: Drill Line Set Hole
-
Drill a 2.5–3.5" hole through the wall at a slight downward angle
-
Insert plastic sleeve or weatherproof grommet
-
Pass line set, drain hose, and communication cable through the hole
Slope matters: This prevents water from backing up into the unit.
🧩 STEP 4: Connect Line Sets (Quick Connect®)
MRCOOL’s patented pre-charged lines are where the DIY magic happens.
-
Uncoil line set carefully
-
Remove caps from flare fittings
-
Connect to the indoor unit and torque to MRCOOL spec
-
Repeat for outdoor condenser connections
-
Confirm connections with a torque wrench (tighten to 11–33 ft-lbs depending on line size)
❄️ No vacuum pump, gauges, or refrigerant charging needed.
💦 STEP 5: Route the Drain Line
-
Must slope downward from air handler to outside
-
Secure with clamps or zip ties
-
Test by pouring water into condensate tray
💡 If slope isn’t possible (e.g., basement or attic), install a condensate pump.
🔗 How to Install a Mini Split Drain Line
📡 STEP 6: Connect Communication Cable
-
Each indoor unit has a communication wire
-
Match wiring order (1,2,3,Ground) exactly on both ends
-
Use waterproof wire nuts or terminals
-
Secure cables away from sharp metal edges
🧠 Tip: Use color-coded wires for easier troubleshooting later.
📦 STEP 7: Mount the Outdoor Unit
-
Place unit on a concrete pad or wall bracket
-
Anchor securely
-
Connect line sets from all zones
-
Confirm torque specs on flare nuts
-
Connect main power to disconnect box and breaker
🌀 Make sure fan intake and exhaust are not obstructed.
🔌 STEP 8: Turn on Power & Test
-
Flip breaker and disconnect to “on”
-
Use remote to power up each indoor unit
-
Set to COOL and listen for compressor startup
-
Check airflow, temperature, and condensate drainage
🔗 MRCOOL Remote Programming Guide
🧠 STEP 9: Connect to Wi-Fi & App (Optional)
Use the MRCOOL SmartHVAC™ app to control temperature, scheduling, and energy usage.
-
Plug in USB WiFi module to each indoor unit
-
Follow pairing steps in the app
-
Enable Alexa or Google Home integration if desired
🧼 Maintenance Tips Post-Installation
-
Clean filters monthly (especially during heavy use)
-
Flush drain lines seasonally
-
Inspect line set insulation for weather damage annually
-
Clear debris from around the outdoor unit
⚠️ Common Mistakes to Avoid
| Mistake | Consequence | Fix |
|---|---|---|
| Line set not torqued properly | Leaks, loss of refrigerant | Use torque wrench to spec |
| Drain line not sloped | Water backup, indoor leaks | Use level and clamps |
| Incorrect wiring order | Communication errors | Double-check color order |
| Outdoor unit not level | Compressor stress | Use leveling shims |
| Reusing damaged flare nuts | Poor seal, leaks | Always use new factory components |
💸 Cost Comparison: DIY vs. Pro Install
| Cost Item | DIY Install | Pro Install |
|---|---|---|
| System Cost | $4,800 – $5,500 | Same |
| Labor | $0 | $2,500 – $4,000 |
| Tools & Extras | $200 – $500 | $0 – $200 |
| Electrical Work | $500 – $1,200 | Same |
| Total | $5,500 – $7,000 | $7,500 – $10,000+ |
📌 Even with minor electrical help, DIY saves ~$2,000+.
✅ Final Checklist
✔ Mount all indoor units level and securely
✔ Drill drain holes downward
✔ Connect and torque line sets to MRCOOL spec
✔ Route and insulate all cables and lines
✔ Power up and test each zone individually
✔ Configure WiFi control and smart thermostat options
If you’ve followed all steps carefully, you’ve just installed a full 4-zone HVAC system yourself—with no licensing or refrigerant charging needed.
In the next topic we will read about: How to Save Money with the MRCOOL 4-Zone System: Rebates, Tax Credits & More


