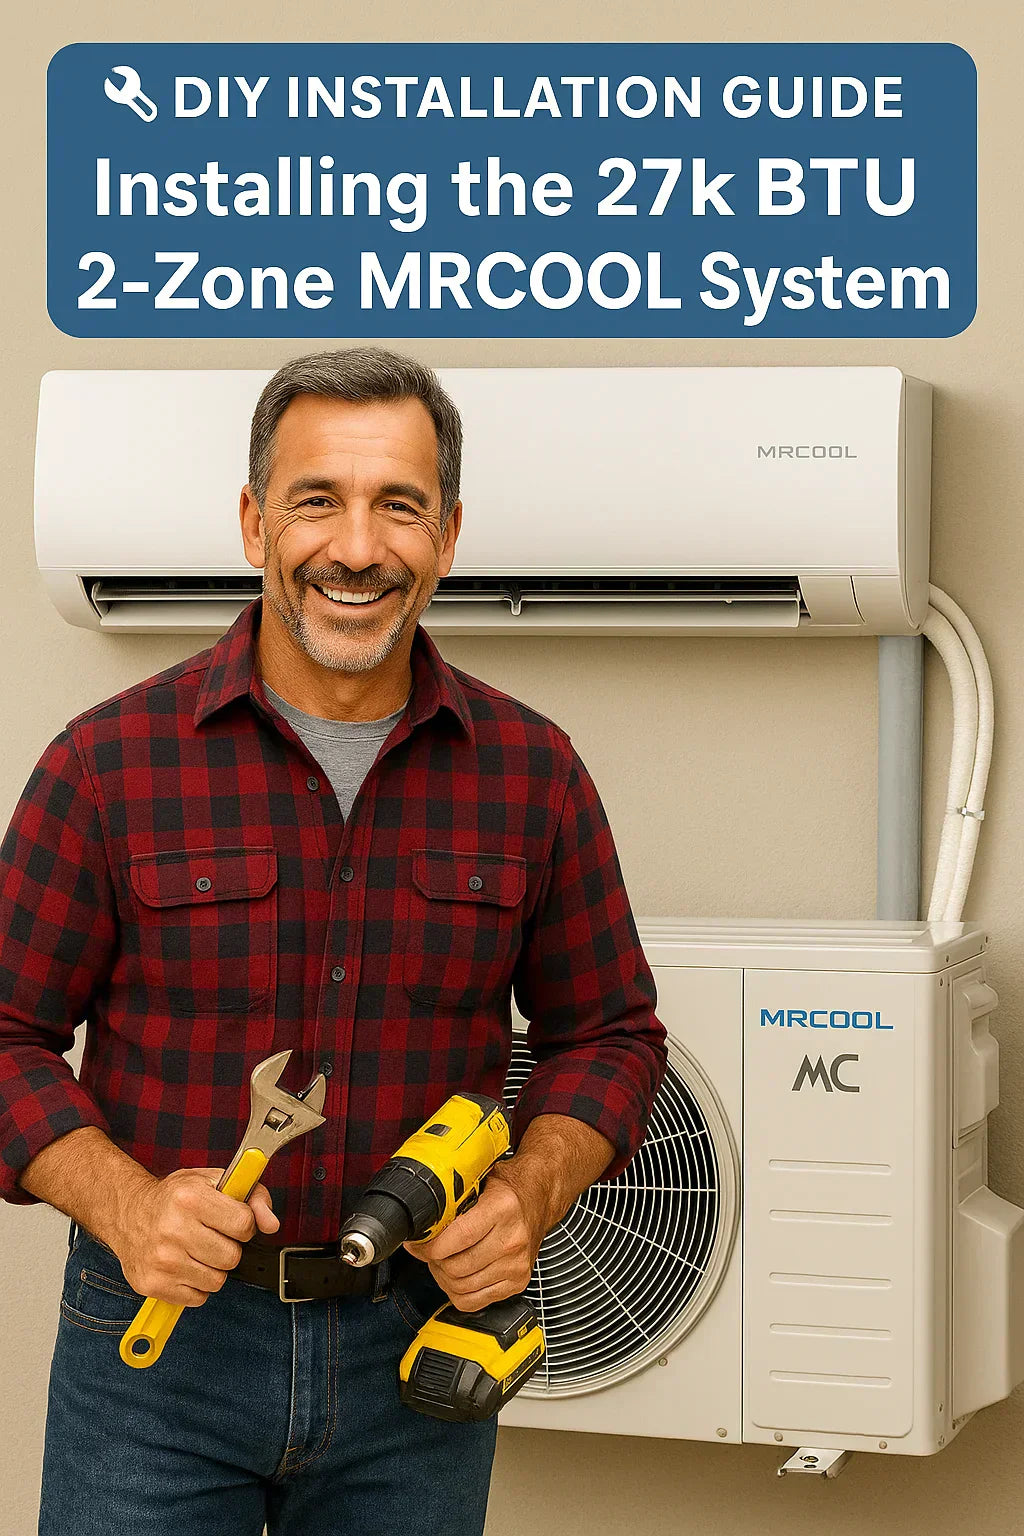
This full-step guide should empower you to tackle the MRCOOL 27k 2-zone install with confidence.
👷 Tools & Prep – What Mike Needs Before Starting
Before beginning, gather:
-
Basic Tools: Drill with hole saw (3.5″), tape measure, level, screwdrivers, crescent wrenches.
-
HVAC Essentials: Two open-end wrenches (9/16″ & 7/8″ or similar), torque wrench (optional but helpful)
-
Supplies: Mounting bracket, line-set, communication cable, drain hose, insulation tape, UV tape, wall sleeve (MRCOOL DIY System: Included Components & Installation Must-Haves)
-
Safety Gear: Work gloves, safety glasses, ladder, and vinyl or neoprene gloves.
Review MRCOOL’s 5th Gen Quick Start Guide for detailed parts and steps (MRCOOL ® 5th Gen DIY® Quick Start Guide)
📍Indoor Air Handler Placement
Choose sturdy interior walls with:
-
Clearance: 6–8″ above head height, away from obstructions (curtains, shelves).
-
Accessibility: Leave ~12″ above for filter access and future maintenance
-
Mounting & Wall Hole: Install the included mounting plate using the level and screws. Drill a 3.54″ hole at a slight downward angle (2°) for drainage
-
Drilling Tip: Keep the hole angled downward (1/4″ per foot) to help condensate – helps prevent water into your house.
🔌 Routing the Pre‑Charged Line Sets
Using Quick‑Connect Line Sets
-
Pre‑Charged & Sealed: Use the correct 16k/18k-compatible line-set with R‑454B refrigerant from the 5th Gen kit (MRCOOL 5th Gen Pre-Charged Mini Split Line Set – R-454B)
-
Routing Steps:
-
Bend lines gently; avoid kinks.
-
Bundle with drain hose & communication wire, push through wall.
-
Leave a coil outside for future servicing, tape for UV protection doxrepo.mrcool.com.
-
-
Connection Tips:
-
Remove caps and align nuts.
-
Hold fitting “1” steady; tighten “2” with wrench until snug.
-
Torque to spec if using a torque wrench; otherwise, tighten snug plus a minor twist mrcool.com
-
Coil leftover tubing behind condenser
-
🌤️ Outdoor Unit Location & Setup
-
Placement:
-
Set on concrete or anti-vibration pad/brackets.
-
Keep at least 12″ clearance on each side and 24″ above.
-
Ensure 3–4″ line separation from walls for airflow .
-
-
Position Protection: Avoid direct sunlight and remove vegetation; compress insulation tape over exposed tubing—to resist UV damage .
-
Uncoil working slack into pod for easy access.
❄️ Connecting Refrigerant Lines & Leak Testing
-
Open valves: Remove caps, use a 5 mm Allen key to fully open both valves
-
Leak Check:
-
Apply soapy water or leak spray on fittings.
-
Bubbles = leak; retighten and recheck.
-
Test valves again after a few minutes for pressure changes mrcool.com.
-
🔌 Electrical Connections & Safety
⚠ Note: Electrical must comply with local codes—preferably done by a licensed electrician .
-
Circuit Requirements:
-
240 V single-phase dedicated circuit.
-
20 A breaker for 12k/18k units; 30 A for combined 27k system support.mrcool.com.
-
#12 AWG copper wire (or sized per manufacturer).
-
Include a fuse or disconnect at outdoor unit
-
-
Wiring:
-
Connect L1/L2 power wires and ground (green) inside the outdoor electrical box per wiring label.
-
Run low-voltage communication cable with line set—some kits include this; others require separate installation (Installation & Owner’s Manual)
-
-
Final check: Ensure all screws are torque-tight and splice connectors are sealed per NEC code.
🌬️ System Startup & First Test
-
Restore power at breaker and outdoor disconnect.
-
Install batteries in all remotes.
-
Power on via remote or Smart Module app.
-
Cycle through Cooling → Heating → Auto mode.
-
Listen for smooth compressor startup; expect a 2–3 minute delay before cooling begins.
-
Check indoor airflow—air should feel cooler/warm depending on the mode.
-
Verify condensate drains properly outside.
-
Re-inspect fittings after 24 hours for leaks.
Use MRCOOL’s official installation video for visual guidance
🧼 Troubleshooting Common Issues
| Issue | Common Causes | Solutions |
|---|---|---|
| No power or display | Breaker off, faulty power wiring | Check breaker, wire connections |
| Drip back indoors | Incorrect hole angle or seal failure | Adjust hole pitch, reseal sleeve/gasket |
| Low airflow | Dirty filter, blockages | Clean filter, check indoor coil & fan |
| Unit won’t start | Safety interlock, valve still charging | Wait 3 min delay; close and reopen valve |
| Remote won’t pair | Wireless settings issue | Use reset button or follow app procedure |
➡️ Refer to MRCOOL installation & operation manual for deeper troubleshooting
⚖️ Safety & Warranty Tips
-
Electrical and wiring must meet NEC and local codes—consult a professional mrcool.com.
-
Use only manufacturer-recommended quick-connect line sets—nonstandard refrigerants void warranty
-
Ensure torque on fittings—neither too loose (leaks) nor too tight (damage).
✅ Final Checklist Before Calling It Done
-
Indoor units securely mounted & leveled
-
Outdoor pad stable with good airflow
-
Line sets and drain hose properly routed, insulated, taped
-
Refrigerant lines connected, valves opened, leak-tested
-
Power and communication wiring done per code
-
System tested in all modes
-
No abnormal sounds, leaks, or error codes
In the next topic we will read more about: Maintenance Tips to Keep Your 2‑Zone MRCOOL System Running Like New


