A Mike-Approved, No-Guesswork Guide to Getting Your Cooling Back
I tell homeowners this all the time: most “weak AC” complaints aren’t equipment failures — they’re dirt problems. Through-the-wall units like Amana are built tough, but they move a lot of air, and air always carries dust, pollen, pet hair, and moisture with it.
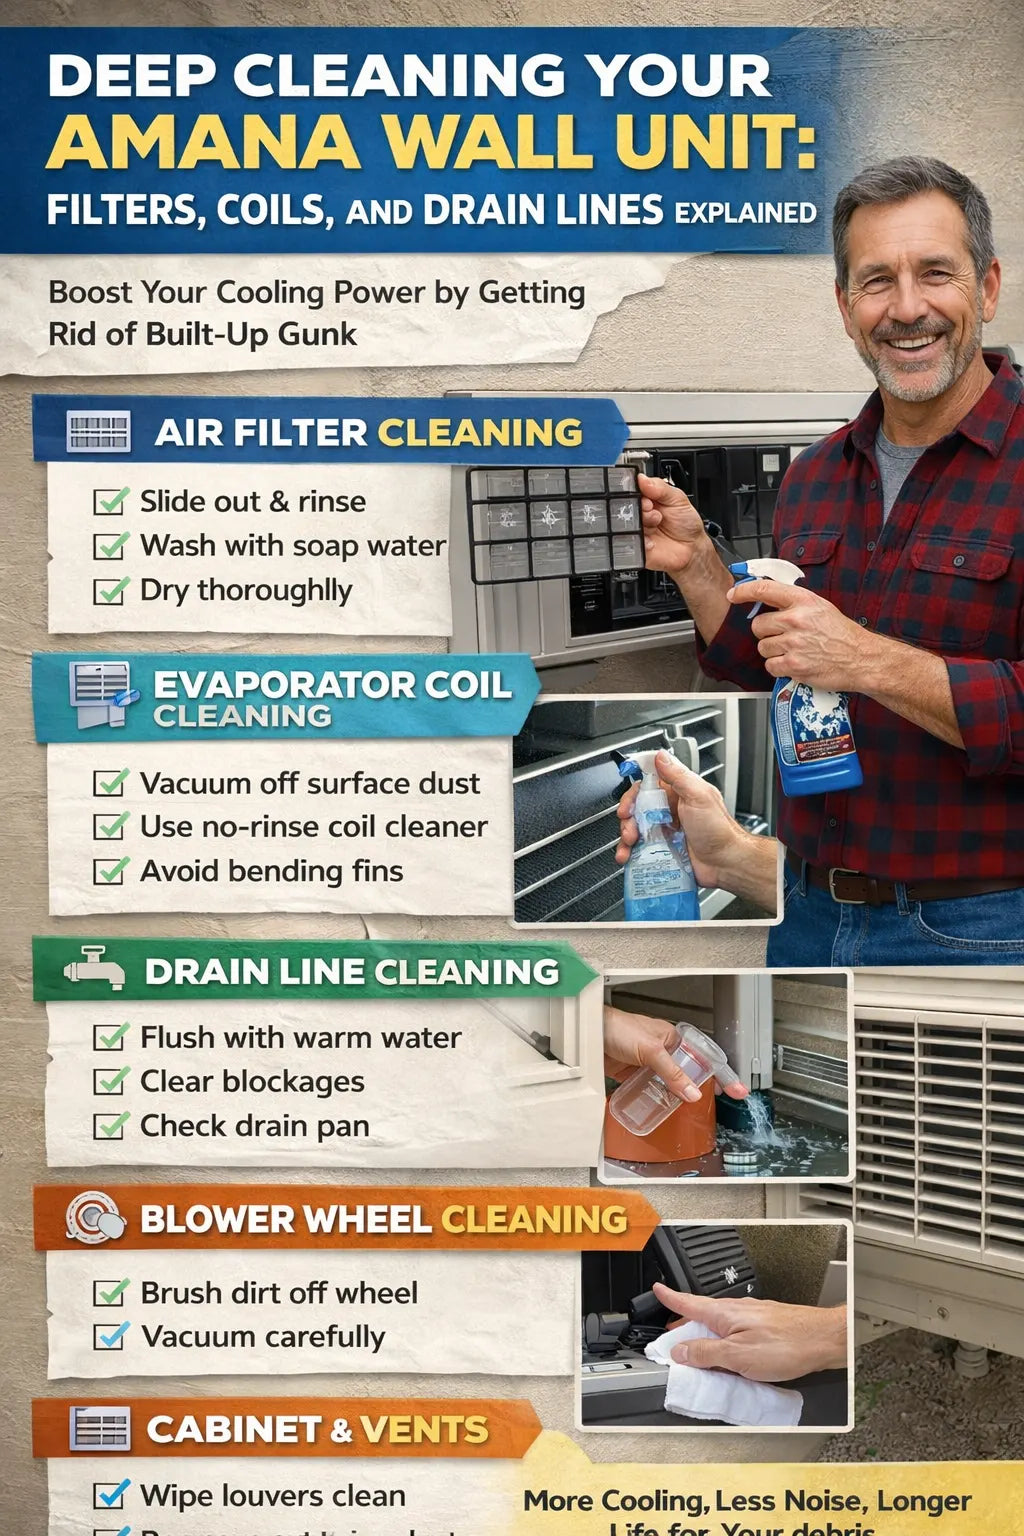
This guide walks you through a true deep clean — not just wiping the front grille — so your Amana wall unit cools better, runs quieter, and lasts longer. If you can handle a screwdriver and follow steps, you can do most of this yourself.
🧰 Before You Start: Tools & Safety Basics
🔌 Step 1: Power Down Completely
Always unplug the unit or shut off the breaker. These units contain:
-
Live electrical components
-
Sharp metal edges
-
Moisture-prone areas
No shortcuts here.
🧺 Tools You’ll Need
You don’t need professional gear:
-
Soft brush or old paintbrush
-
Vacuum with brush attachment
-
Mild dish soap
-
Spray bottle
-
No-rinse coil cleaner (optional but helpful)
-
Towels or drop cloth
-
Flashlight
🧊 Part 1: Deep Cleaning the Air Filter (Your First Bottleneck)
🌀 Why the Filter Matters More Than You Think
A dirty filter:
-
Reduces airflow
-
Causes coils to ice
-
Forces the fan motor to work harder
-
Raises your energy bill
I’ve seen units lose 20–30% of airflow from a clogged filter alone.
🧼 How to Clean It Properly
-
Remove the front cover
-
Slide the filter out
-
Rinse with warm water
-
Use mild soap if greasy or smoky
-
Rinse thoroughly
-
Air dry completely
Mike’s tip: Never reinstall a damp filter. Moisture feeds mold.
🌀 Part 2: Cleaning the Evaporator Coil (Where Cooling Happens)
❄️ What the Evaporator Coil Does
This indoor coil absorbs heat from your room. When it’s dirty:
-
Heat transfer drops
-
Cooling feels weak
-
Run times increase
Dust acts like a blanket — and not a good one.
🪛 Accessing the Coil
-
Remove the front grille
-
Locate the aluminum fin coil behind the filter
-
Use a flashlight to inspect buildup
🧽 Cleaning Steps
-
Gently vacuum surface dust
-
Use a soft brush to loosen debris
-
Apply no-rinse coil cleaner if buildup is heavy
-
Let cleaner drain naturally
⚠️ Never bend the fins or use high-pressure water.
💧 Part 3: Drain Line Cleaning (The Most Ignored Step)
🚨 Why Drain Lines Cause Big Problems
Clogged drains lead to:
-
Water leaks inside the wall
-
Mold smells
-
Rusted components
Most service calls for “leaking wall units” trace back here.
🧪 How to Clean the Drain System
-
Locate the drain pan under the coil
-
Inspect for standing water
-
Flush gently with warm water
-
Use a pipe cleaner or soft brush if needed
If water doesn’t drain freely, stop and clear it before proceeding.
🌬️ Part 4: Blower Wheel & Airflow Path Cleaning
🔄 What the Blower Does
The blower wheel pulls air through the filter and pushes it across the coil. When dirty, it:
-
Loses efficiency
-
Becomes noisy
-
Throws the wheel off balance
🧹 Cleaning Method
-
Use a brush to loosen debris
-
Vacuum carefully
-
Rotate the wheel by hand to inspect buildup
You don’t need to remove it unless buildup is extreme.
🧱 Part 5: Cabinet, Louvers & Air Vents
🧼 Why This Still Matters
Dust buildup on louvers:
-
Restricts airflow direction
-
Recirculates debris back into the filter
🧽 Quick Clean Steps
-
Wipe with damp cloth
-
Clean directional fins
-
Vacuum vent openings
This improves comfort distribution, not just cleanliness.
🔍 Part 6: Outdoor Side Check (Quick but Important)
Your through-the-wall unit rejects heat outdoors. If the exterior is blocked, cooling suffers.
🌿 What to Look For
-
Leaves or grass clippings
-
Dirt packed against the grille
-
Obstructions within 12 inches
Clear gently — no pressure washers.
🔄 Reassembly & Test Run
🧪 Before Powering Back On
-
Confirm filter is dry
-
Make sure drain is clear
-
Ensure all panels are secured
▶️ First Startup Check
-
Listen for smooth airflow
-
Confirm steady cooling
-
Watch for unusual vibration
A clean unit should sound quieter and smoother immediately.
📅 How Often Should You Deep Clean?
| Task | Frequency |
|---|---|
| Filter cleaning | Monthly (heavy use) |
| Coil cleaning | 1–2 times per year |
| Drain check | Every season |
| Blower inspection | Annually |
💡 Mike’s Final Take: Clean Units Last Longer — Period
I’ve seen Amana wall units run 10–15 years when kept clean — and struggle by year five when neglected. Deep cleaning isn’t optional maintenance; it’s performance insurance.
If your unit feels weak, noisy, or musty — clean it before assuming it’s failing. Most of the time, dirt is the real culprit.
🔗 External References
-
EPA – Mold & Moisture in HVAC Systems
https://www.epa.gov/mold -
Energy.gov – Air Conditioner Maintenance Basics
https://www.energy.gov/energysaver/air-conditioner-maintenance
Buy this on Amazon at: https://amzn.to/47M5ozS
In the next topic we will know more about: Why Regular Maintenance Cuts Your Energy Bills (Real-World Math)


