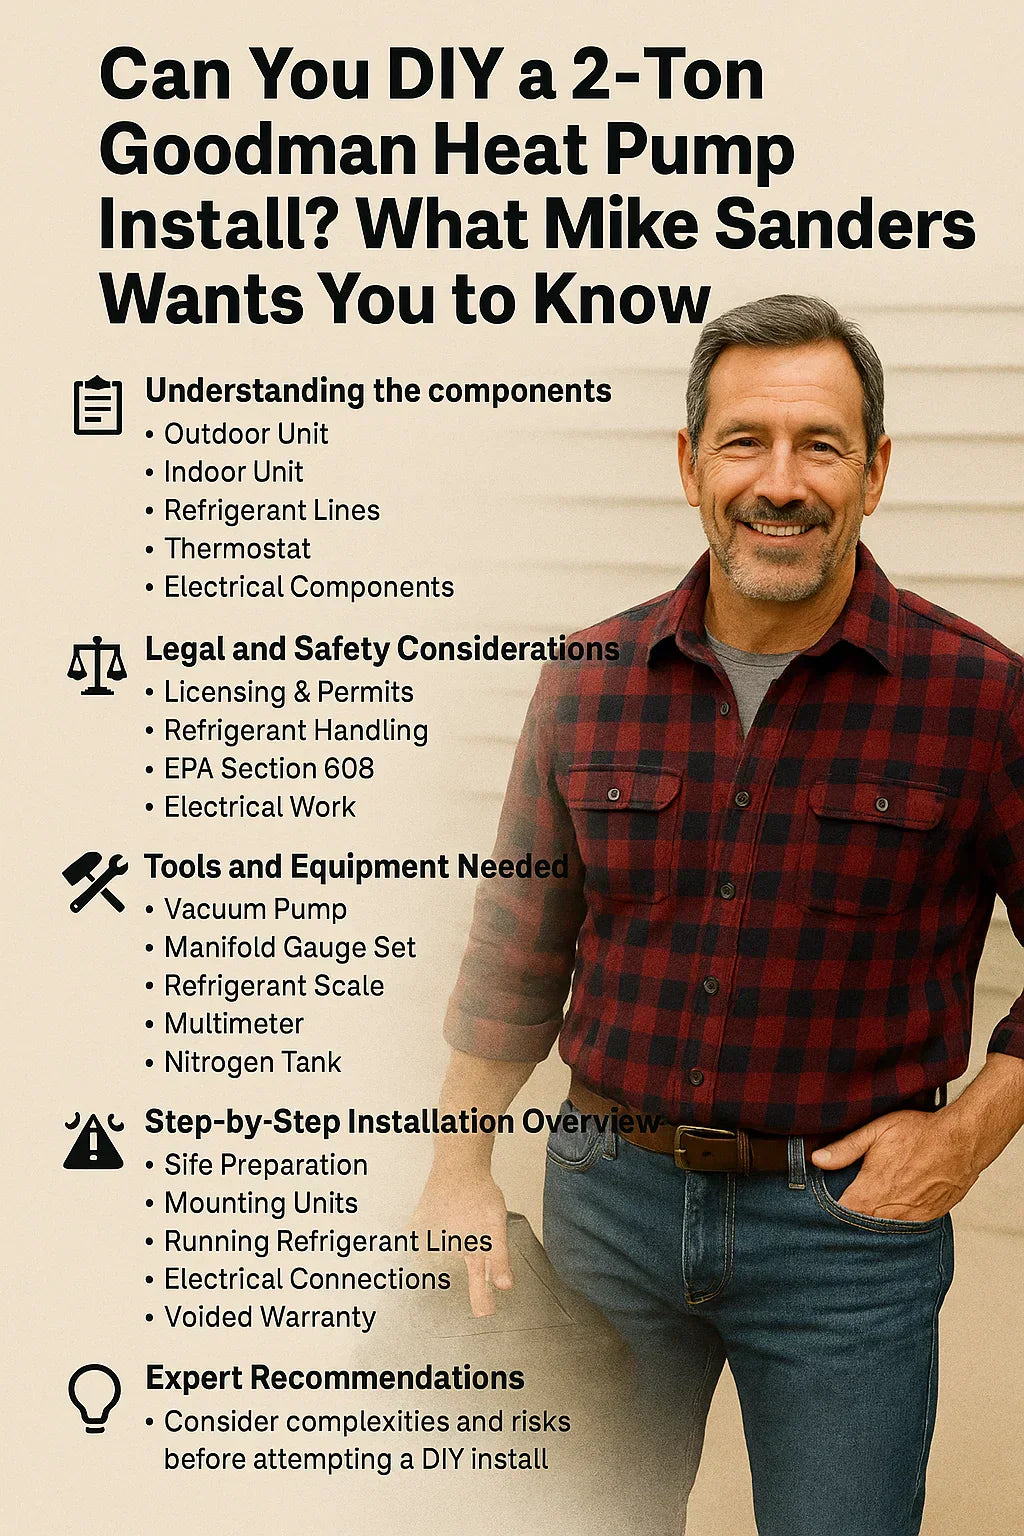
🏡 Introduction
Installing a 2-ton Goodman heat pump yourself can be tempting, especially with the potential cost savings. However, it's essential to understand the complexities, legalities, and risks involved. This guide provides an in-depth look at what's required for a DIY installation and whether it's the right choice for you.
📋 Understanding the Components
A typical 2-ton Goodman heat pump system includes:
-
Outdoor Unit: The condenser, responsible for releasing or absorbing heat.
-
Indoor Unit: The air handler or furnace, which distributes conditioned air throughout your home.
-
Refrigerant Lines: Copper tubing that carries refrigerant between the indoor and outdoor units.
-
Thermostat: Controls the system's operation.
-
Electrical Components: Wiring, circuit breakers, and disconnects necessary for power supply.
⚖️ Legal and Safety Considerations
🛑 Licensing and Permits
In many regions, installing HVAC systems requires proper licensing and permits. Without them, you may face fines or be required to remove the system. Always check local building codes and regulations before proceeding.
⚠️ Refrigerant Handling
Handling refrigerants like R-410A necessitates EPA Section 608 certification in the U.S. Improper handling can lead to environmental harm and legal penalties.
🔌 Electrical Work
Electrical connections must comply with the National Electrical Code (NEC). Incorrect wiring can result in system failure or fire hazards. It's advisable to have a licensed electrician perform this part of the installation.
🧰 Tools and Equipment Needed
-
Vacuum Pump: To evacuate air and moisture from the refrigerant lines.
-
Manifold Gauge Set: For measuring refrigerant pressure.
-
Refrigerant Scale: Ensures the correct amount of refrigerant is added.
-
Torque Wrench: For tightening connections to manufacturer specifications.
-
Multimeter: To test electrical connections.
-
Nitrogen Tank: Used for pressure testing and purging lines.
🛠️ Step-by-Step Installation Overview
-
Site Preparation: Ensure the installation area meets clearance requirements and is level.
-
Mounting the Outdoor Unit: Place the condenser on a solid, level surface with appropriate clearances.
-
Installing the Indoor Unit: Mount the air handler securely, ensuring proper airflow and access for maintenance.
-
Running Refrigerant Lines: Connect the indoor and outdoor units with copper tubing, ensuring proper insulation and support.
-
Electrical Connections: Wire the system according to the manufacturer's instructions and local codes.
-
Evacuating the System: Use a vacuum pump to remove air and moisture from the refrigerant lines.
-
Charging the System: Add the correct amount of refrigerant as specified by the manufacturer.
-
System Testing: Verify the system operates correctly in both heating and cooling modes.
🧪 Potential Risks of DIY Installation
-
Improper Sizing: An incorrectly sized system can lead to inefficiency and increased wear.
-
Refrigerant Leaks: Can cause system failure and environmental damage.
-
Electrical Hazards: Risk of shock or fire from improper wiring.
-
Voided Warranty: Manufacturers may void warranties if the system isn't installed by a licensed professional.
💡 Expert Recommendations
While it's technically possible to install a 2-ton Goodman heat pump yourself, it's generally not recommended unless you have HVAC experience and proper certifications. The complexities and risks involved often outweigh the potential cost savings.
📚 Additional Resources
By thoroughly understanding the requirements and risks, you can make an informed decision about whether to proceed with a DIY installation or hire a professional.
In the next topic we will read about: Cold Climate Ready? How the Goodman 2 Ton Heat Pump Handles Northern Winters


