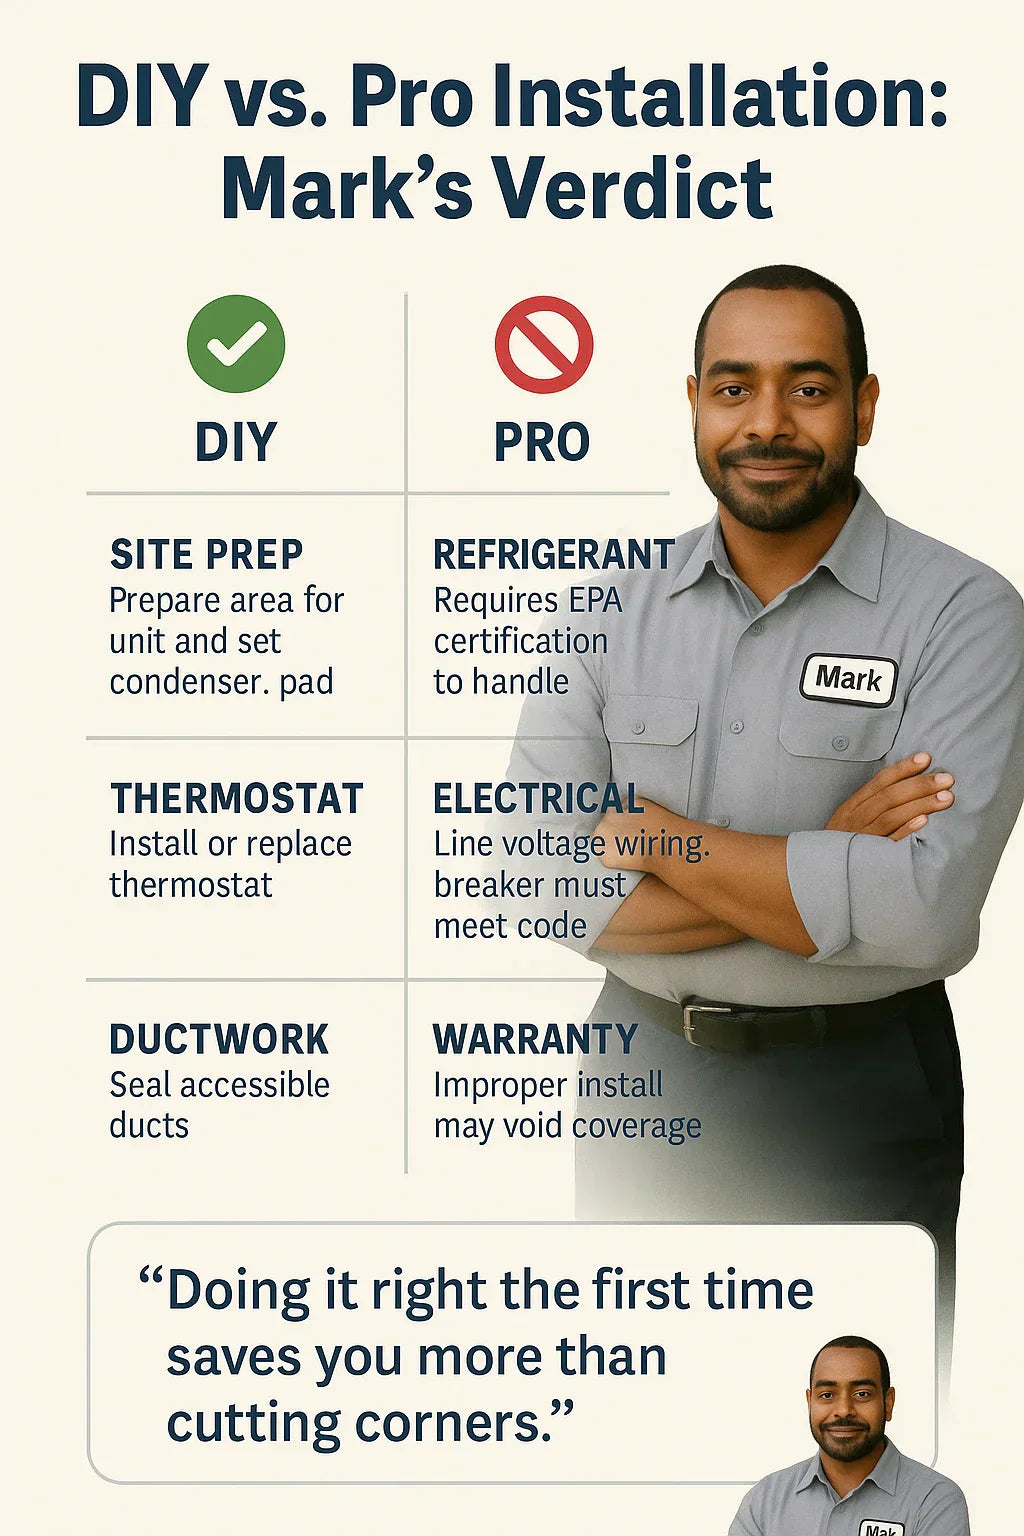
I’ve been in the HVAC trade for over 15 years, and one thing I hear a lot is:
👉 “Mark, can I just install this Goodman system myself and save a few grand?”
It’s a fair question. A new Goodman 2.5 Ton 13.8 SEER2 Northeast System runs around $4,500–$6,500 installed. That’s a serious investment, and naturally, homeowners want to know where they can cut costs.
But here’s the reality: while there are a few things a handy DIYer can tackle, a full AC installation is not a true DIY project. Certain parts of the job—like refrigerant handling and high-voltage wiring—are legally restricted to licensed professionals.
In this guide, I’ll break down what parts of a Goodman 2.5 Ton install you might reasonably handle yourself, what requires a pro, and why cutting corners can end up costing you far more in the long run.
🧰 What a DIYer Might Handle
There are safe, legal parts of an AC install that a homeowner can take on if they want to save on labor.
🏗️ Site Preparation
-
Clearing a level space for the outdoor condenser.
-
Pouring or setting a concrete or composite pad.
-
Making sure there’s 12–18 inches of clearance around the unit.
💡 Mark’s Tip: A well-set pad prevents vibration noise and keeps the condenser from sinking into soft ground.
🪛 Thermostat Installation or Upgrade
-
Running low-voltage control wiring for a thermostat.
-
Installing a smart thermostat (like Nest or ecobee).
-
Setting proper heat/cool scheduling.
👉 Just make sure the thermostat is compatible with a two-stage or single-stage system if upgrading.
🕳️ Duct Sealing & Return Prep
-
Sealing accessible duct joints with mastic or foil tape.
-
Cleaning out return air pathways.
-
Installing better air filters or upgrading return grille size.
💡 According to ENERGY STAR, leaky ducts can waste up to 30% of cooling energy .
💧 Condensate Drain Prep
-
Running a basic drain line from the air handler to a floor drain or sump.
-
Installing a safety float switch in case of clogs.
👉 A pro should double-check slope and code compliance, but DIY prep saves time.
🚫 What Requires a Licensed Pro
Now let’s talk about the parts you cannot legally or safely do yourself.
🧊 Refrigerant Line Set & Charging
-
Connecting and brazing the copper refrigerant lines.
-
Pulling a deep vacuum to remove air and moisture.
-
Charging with the correct amount of refrigerant.
⚠️ Only EPA Section 608–certified technicians can legally handle refrigerants like R-32 or R-410A . Doing this wrong can destroy your compressor within hours.
⚡ Electrical Connections
-
Running a dedicated 240V line from your panel.
-
Installing a disconnect box by the condenser.
-
Ensuring breaker sizing matches NEC code.
👉 Mistakes here mean risk of fire, shock, or failed inspection.
📐 Load Calculation (Manual J)
-
A professional load calc ensures the 2.5 Ton system is correctly sized for your home’s square footage, insulation, and climate.
-
Oversizing = short cycling + high humidity.
-
Undersizing = system runs constantly, poor comfort.
🛠️ AHRI Matching & Warranty Compliance
-
Your air handler and condenser need to be an AHRI-matched system for rebates and warranty coverage.
-
Goodman requires licensed installer documentation to honor their 10-year parts warranty .
👉 DIY installs typically void the warranty.
⚠️ Risks of DIY Install
A DIY install isn’t just risky—it can be expensive when things go wrong.
1. Voided Warranty
-
Goodman’s warranty clearly requires licensed installation.
-
A DIY job = no warranty on parts or compressor.
2. Refrigerant Hazards
-
Mishandling refrigerant = EPA fines + health risks (frostbite, inhalation).
3. Electrical Hazards
-
240V connections can cause fire or fatal shock if wired incorrectly.
4. Long-Term Efficiency Loss
-
Incorrect refrigerant charge = higher utility bills and premature compressor failure.
💵 Cost Savings vs. Risk
Here’s what the money side looks like:
| Task | DIY Cost | Pro Cost | Risk |
|---|---|---|---|
| Site prep & pad | $150–$300 | $500 | Low |
| Thermostat install | $100–$250 | $300–$600 | Low |
| Duct sealing | $100–$300 | $500–$1,000 | Low |
| Full system install (labor) | — | $2,500–$3,500 | High |
| Mistakes (compressor failure) | $1,500–$2,000 | — | Very High |
👉 Saving $2,000–$3,000 on labor looks good—until one mistake wipes out your savings.
📜 Code & Inspection Requirements
Most municipalities in the Northeast require:
-
Permit for HVAC replacement.
-
Electrical inspection for new circuits.
-
Mechanical inspection for refrigerant lines and drainage.
💡 Mark’s Take: Inspectors will flag DIY work if it doesn’t meet NEC, IMC, or local code.
🧩 Hybrid Approach: DIY + Pro
If you’re handy, here’s the smart way to save money:
-
Do your own site prep, duct sealing, and thermostat upgrade.
-
Let the licensed pro handle refrigerant, wiring, and final startup.
👉 This can shave $500–$1,500 off your install bill while still keeping the warranty valid.
🧰 Mark’s Pro Tips
-
Don’t gamble your warranty. The 10-year coverage is worth far more than DIY savings.
-
Do what’s safe. Pads, ducts, and thermostats = fine. Refrigerant and high-voltage = pro only.
-
Pull permits. Saves headaches when you sell your home later.
-
Work with the installer. Many pros welcome homeowner prep work to save time and cost.
-
Think long-term. A properly installed Goodman lasts 15–20 years; a bad install can fail in 5.
✅ Bottom Line: DIY or Pro?
-
DIY-friendly tasks: Pad, duct sealing, thermostat.
-
Pro-required tasks: Refrigerant, wiring, load calc, startup.
-
Best choice for most homeowners: A hybrid approach—you prep, the pro installs.
👉 My installer verdict: “Doing it right the first time saves you more than cutting corners. If you want a Goodman system to last, get it installed by a licensed pro.”
In the next topic we will know more about: Is a 2.5 Ton AC System Enough for Your Home in the Northeast?


