Tony’s the kind of guy who owns a socket wrench set, watches YouTube tutorials before breakfast, and doesn’t mind getting his hands dirty. So when it comes time to install a new 2.5 Ton R-32 air conditioning system in his home, his first question isn’t which contractor to call — it’s can I do this myself?
With rising installation costs, an increasing number of homeowners like Tony are exploring the DIY route for HVAC upgrades. But with new refrigerants like R-32 and tighter efficiency standards in play, is installing your own system still a good idea?
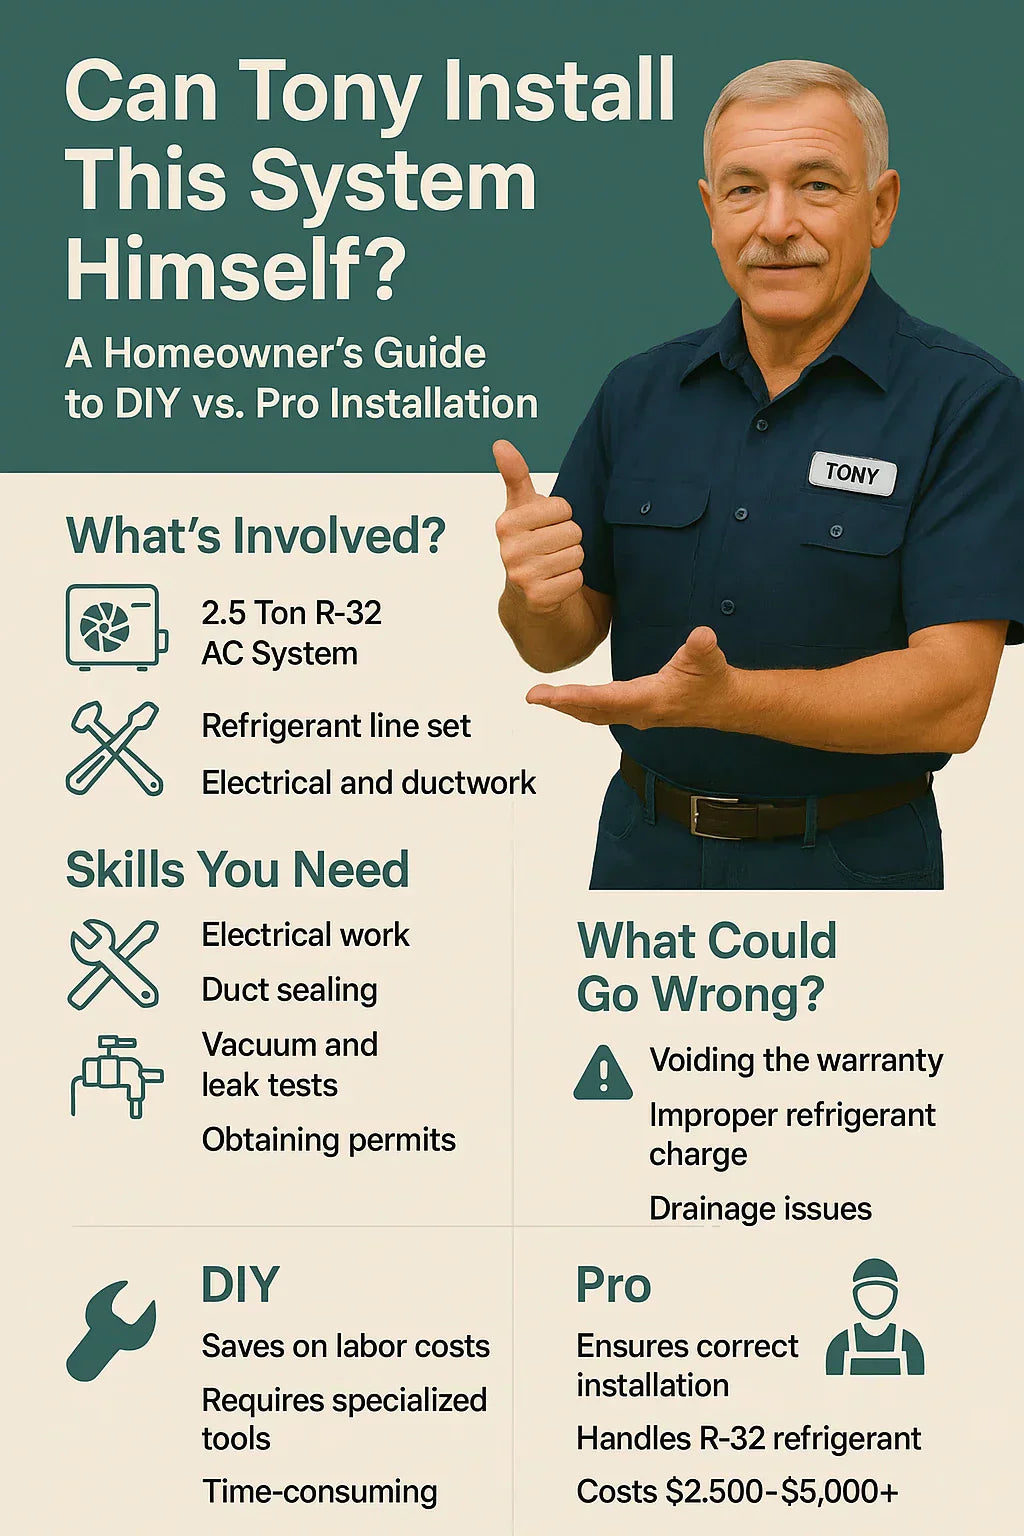
This guide breaks down the reality of DIY vs. professional installation, so Tony (and you) can make the smartest decision for your home, wallet, and long-term comfort.
What’s Involved in Installing a 2.5 Ton R-32 AC System?
At first glance, it might seem simple: hook up the outdoor unit, connect the indoor air handler, wire a thermostat, and enjoy cool air. But let’s unpack what the install really requires:
-
Indoor Air Handler Installation: Mounting, duct connections, condensate drainage, electrical tie-ins.
-
Outdoor Condenser Placement: Pad leveling, proper airflow clearance, vibration reduction.
-
Refrigerant Line Set: Sizing, insulation, leak-free connection, evacuation, and R-32 refrigerant charge.
-
Electrical Work: Disconnect box, circuit breaker, whip, and system wiring.
-
Control Systems: Thermostat compatibility and low-voltage wiring.
Add to that safety, code compliance, and manufacturer-specific steps, and you’ve got a complex multi-day project.
Skills You Need for a Safe and Successful DIY Install
Tony might be skilled, but HVAC installation isn’t casual home improvement. You’ll need:
-
Electrical Knowledge: Know how to safely work with 240V circuits and wiring codes.
-
HVAC Tools Proficiency: Use of a manifold gauge set, vacuum pump, torque wrench, and leak detectors.
-
Ductwork Skills: Understanding airflow, static pressure, and duct sealing best practices.
-
Refrigerant Handling: R-32 is mildly flammable (A2L classification) and under high pressure.
-
Permitting Savvy: Most jurisdictions require HVAC permits and inspections, even for DIYers.
Tools, Permits & Materials Checklist
Here’s what Tony would need to gather before starting:
Essential Tools:
-
Vacuum pump
-
Manifold gauge set (R-32 compatible)
-
Flaring tool
-
Torque wrench
-
Multimeter
-
Leak detector
Installation Materials:
-
Line set (length matched to your install)
-
Wall sleeve and grommets
-
Condensate drain line
-
Electrical whip and disconnect box
-
AC pad (concrete or composite)
-
Sealant, zip ties, wire nuts, duct tape
Permits & Paperwork:
-
Mechanical permit from city/county
-
Inspection scheduling
-
Potential proof of EPA Section 608 certification for refrigerant work
What Could Go Wrong with a DIY Install?
DIY has potential, but it also comes with risk:
-
Warranty Voiding: Most R-32 systems require certified installation for the warranty to remain valid.
-
Improper Refrigerant Charge: Over- or undercharging can reduce efficiency and damage components.
-
Electrical Hazards: One small wiring mistake could trip breakers or start a fire.
-
Drainage Errors: Poor drainage setup can cause water leaks and mold issues.
-
System Sizing Mistakes: Even if the unit is right, ductwork or airflow issues can cause poor performance.
When a Pro Makes Sense
There are strong arguments for hiring an HVAC professional:
-
R-32 Expertise: Proper handling and charging of mildly flammable refrigerant.
-
Faster Installation: Pros can complete what might take Tony a week in just one day.
-
Permitting & Inspection: Contractors know the local code inside and out.
-
Peace of Mind: Knowing it was done right, and that service is just a phone call away.
Cost Range: $2,500 to $5,000+ for full install, depending on region and install complexity.
Blended Option: DIY Prep, Pro Finish
Many savvy homeowners choose a hybrid approach:
-
What You Can Do:
-
Prepare the pad and site
-
Install wall sleeve and line set path
-
Run low-voltage thermostat wires
-
-
What the Pro Does:
-
Connect refrigerant lines and vacuum the system
-
Wire high-voltage safely
-
Verify charge and test pressures
-
This option can cut $500–$1,000 off install costs while ensuring R-32 handling and code compliance are handled professionally.
Tony’s Decision: Go DIY, Pro, or Hybrid?
Tony is handy, but not an HVAC tech. After reviewing tool costs, safety requirements, and the warranty fine print, he decides to do the prep work himself:
-
Clear the install space
-
Lay the pad
-
Install the wall sleeve
-
Run the thermostat wire
Then, he calls a licensed pro to handle the refrigerant line, system vacuum, charge, and final inspection.
Final Take: Should You DIY Your 2.5 Ton R-32 AC System?
Ask yourself:
-
Are you confident working with electrical and refrigerant systems?
-
Can you obtain the right permits and follow code?
-
Do you want to keep your warranty valid?
-
Is it worth saving a few thousand dollars if you risk costly mistakes?
DIY isn’t impossible, but it isn’t for everyone.
Tony made the smart call by splitting the job and leaning on a pro for the high-stakes parts. That way, he saved money, kept his warranty, and gained peace of mind.
Further Resources
Want to install your own 2.5 Ton R-32 system like Tony? Start with prep, know your limits, and don’t be afraid to call in help when it counts.
In the next topic we will know more about: Do 2.5 Ton R-32 ACs Qualify for Energy Rebates or Federal Tax Credits?


