Samantha’s practical guide to clean installs when closets, attics, and utility rooms don’t give you much room to work
If there’s one place where HVAC installations quietly go wrong, it’s inside the house, not outside. Outdoor condensers get attention. Air handlers get squeezed into closets, attics, basements, garages, and utility rooms—often with inches to spare.
I’ve learned that tight spaces don’t automatically mean bad installs. But they do demand better planning, clearer priorities, and installers who think three steps ahead. This guide walks through how to install an air handler correctly when space is limited, without sacrificing airflow, serviceability, or long-term reliability.
Whether you’re installing a Goodman air handler as part of a 4-ton SEER2 system or replacing an older unit, these principles apply to almost every home with limited indoor HVAC space.
📏 Why Tight Spaces Raise the Stakes
Air handlers need more than just enough room to fit. They need room to:
-
Move air properly
-
Drain condensation safely
-
Allow access for service and filter changes
-
Comply with electrical and mechanical codes
When space is tight, installers are tempted to:
-
Skip clearances
-
Crimp duct transitions
-
Compromise drain routing
-
Block access panels
Those shortcuts don’t usually fail on day one. They fail years later, when maintenance is harder, airflow is restricted, or moisture problems appear.
The U.S. Department of Energy consistently emphasizes that installation conditions directly affect HVAC performance and longevity, not just equipment specs.
👉 https://www.energy.gov/energysaver/air-conditioning
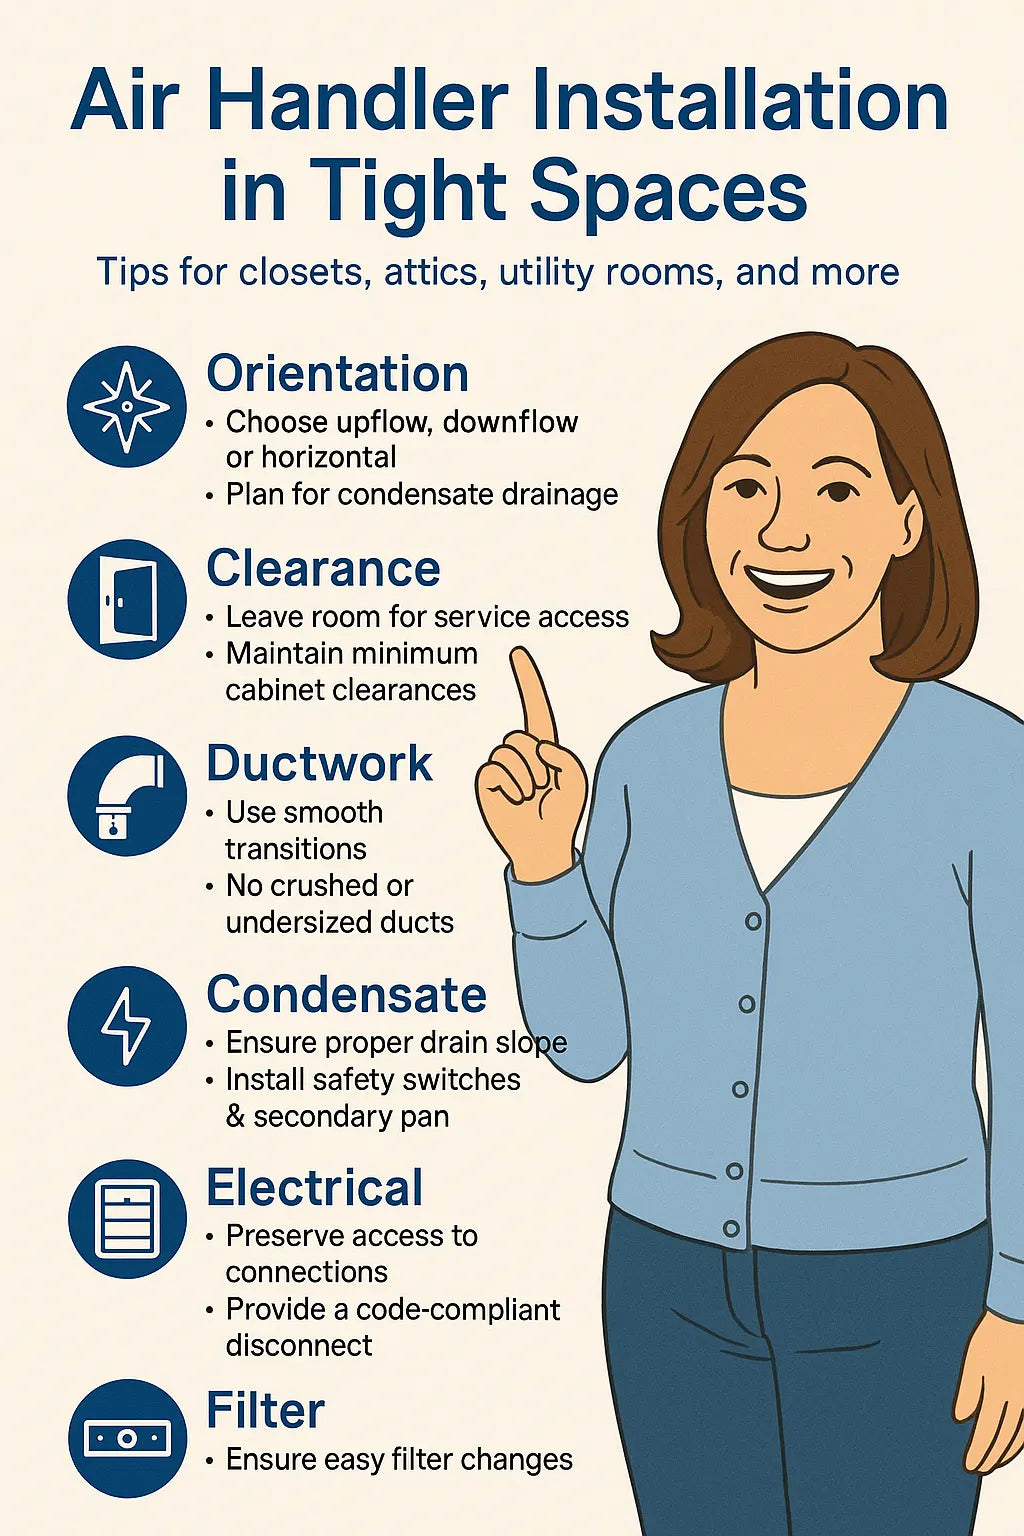
🧭 Step 1: Choosing the Right Orientation for the Space
Most modern Goodman air handlers are multi-position, meaning they can be installed:
-
Upflow
-
Downflow
-
Horizontal left
-
Horizontal right
Why Orientation Matters in Tight Spaces
The wrong orientation can:
-
Block service panels
-
Create impossible drain slopes
-
Force sharp duct turns
-
Reduce filter access
Before installation day, the installer should confirm:
-
Which orientation best supports airflow
-
Where service access will be maintained
-
How condensate will drain by gravity (or pump)
Manufacturer installation instructions outline approved orientations and required clearances—these aren’t suggestions.
👉 https://www.goodmanmfg.com/resources
Samantha tip: If the installer decides orientation after the unit is in the space, something went backwards.
🚪 Step 2: Respecting Service & Clearance Requirements (Even When Space Is Tight)
Minimum Clearances Exist for a Reason
Air handlers need space for:
-
Removing access panels
-
Replacing blower motors
-
Inspecting coils
-
Servicing electrical components
In tight closets or alcoves, this often means:
-
Enlarging the opening slightly
-
Reorienting the unit
-
Choosing a side-access configuration
Ignoring service clearance doesn’t just inconvenience technicians—it often leads to skipped maintenance, which shortens system life.
ACCA’s Quality Installation standards emphasize serviceability as a core requirement, not an optional bonus.
👉 https://www.acca.org/standards
🌀 Step 3: Duct Transitions — Where Tight Spaces Steal Airflow
This is one of the most common failure points I see.
Common Tight-Space Duct Mistakes
-
Sharp 90° turns directly off the air handler
-
Undersized return plenums
-
Crushed flex duct to “make it fit”
-
Unsealed cabinet-to-duct connections
Better Tight-Space Solutions
-
Gradual transitions instead of hard turns
-
Properly sized return drops
-
Sheet-metal elbows instead of bent flex
-
Mastic-sealed joints (not just tape)
Even small airflow restrictions add up. The Department of Energy notes that duct losses can significantly reduce delivered capacity if not addressed.
https://www.energy.gov/energysaver/minimizing-energy-losses-ducts
Samantha reality check: If airflow is compromised at the air handler, the rest of the system never gets a fair chance.
💧 Step 4: Condensate Drain Planning in Confined Areas
Water management becomes more critical when space is limited.
What Tight Spaces Complicate
-
Proper drain slope
-
Trap installation (where required)
-
Secondary drain pan placement
-
Overflow safety switches
Best Practices
-
Plan the drain route before setting the unit
-
Avoid uphill runs whenever possible
-
Install secondary pans under attic units
-
Add float switches where water damage risk exists
Condensate problems rarely show up immediately. They show up as ceiling stains, moldy smells, or warped flooring months later.
Good installation planning treats condensate like a certainty, not a possibility.
⚡ Step 5: Electrical & Control Access Without Violations
Electrical Mistakes in Tight Spaces
-
Junction boxes buried behind the unit
-
No clear disconnect access
-
Control wiring pinched or strained
Electrical work must comply with the National Electrical Code (NEC), including accessibility and safe routing.
👉 https://www.nfpa.org
In tight installations, this often means:
-
Repositioning junction boxes
-
Extending wiring runs cleanly
-
Planning access panels intentionally
If an inspector or technician can’t safely access electrical components, the install isn’t finished.
🧰 Step 6: Filter Access — The Most Overlooked Tight-Space Issue
If homeowners can’t easily change filters, they won’t. That’s not laziness—it’s human nature.
Tight-Space Filter Solutions
-
Side-access filter racks
-
Return-grille filter systems
-
Clearly labeled filter locations
A clogged filter:
-
Reduces airflow
-
Increases energy use
-
Strains blower motors
-
Triggers nuisance issues
Samantha rule:
If filter access requires tools, ladders, or contortions, it’s a design failure.
🧱 Step 7: Supporting & Securing the Air Handler
In tight spaces—especially attics and closets—structural support matters.
Key Considerations
-
Proper platform or framing support
-
Vibration isolation where needed
-
Level positioning for drainage
A unit that’s slightly out of level can cause:
-
Standing water in the drain pan
-
Increased vibration noise
-
Long-term cabinet stress
Small alignment errors become big comfort issues over time.
🔊 Step 8: Noise Control in Close Quarters
Tight spaces amplify sound.
Noise-Reduction Strategies
-
Flexible duct connectors
-
Vibration pads or isolation
-
Proper blower speed setup
-
Avoiding hard duct contact with framing
A well-installed air handler should be barely noticeable inside the home.
If noise is obvious right after install, it rarely improves on its own.
🚩 Tight-Space Red Flags to Watch For
Pause the process if you see:
-
Access panels blocked by framing
-
Ducts crushed to fit
-
Drain lines sloped incorrectly
-
Filters that require disassembly
-
Electrical components buried or inaccessible
These are not “tight-space realities”—they’re preventable problems.
✅ Samantha’s Tight-Space Air Handler Checklist
Before signing off, confirm:
-
✔ Orientation supports airflow and service access
-
✔ Required clearances are respected
-
✔ Duct transitions are smooth and sealed
-
✔ Condensate drains are tested and protected
-
✔ Electrical access meets code
-
✔ Filters are easy to reach and replace
-
✔ Unit is level, supported, and quiet
If all boxes are checked, tight space doesn’t mean compromised comfort.
🏁 Final Thought: Tight Spaces Demand Better Planning, Not Lower Standards
Installing an air handler inside a cramped space is absolutely doable—but only when planning comes first.
When installers slow down, measure twice, and respect airflow, drainage, and access requirements, the system performs just as well as one installed in a wide-open mechanical room.
Comfort isn’t about how much space you have.
It’s about how intelligently you use it.
Buy this on Amazon at: https://amzn.to/47usZUk
In the next topic we will know more about: 10 HVAC Installation Best Practices Every Homeowner Should Follow


