When I decided to upgrade my home’s HVAC system, I was excited—but also a little nervous. Like many homeowners, I wanted something efficient, compact, and future-proof. That’s why I went with the Goodman 2 Ton R-32 Compatible Wall-Mounted Air Handler with a Built-In TXV and 5 kW Heater.
But buying the unit was only half the battle—the real challenge was installation. I wanted to understand the process, and while I didn’t do every step myself, I learned so much by working alongside my HVAC contractor.
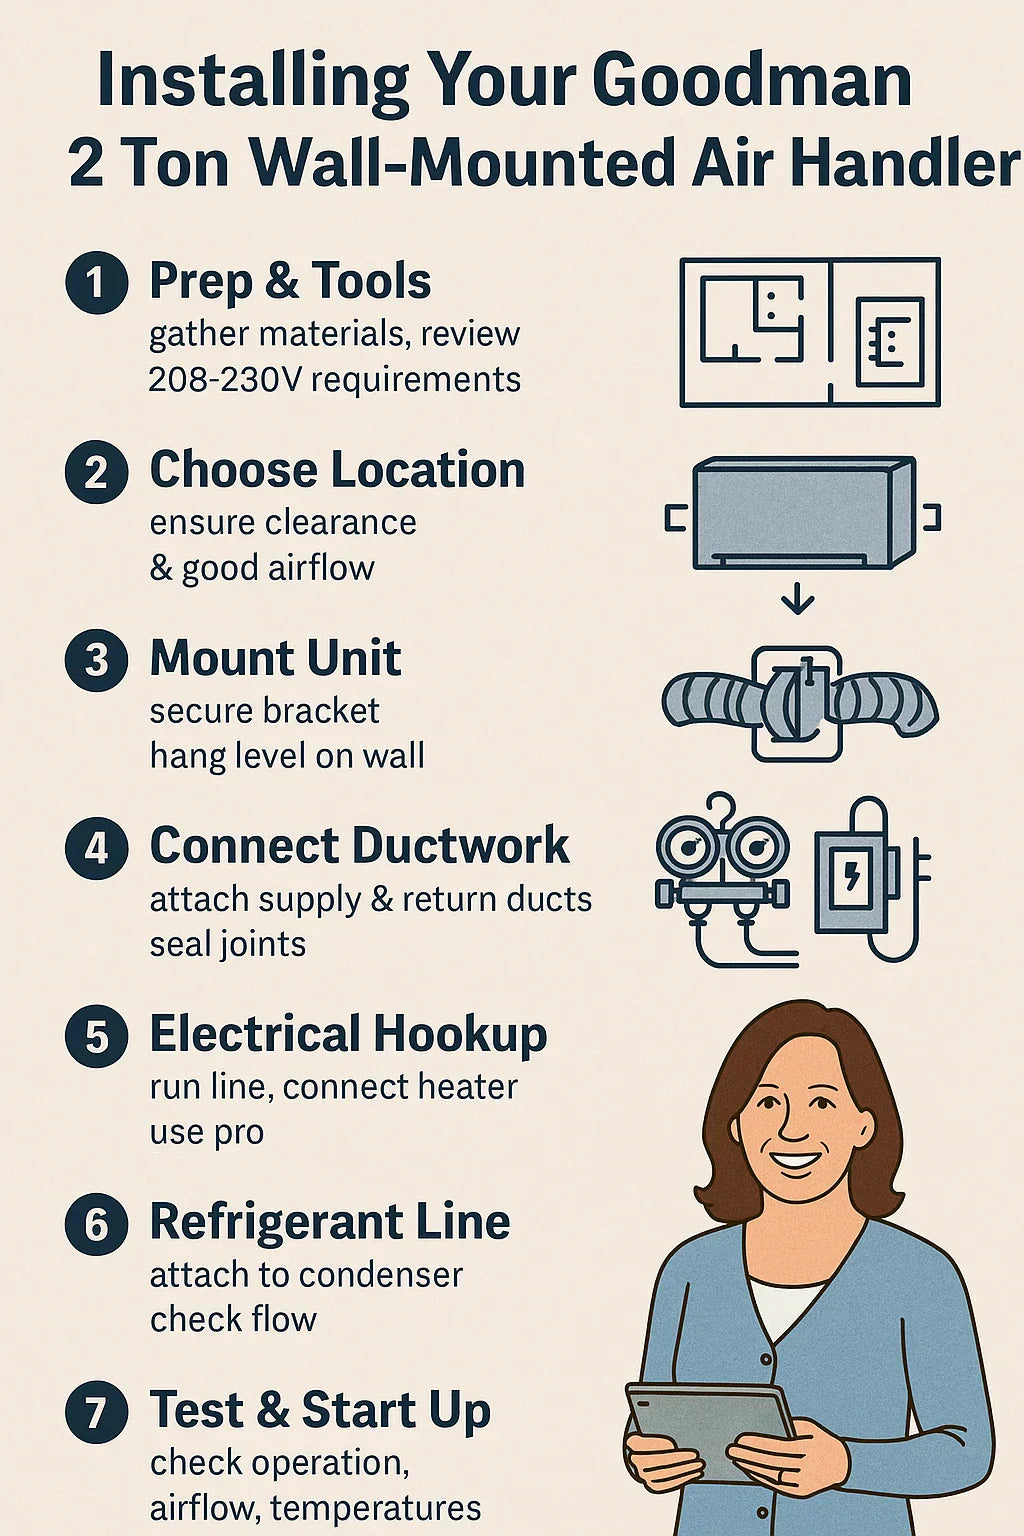
In this guide, I’ll walk you through what I learned during the installation process—from preparation to start-up—so you know what to expect if you’re considering this air handler for your own home.
📦 Step 0: Before You Begin – Prep & Tools
Electrical & Safety Prep
The Goodman wall-mounted air handler requires 208–230V power. Because it includes a 5 kW electric heater, it needs a dedicated breaker. That was the first thing my electrician checked before installation.
Pro tip: If you don’t already have a 230V line in place, factor in an extra $400–$800 for electrical work.
Tools & Materials Checklist
Here’s what the team used during my install:
-
Power drill + wall anchors
-
Level (critical for mounting)
-
Sheet metal screws & duct tape
-
Duct sealant (mastic)
-
Refrigerant line kit (R-32 compatible)
-
Electrical whip + disconnect box
-
Manifold gauges & vacuum pump (for refrigerant side)
👉 The U.S. Department of Energy strongly recommends leaving electrical and refrigerant work to licensed professionals for safety and warranty reasons.
🧰 Step 1: Choosing the Location
Goodman’s unit is just 20.2 inches wide, which makes it compact enough for small spaces.
I considered three possible spots:
-
Attic – too hot in summer, difficult to service.
-
Basement utility room – possible, but required more duct rerouting.
-
Hall closet – ✅ perfect fit, easy access for filter changes.
Lesson learned: Wall-mounted air handlers are ideal for closets, hallways, or apartments where every inch matters.
👉 The ACCA’s Manual D recommends ensuring at least 30 inches clearance for service access. I left 36 inches, just to be safe.
🔧 Step 2: Mounting the Unit
This was the part I was most curious about.
-
First, the contractor installed a wall bracket and checked it with a level.
-
The air handler was then carefully lifted and mounted onto the bracket.
-
Once secured, it sat flush against the wall, saving tons of floor space.
Pro tip: Use heavy-duty anchors if you’re not attaching directly to studs. The unit isn’t extremely heavy (under 100 lbs), but it needs to be secure.
👉 HVAC.com notes that improper mounting can cause vibrations and noise issues, so don’t cut corners here.
🌬️ Step 3: Connecting the Ductwork
Ductwork is where airflow meets efficiency.
-
The supply side (where conditioned air leaves) was aligned to the existing ducts.
-
The return side (where air re-enters) was routed from the hallway grille.
-
Every seam was sealed with mastic and wrapped with foil tape.
Lesson learned: Leaky ducts = wasted energy. Even the best unit won’t perform if ducts are poorly sealed.
👉 According to the EPA, sealing ducts can improve HVAC efficiency by 20% or more.
⚡ Step 4: Electrical & 5 kW Heater Hookup
This was the step where I knew better than to DIY.
-
The electrician ran a dedicated 230V line from the breaker box.
-
A disconnect switch was mounted near the unit for safety.
-
The 5 kW heater was wired in, ready to provide backup heat in winter.
Lesson learned: Electrical codes vary by state—always check local requirements.
👉 The National Electrical Code (NEC) mandates proper grounding and breaker sizing for HVAC equipment.
❄️ Step 5: Refrigerant Line & R-32 Compatibility
This Goodman unit is R-32 compatible, which is big news for 2025 since refrigerant regulations are shifting away from R-410A.
-
The contractor ran a pre-charged refrigerant line between the air handler and the outdoor condenser.
-
The built-in TXV (thermal expansion valve) automatically adjusted refrigerant flow.
-
After pulling a vacuum and checking for leaks, the system was charged and ready.
Lesson learned: The TXV makes life easier—it ensures optimal refrigerant flow without constant tweaking.
✅ Step 6: Testing & Start-Up
The final moment of truth!
-
The blower fan kicked on immediately.
-
Supply air measured a 20°F drop across the coil.
-
Humidity started dropping within 15 minutes.
-
The 5 kW heater engaged smoothly when tested.
I stood there smiling, tablet in hand, watching the thermostat readings stabilize. The system was quiet, efficient, and perfectly suited to my home.
👩🔧 Lessons I Learned Along the Way
Here’s what stood out most from the process:
-
Prep makes everything smoother.
-
Having the closet cleared and ducts pre-inspected saved hours.
-
-
Don’t DIY electrical or refrigerant.
-
It’s not worth the risk—or voiding your warranty.
-
-
Wall-mounted = space-saving magic.
-
I gained back floor space compared to my old unit.
-
-
TXV is a game changer.
-
It keeps comfort steady, no more cold blasts or sticky afternoons.
-
💡 DIY vs. Pro Install: What Makes Sense?
DIY-friendly tasks:
-
Clearing space & prepping location
-
Installing return grille and supply diffusers
-
Minor duct sealing
Pro-required tasks:
-
Electrical hookup (230V + 5 kW heater)
-
Refrigerant lines & vacuum test
-
Start-up and commissioning
👉 According to HomeAdvisor, professional HVAC installation adds $1,800–$3,500 to project cost—but it ensures safety, efficiency, and warranty coverage.
🏠 Samantha’s Final Advice
If you’re considering a Goodman 2 Ton Wall-Mounted Air Handler, here’s my takeaway:
-
✅ Great fit for small-to-mid homes and apartments
-
✅ Space-saving and efficient (thanks to TXV + R-32)
-
✅ Budget-friendly compared to Lennox or Carrier
-
✅ DIYers can prep, but pros should handle final hookups
👉 My install took one full day—prep in the morning, mounting mid-day, and electrical/refrigerant by late afternoon. By dinner time, we were sitting in cool, comfortable air.
🎯 Final Takeaway
Installing a 2 Ton Goodman Wall-Mounted Air Handler is not a weekend DIY project—but it is something homeowners can prepare for and understand.
With the right prep, a good contractor, and a clear idea of what to expect, the process is smooth—and the results are worth every penny.
👉 My advice: do the prep yourself, but trust the pros for the finish. You’ll save time, stress, and protect your investment.
In the next topic we will know more about: Maintenance Checklist: Filters, Drains & Seasonal Care for Your 2 Ton Goodman Air Handler


