When I first decided to replace my old boiler with the Weil-McLain CGI-4 Series 4 90,000 BTU Cast Iron Natural Gas Boiler, I thought it would just be a matter of swapping the old unit out and connecting the new one. Spoiler alert: it wasn’t that simple.
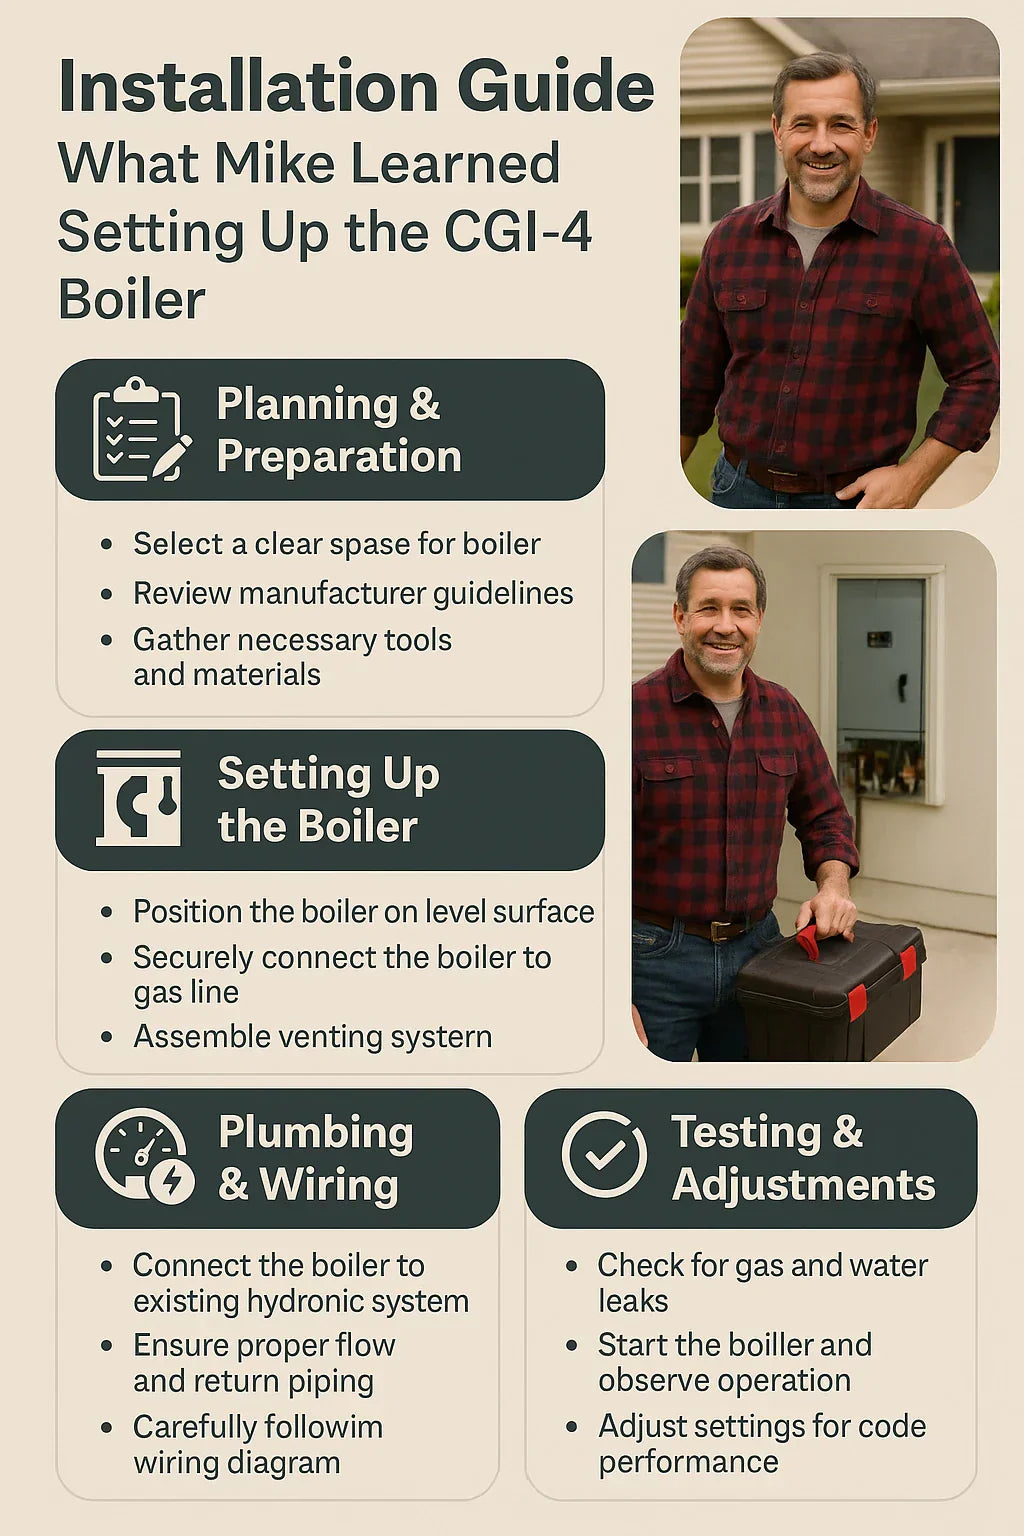
In this guide, I’ll walk you through everything I learned — from planning and sizing, to setting it up, to the final testing. Whether you’re a DIYer like me or just want to understand what your contractor is doing, this should save you a lot of time, money, and frustration.
🏠 Why I Chose the Weil-McLain CGI-4 Boiler
The CGI-4 is part of Weil-McLain’s cast iron gas boiler lineup, known for their durability and steady heating. What sold me:
-
BTU rating (90,000 BTUs): Perfect for my mid-sized home in the Midwest.
-
Cast iron heat exchanger: Long-lasting, corrosion resistant.
-
Reliability: Weil-McLain has a strong reputation in the boiler world.
-
Compatibility: Worked with my existing baseboard radiator system.
👉 For anyone shopping boilers, I recommend checking Energy.gov’s home heating guide to understand how BTUs relate to home size and insulation.
📐 Step 1: Sizing the Boiler Correctly
Before you buy or install, you need to confirm 90,000 BTUs is enough (or not too much).
-
Rule of thumb: 30–60 BTUs per square foot, depending on insulation and climate.
-
My home: 1,600 sq. ft., older construction, located in a colder climate zone.
-
Using a Manual J load calculation, 90,000 BTUs hit the sweet spot.
🔗 Helpful tool: Energy Star’s Home Energy Yardstick can give you a quick idea of your home’s efficiency before you size equipment.
💡 Mike’s Tip: Oversizing a boiler wastes money, short cycles the system, and can cause comfort issues. Undersizing leaves you cold in January. If in doubt, have a pro run a Manual J calculation.
🛠️ Step 2: Preparing the Installation Area
This part surprised me. You can’t just drop the boiler in the same place as the old one without checking:
-
Clearances: Weil-McLain specifies minimum spacing from walls and other equipment.
-
Floor condition: The boiler is heavy — cast iron is no joke. I reinforced the utility room floor with a concrete pad.
-
Venting: My old system vented through a chimney. The CGI-4 needed updated venting materials to meet code.
🔗 Reference: Weil-McLain installation manuals outline exact clearance and venting requirements.
💡 Mike’s Tip: If your floor is wood or uneven, consider pouring a small pad or using a manufactured base. It makes leveling easier and protects against water damage.
🔌 Step 3: Gas Line & Electrical Requirements
The CGI-4 requires both natural gas hookup and 120V electrical service.
-
Gas line: Had to be sized correctly to handle the demand. I upsized mine from ½-inch to ¾-inch for consistent flow.
-
Shutoff valve: Installed a new valve right before the boiler for safety.
-
Electrical: Wired to a dedicated circuit with a switch nearby for emergency shutoff.
👉 For safety, I reviewed NFPA gas code guidelines before touching anything gas-related.
💡 Mike’s Tip: If you’re not 100% comfortable with gas or electrical work, hire a licensed pro for this part. Mistakes can be dangerous (or even deadly).
🌬️ Step 4: Venting & Combustion Air
Proper venting is critical for any natural gas boiler.
-
Flue pipe: Connected to a lined chimney, using stainless steel for longevity.
-
Slope: The vent pipe had to slope upward toward the chimney for proper draft.
-
Combustion air: My utility room needed more airflow. I added a small louvered vent to bring in outside air.
🔗 The U.S. Department of Energy has a great resource on venting gas appliances.
💡 Mike’s Tip: Check for backdrafting with a smoke pencil. If exhaust gases don’t go up the flue, stop immediately and fix the venting. Carbon monoxide is no joke.
💧 Step 5: Water Piping & Circulators
The water piping is where things got tricky.
-
Supply & return: The CGI-4 requires correct piping into the heating loop.
-
Circulator pump: Installed on the supply side with isolation valves.
-
Expansion tank: Mounted on the supply, properly pressurized.
-
Air separator: Added a Spirovent to bleed air automatically.
🔗 Bell & Gossett has solid resources on hydronic heating piping layouts.
💡 Mike’s Tip: Spend the extra money on isolation valves. Being able to shut off sections for maintenance is a lifesaver later.
⚡ Step 6: Controls, Thermostat & Safety Devices
The boiler comes with safeties, but you still need to wire and configure everything.
-
Aquastat: Controls water temp. Set mine to 180°F max.
-
Pressure relief valve: Factory-installed, tested before startup.
-
Low-water cutoff: Essential to prevent dry firing.
-
Thermostat: I upgraded to a smart thermostat compatible with hydronic systems (Ecobee works great).
💡 Mike’s Tip: Don’t cheap out on safeties. A $60 low-water cutoff can prevent a $3,000 boiler replacement.
🔥 Step 7: First Startup & Testing
Here’s the process I followed:
-
Fill system with water → Check for leaks.
-
Purge air → Used hose bibs and auto vents.
-
Check gas pressure → Verified with a manometer.
-
Fire the boiler → Watched the flame through the sight glass.
-
Measure temps → Supply/return differential around 20°F was perfect.
-
CO test → Verified safe exhaust levels.
👉 If you don’t own the tools, it’s worth having a contractor do the final startup and combustion test.
🔗 The EPA’s carbon monoxide guide explains why this step is so critical.
🧰 Step 8: Maintenance After Installation
Once installed, the work isn’t over. Boilers last decades only if you maintain them.
-
Annual tune-up: Burner cleaning, efficiency test, vent inspection.
-
Seasonal checks: Pressure, water level, thermostat calibration.
-
Flushing: Once a year to prevent sediment buildup.
-
Expansion tank check: Tap it to confirm water/air balance.
🔗 Home Energy Saver has a checklist of maintenance tasks that help extend boiler life.
💡 Mike’s Tip: Keep a logbook. Write down every service, pressure reading, and adjustment. It helps troubleshoot years later.
💲 Costs I Didn’t Expect
Even DIY, I had surprise expenses:
-
New vent liner: $400
-
Upgraded gas line: $250
-
Extra valves & fittings: $150
-
Pro combustion test: $200
Total “extras”: about $1,000 on top of the boiler itself.
📝 Mike’s Final Takeaways
-
Plan carefully — Measure, size, and prep before moving the unit.
-
Don’t skip safety devices — They’re as important as the boiler itself.
-
Expect extras — Venting, piping, and controls always add cost.
-
Pro check — Even if you DIY most of it, have a pro test combustion and CO levels.
The Weil-McLain CGI-4 has been running strong in my home since I installed it. The learning curve was steep, but now I understand my heating system inside and out.
If you’re considering this boiler, I can confidently say: it’s worth the effort.
In the next topic we will know more about: Maintenance Checklist: Keeping Your Weil-McLain CGI-4 Boiler Running Smooth


