The Field-Test Method That Saves You From Freeze-Ups, High Bills, and Miserable Room Temps
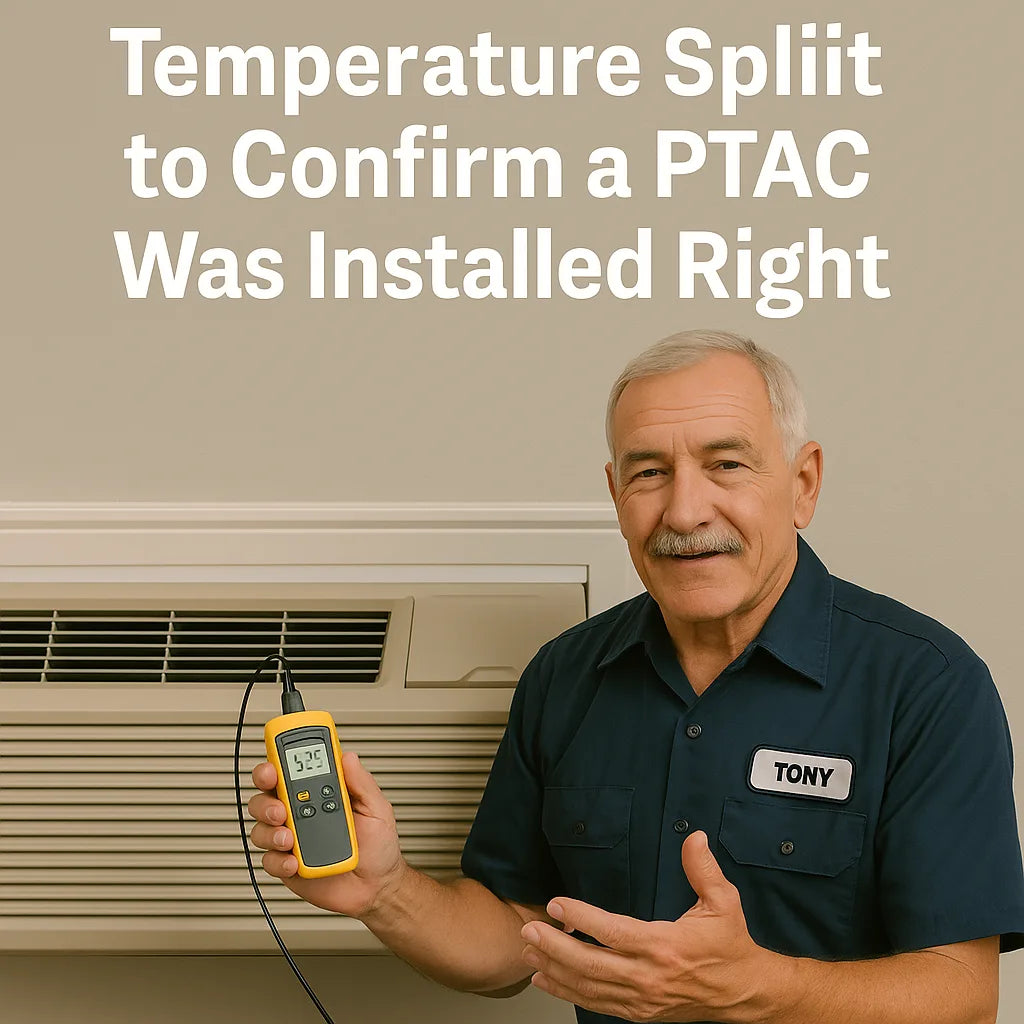
Most people check a PTAC by turning it on, feeling the air, and saying, “Yep, it blows cold.”
Tony laughs every time.
“Feeling the air is for amateurs.
The temperature split tells you whether the system is actually doing its job.”
Whether it’s cooling or heating, a PTAC lives or dies by its temperature split, also called the Delta T (ΔT).
This single measurement reveals more about a PTAC install than anything else.
Tony uses temperature split to diagnose:
-
bad airflow
-
incorrect sleeves
-
leaky wall penetrations
-
low or high refrigerant charge
-
coil restriction
-
thermostat issues
-
return air blockages
-
dirty filters
-
improper pitch
-
failing blower motors
-
humidity overload
-
compressor performance
-
incorrect BTU sizing
Because if the split is wrong, the installation is wrong — no matter how new the unit is.
This is Tony’s complete field guide to using ΔT to verify a PTAC installation.
Amana J-Series PTAC Model 15,000 BTU PTAC Unit with 3.5 kW Electric Heat
🌡️ What Is Temperature Split (ΔT)? Tony’s Simple Explanation
Temperature split = Return Air Temp − Supply Air Temp
For PTAC cooling mode:
-
Return (room) air enters the intake grill
-
Supply (conditioned) air leaves the front
Tony measures both — then subtracts.
Example:
-
Return air: 75°F
-
Supply air: 55°F
-
Split: 20°F
That is a PERFECT split for cooling.
A correct ΔT tells Tony the system:
-
has correct airflow
-
has a healthy coil
-
is moving refrigerant properly
-
is dehumidifying
-
was installed correctly
The U.S. DOE confirms that proper airflow and temperature differences are key indicators of AC performance:
https://www.energy.gov/energysaver/maintaining-your-air-conditioner
❄️ Tony’s Target Splits (The Exact Numbers He Uses)
PTACs typically follow these ranges:
❄️ Cooling Mode ΔT (Temperature Split)
18°F–22°F is ideal
15°F–18°F is acceptable
< 15°F is a problem
> 22°F is also a problem
🔥 Heating Mode ΔT (Heat Pump Mode)
25°F–35°F is healthy
20°F–24°F may indicate weak capacity
< 20°F means something is off
🔥 Heating Mode ΔT (Electric Heat Kit)
35°F–55°F is common
Higher splits = more electric usage
Very high splits = possible airflow restriction
This aligns with typical HVAC system performance standards as published by ASHRAE:
https://www.ashrae.org/technical-resources/ashrae-handbook
🧰 The 60-Second Tool Tony Uses for Every Test
Tony does NOT guess airflow temp with his hand.
He uses:
→ A fast-read digital probe thermometer
or
→ A dual-probe HVAC thermometer
They cost $15–$80 and outperform cheap IR guns, which are inaccurate on plastic grills.
ASHRAE and AHRInet both support probe-based measurements for HVAC diagnostics:
https://www.ahrinet.org/
🧪 Why Temperature Split Works (The Science Behind It)
Split reflects:
-
refrigerant evaporation temperature
-
airflow velocity
-
coil load (from humidity + room heat)
-
compressor capacity
-
duct-free pressure
-
heat transfer efficiency
If the split is WRONG, it means energy is being converted incorrectly inside the PTAC.
That means the installation is wrong — not the PTAC itself.
Tony says:
“If the split is wrong, the system is trying to tell you something.
Don’t ignore it.”
🔍 Cooling Mode Diagnosis — What the Split Tells Tony
Below are the most common problems and what ΔT reveals.
🔵 Split Under 15°F — Room Not Cooling Enough
Causes:
-
high airflow
-
dirty filter
-
return air bypassing coil
-
wrong sleeve
-
air recirculating from outside grill
-
refrigerant issue
-
coil not cold enough
-
poor dehumidification
-
thermostat misplacement
🔵 Split Over 22°F — TOO Cold, Risk of Freeze-Up
The coil is getting TOO cold.
Causes:
-
low airflow
-
dirty filter
-
blocked return
-
clogged evaporator
-
blower motor weak
-
coil icing starting
-
oversized PTAC
-
humidity too high
-
sleeve not properly pitched
-
outdoor air infiltration
This split is a MASSIVE warning sign.
The DOE mentions airflow restrictions as a major cause of poor coil performance
🔥 Heating Mode Diagnosis — What the Split Tells Tony
Heat pump heating splits reveal:
-
compressor condition
-
refrigerant charge
-
airflow rate
-
defrost cycle need
-
coil cleanliness
Electric heat splits reveal:
-
blower health
-
airflow blockage
-
heat kit performance
Tony uses ΔT to find:
-
burning smell sources
-
overheating wires
-
failing limit switches
-
incorrect kit size
-
electric-strip short cycling
🌬️ Airflow Is Half the Split — Wrong Airflow = Wrong ΔT
Most split problems come from airflow problems.
These include:
-
bed too close
-
curtains hanging over intake
-
blocked return
-
clogged filter
-
kinked sleeve insulation
-
grill damage
-
off-balance blower
-
high fan speed in humid climates
The DOE and ENERGY STAR emphasize airflow as the #1 HVAC performance factor
🧱 Install Problems Tony Finds Using Split Testing
If ΔT is wrong, Tony looks for THESE installation mistakes:
🧰 1. Wrong Sleeve or Wrong Sleeve Depth
Poor sleeves cause:
-
recirculated hot air
-
coil overheating
-
bad dehumidification
-
no condenser airflow
🧱 2. Sleeve Not Sealed Properly
Gaps allow humid air to enter, ruining ΔT.
🌡️ 3. Incorrect Thermostat Position
If the thermostat senses wrong air, the PTAC never stabilizes.
🧊 4. Poor Pitch – Condensate Re-Evaporates
The drain should tip outward, not inward.
⚙️ 5. Unit Not Fully Inserted Into Sleeve
This causes outside air recirculation.
🌪️ 6. Wrong Fan Settings
High fan in humid climates = bad latent performance.
🔍 Tony’s Step-by-Step Temperature Split Procedure
Here’s Tony’s actual process in the field:
🧭 Step 1 — Stabilize the Room
-
Close doors
-
Set PTAC to 70°F (cooling)
-
Let it run 10 minutes
-
Keep fan on LOW
🌡️ Step 2 — Measure Return Air
Probe goes:
-
inside return grill
-
NOT on plastic
-
1–2 inches behind intake fins
❄️ Step 3 — Measure Supply Air
Probe goes:
-
inside the first 3–5 inches of airflow path
-
NOT on metal or plastic
-
directly into the coldest part of the stream
➗ Step 4 — Subtract Values
Return − Supply = ΔT
🔁 Step 5 — Repeat With Fan on High
This shows airflow effect on split.
🧼 Step 6 — Remove and Clean Filters / Coils
Re-test after cleaning.
❄️ Step 7 — Run for 30 Minutes & Re-Test
Steady-state operation reveals long-term behavior.
⚠️ Tony’s Warning Signs (If You See These, Something Is Wrong)
These always indicate an installation or airflow issue:
-
ΔT changing more than 3°F in 15 minutes
-
Split improving on LOW fan but dropping on HIGH
-
Split only good when filter removed
-
Split drops during heavy humidity
-
Split too high at startup then crashes
Every one of these gives Tony a clue about airflow problems, refrigerant condition, sleeve leaks, or thermostat misreading.
🛠️ Common Problems Tony Fixes Using Split Diagnosis
❄️ 1. Freeze-Up
Split too high (greater than ~22°F).
📉 2. Weak Cooling
Split too low (< 15°F).
😓 3. Poor Dehumidification
Split swings wildly.
🔥 4. Overheating in Heating Mode
Split too high → airflow restricted.
⚡ 5. High Energy Bills
Split inconsistent → long runtimes.
🧪 Real Case Studies — What Tony Found
🏨 Hotel PTAC Running Weak
ΔT: 10°F
Cause: Curtain blocking return.
Fix: Tiebacks installed.
🏠 Apartment PTAC Freezing Every Night
ΔT: 28°F
Cause: Dirty filter + low fan speed + high humidity.
Fix: Cleaned filter + switched to continuous low fan + sealed sleeve.
🧊 Basement PTAC Never Dehumidifying
ΔT: 12°F
Cause: High airflow + humidity load too large.
Fix: Lower fan → ΔT reached 19°F.
🔥 Heat Kit Smell in Heating Mode
ΔT: 60°F
Cause: Severe airflow blockage overheating strips.
Fix: Furniture moved.
🧠 Tony’s Golden Rule: “The Split Never Lies.”
BTUs lie.
Thermostats lie.
Even labels lie.
But the temperature split always reveals the truth, because it measures:
-
real airflow
-
real refrigerant behavior
-
real coil performance
-
real room load
If the split is right → the install is right.
If the split is wrong → the install is wrong.
No exceptions.
🏁 Final Word — If You’re Not Checking Split, You’re Guessing
Temperature split is the quickest, cheapest, most reliable test Tony uses.
It tells him:
-
Did the installer seal the sleeve properly?
-
Is the airflow correct?
-
Is the coil healthy?
-
Is the refrigerant circuit working?
-
Is the PTAC sized properly?
-
Is the thermostat reading real room air?
-
Does the heat kit have proper airflow?
-
Is humidity overwhelming the coil?
Tony’s final say:
“A PTAC is innocent until temperature split proves it guilty.”
If you want a room that:
-
cools quickly
-
heats evenly
-
dehumidifies correctly
-
never freezes
-
runs quiet
-
lasts longer
-
costs less
Then measure the split.
Because that’s the only diagnostic that ALWAYS tells the truth.
Buy this on Amazon at: https://amzn.to/47cH9ut
In the next topic we will know more about: Why Exterior Wall Type Changes Your Entire PTAC System Design


