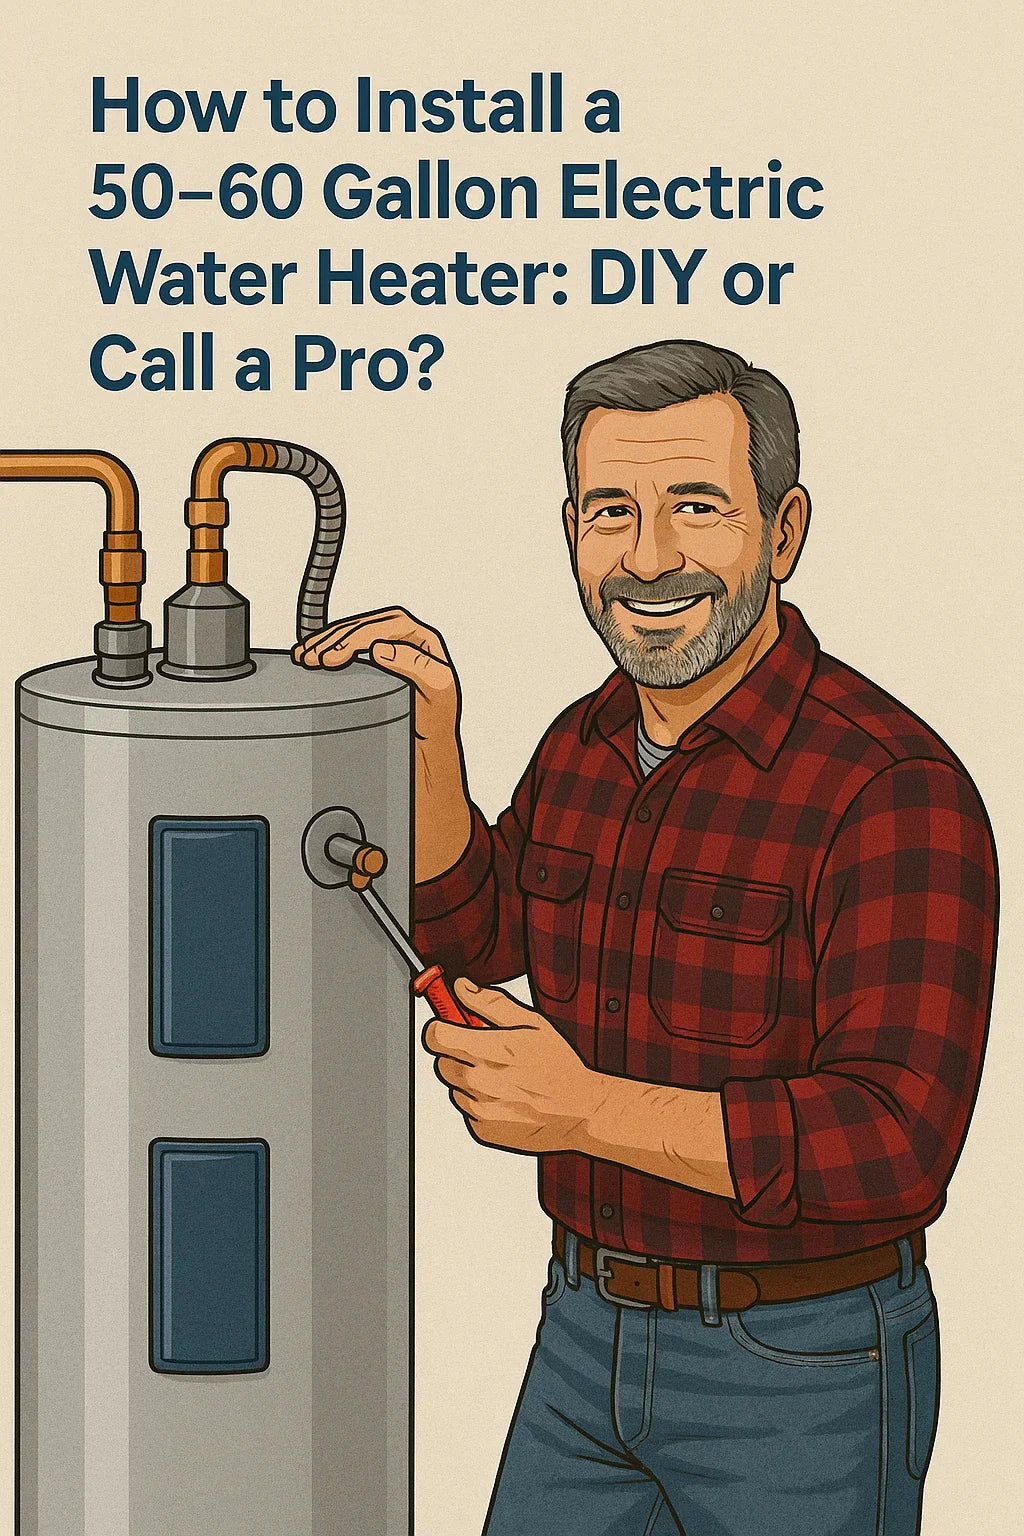
Upgrading to a 50- or 60-gallon electric water heater can mean more comfort, fewer cold showers, and better hot water recovery—but installing one? That’s another story.
If you're like Mike—handy around the house and ready to take on a new DIY project—you might be wondering: Can I install a water heater myself, or should I call a pro? This guide breaks it down step by step: what’s involved, when it’s safe to DIY, and when it's smart to bring in a licensed professional.
🧰 Tools & Supplies You’ll Need
Whether you're replacing an existing electric unit or installing one for the first time, here’s what you’ll likely need:
Tools
-
Pipe cutter or hacksaw
-
Pipe wrench or adjustable wrench
-
Voltage tester
-
Screwdrivers (flat and Phillips)
-
Utility knife
-
Bucket and towels
-
Tape measure
-
Level
-
Cordless drill
Materials
-
Flexible water heater connectors
-
Teflon tape or pipe joint compound
-
Electrical wire nuts / conduit connectors
-
Drain pan
-
New TPR valve (if not pre-installed)
-
Dielectric nipples
-
Optional: Expansion tank, shutoff valves, foam insulation
🏡 DIY Feasibility: When Can You Do It Yourself?
You can do it yourself if:
-
You’re replacing an existing electric unit (same size and voltage)
-
The plumbing and electrical are already up to code
-
You’re comfortable with water and electrical work
-
Your local codes allow homeowners to install their own heater
You should call a pro if:
-
You’re switching from gas to electric (or vice versa)
-
You’re not sure about your electrical panel's capacity
-
You don’t know what local codes or permits are required
-
You need to run new wiring, install an expansion tank, or add drainage lines
Check with your local building department or use PermitPlace to verify local requirements.
⚡ Electrical Requirements to Check
Before you touch anything:
-
Turn off the breaker to the water heater circuit
-
Use a non-contact voltage tester to confirm power is off
Minimum Specs for a 50–60 Gallon Electric Water Heater:
-
240V dedicated circuit
-
30-amp breaker
-
10-gauge wire (minimum)
If your panel is maxed out, you’ll need an electrician to upgrade service or add a subpanel.
See NFPA 70 for NEC electrical requirements for water heaters.
📏 Step-by-Step DIY Installation Guide
Note: Always follow the manufacturer’s instructions included with your unit.
1. Shut Off Utilities
-
Turn off power at the breaker
-
Turn off cold water supply to the heater
2. Drain the Old Tank
-
Attach hose to drain valve
-
Open TPR valve to release pressure
-
Drain completely into a floor drain or outside
3. Disconnect Electrical & Plumbing
-
Remove wire nuts and separate wires
-
Unscrew water connections (hot/cold)
-
Remove the old unit from the pan (use a dolly if needed)
4. Position the New Heater
-
Place the new tank in a drain pan
-
Orient the hot and cold nipples correctly
-
Level the unit using shims if necessary
5. Connect Water Lines
-
Use flex connectors for easier alignment
-
Apply Teflon tape on threads
-
Secure fittings and check alignment
6. Wire the Heater
-
Strip wires to 3/4"
-
Connect black to black, red to red, ground to green screw
-
Secure with wire nuts and cover
7. Fill the Tank
-
Open cold water supply
-
Open a hot faucet to bleed air
-
Fill tank completely before turning on power
8. Check for Leaks & Restore Power
-
Inspect all joints
-
When full, flip the breaker back on
🔍 Safety Tips for DIYers
-
Never turn on power to an empty tank—it will burn out heating elements
-
Don’t overtighten pipe fittings; use thread sealant instead
-
Test the Temperature & Pressure Relief (TPR) valve once installed
-
Consider installing a vacation mode timer for energy savings
Watch this Home Depot installation walkthrough for visual help.
💸 DIY vs. Professional Install: Cost Breakdown
| Item | DIY Cost | Professional Cost |
|---|---|---|
| Water heater (50–60 gal) | $600–$1,200 | $600–$1,200 |
| Installation materials | $60–$120 | Included |
| Labor | $0 (your time) | $600–$1,000 |
| Permit (if required) | $50–$150 | Usually included |
| Total | ~$700–$1,400 | ~$1,200–$2,200 |
Note: A failed DIY install could void your warranty or require a re-install by a licensed contractor. Always check manufacturer terms.
🛠️ When to Absolutely Hire a Pro
-
You need to install or relocate a drain pan
-
You’re running new electrical service
-
Your local code requires licensed contractor installation
-
You’re installing a hybrid heat pump water heater
-
You want peace of mind or warranty protection
Find qualified water heater contractors near you.
✅ Mike’s Takeaway
Mike’s confident with plumbing and electrical tools, and his existing 50-gallon electric unit is being replaced with a similar size. He checks his panel, reviews the code, gets his permit, and knocks it out in an afternoon with a little help from a buddy.
But if you’re not 100% sure about wiring, code requirements, or how to safely test a pressure relief valve, a licensed pro is worth every penny.
When in doubt, you can always prep the space, remove the old unit, and have the pro handle the final install.
📌 Final Thoughts
Installing a 50–60 gallon electric water heater is possible for skilled DIYers—but not without risk. Know your limitations, follow every safety rule, and don’t skip permits.
For help choosing a model or checking size fit, visit the Furnace Outlet Sizing Guide.
In the next topic we will know more about: Which Brands Stand Out? Comparing AO Smith vs. Rheem vs. Bradford White


