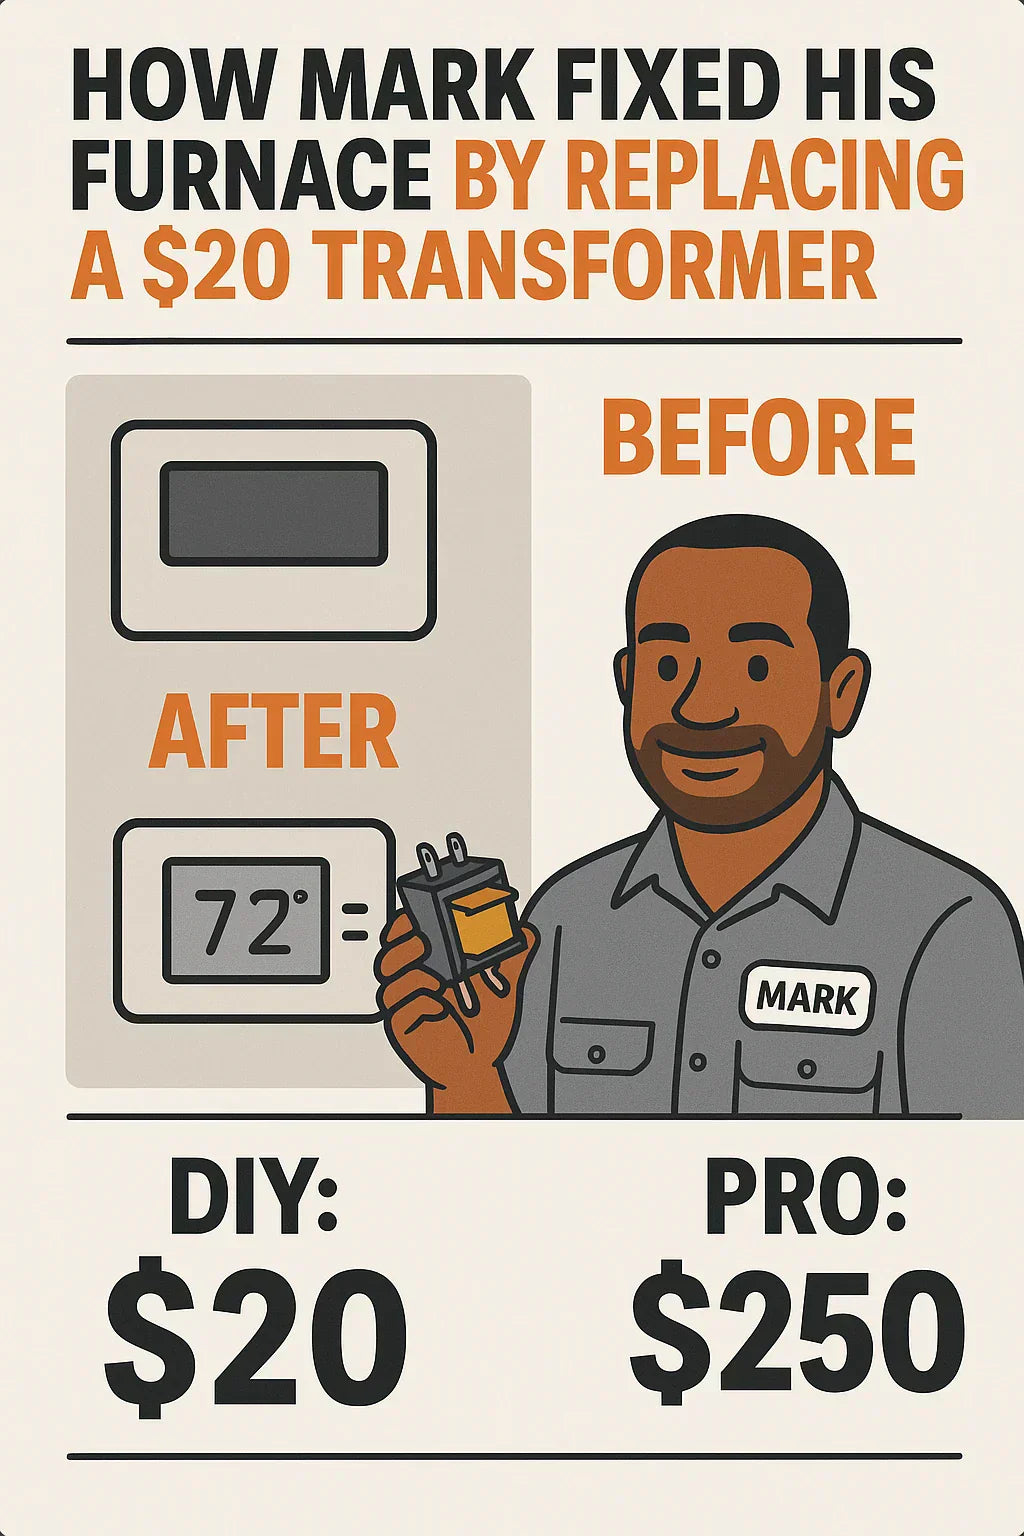
It was the middle of January when my thermostat suddenly went dark. No heat, no fan, nothing. If you’ve ever been in that situation, you know the sinking feeling: this is going to be expensive.
Like many homeowners, I immediately thought of the worst—blown furnace, bad control board, maybe even a full replacement. But after a little troubleshooting, I discovered the problem was something much smaller (and cheaper): a bad transformer.
Goodman 120V to 24V Transformer 0130M00140S
In the end, I fixed my furnace for about $20 and less than an hour of work. Here’s exactly how it happened, what I learned, and how you can do the same if you ever face this issue.
🧾 Table of Contents
-
🥶 The Problem: Furnace Suddenly Stopped Working
-
🔍 The Diagnosis: Finding the Real Culprit
-
🛠 The Fix: Replacing the Transformer
-
✅ The Result: Heat Restored for $20
-
💲 DIY vs. Pro Cost Breakdown
-
📖 Lessons I Learned Along the Way
-
🛡 Safety First: What You Should Know Before Trying This
-
🔄 When to DIY vs. When to Call a Pro
-
❓ FAQs About Transformer Replacements
-
📚 Final Thoughts
🥶 1. The Problem: Furnace Suddenly Stopped Working
It started like this:
-
Thermostat went blank—no display.
-
Furnace was completely silent.
-
Fan wouldn’t turn on, even in “On” mode.
First thought: maybe it was the breaker. I checked my electrical panel—no tripped breakers. That meant the furnace was getting power but wasn’t delivering it to the control circuits.
👉 Learn more about basic troubleshooting here: Energy.gov – Furnace and Boiler Troubleshooting
🔍 2. The Diagnosis: Finding the Real Culprit
When an HVAC system goes completely dead, one of the most common culprits is the 24V transformer.
Here’s how I figured it out:
-
Step 1: Checked the fuse on the control board. It was blown.
-
Step 2: Tested the transformer with a multimeter.
-
Primary (120V side) had power.
-
Secondary (24V side) read 0V.
-
-
Step 3: Confirmed the transformer itself had failed.
👉 How to test: SFGate – How to Test a Furnace Transformer
🛠 3. The Fix: Replacing the Transformer
Once I confirmed the transformer was bad, I headed to a local supplier and bought a Goodman-compatible 40VA 120V-to-24V transformer for about $20.
Here’s how I replaced it:
-
Turned off power at the breaker. Safety first.
-
Took a photo of all wiring connections.
-
Disconnected old transformer (primary and secondary wires).
-
Removed the mounting screws.
-
Installed the new transformer in the same spot.
-
Reconnected wiring, matching exactly to the photo.
-
Double-checked connections for tightness.
-
Restored power at the breaker.
👉 Wiring help: Goodman HVAC Manuals
✅ 4. The Result: Heat Restored for $20
The moment of truth:
-
I flipped the breaker back on.
-
My thermostat lit up immediately.
-
Furnace started its startup sequence.
-
Within 5 minutes, warm air was flowing again.
Total cost: $20 part + about 45 minutes of my time.
💲 5. DIY vs. Pro Cost Breakdown
Here’s the comparison:
| Option | Part Cost | Tools/Labor | Total Cost | Time |
|---|---|---|---|---|
| DIY | $20–$40 | $0 (if you own tools) | $20–$50 | 45–60 min |
| Pro | $20–$40 | $150–$300 labor/service fee | $200–$350 | 30–60 min |
👉 National averages: Forbes – HVAC Repair Costs
For me, DIY meant saving about $250.
📖 6. Lessons I Learned Along the Way
-
Take photos of wiring. It’s the easiest way to avoid mistakes.
-
Always check the fuse first. Sometimes it’s just that.
-
Test before replacing. Multimeter confirmed the transformer, not the board, was the issue.
-
Inline fuses are lifesavers. Adding one afterward means my transformer is now protected.
👉 Protection tips: Honeywell – Transformer Sizing & Protection
🛡 7. Safety First: What You Should Know Before Trying This
While 24V is safe to touch, the primary side of the transformer carries 120V or 240V, which can be dangerous.
-
Always cut power at the breaker.
-
Verify with a non-contact voltage tester.
-
Never bypass fuses.
-
If you’re unsure, call a pro.
👉 Safety reference: OSHA Electrical Safety Standards
🔄 8. When to DIY vs. When to Call a Pro
DIY is fine if:
-
You’re comfortable using a multimeter.
-
You know how to safely shut off power.
-
You’re doing a straightforward like-for-like replacement.
Call a pro if:
-
Transformer keeps blowing after replacement.
-
You suspect a wiring short or bad contactor.
-
You’re not comfortable working around 120V wiring.
👉 Troubleshooting help: HVAC School – Common 24V Problems
❓ 9. FAQs About Transformer Replacements
Q: How long should a transformer last?
A: 15–20 years, unless overloaded or shorted.
Q: Can I use a universal transformer instead of Goodman OEM?
A: Yes, as long as the input/output specs and VA rating match.
Q: What if my transformer blows again right after replacement?
A: Likely a wiring short or bad accessory. Bigger transformers won’t fix this—find the root cause.
Q: Does a new thermostat always require a bigger transformer?
A: Only if it draws significant power (Wi-Fi models often do).
📚 10. Final Thoughts
When my furnace went dark, I thought I was in for a $500+ repair bill. Instead, I fixed it for $20 and less than an hour of work.
The key was simple: test first, replace carefully, and respect safety.
Not every furnace issue will be this easy, but sometimes, it really is just a small part standing between you and comfort.
👉 Takeaway: Before panicking about big-ticket repairs, check your transformer—you might just save yourself a lot of money.
In the next topic we will know more about: What to Look for When Buying a Replacement 120V to 24V Transformer


