When I (Mark) bought my Amana through-the-wall air conditioner, I was focused on the unit itself. Then I learned I also needed a wall sleeve—a sturdy metal housing that slides into the wall and holds the AC in place. Honestly, the extra cost felt annoying at first.
Amana Through-the-Wall Air Conditioner Wall Sleeve
But after going through the process myself, I realized the wall sleeve is a small investment that protects a much bigger one—your AC unit and your home. In this guide, I’ll break down exactly how much you should budget for a wall sleeve, including equipment, installation, extra materials, and hidden costs you might not think about.
🏠 Why Budget for a Wall Sleeve?
Before we get into numbers, here’s why the sleeve is worth including in your budget:
-
🛡️ Protects your wall from water and pest damage.
-
🌬️ Seals against drafts to reduce energy bills.
-
🔧 Provides structural support for heavy AC units.
-
📜 Ensures warranty compliance with Amana.
The U.S. Department of Energy warns that poor AC installation can reduce efficiency by 20–30%, costing you money every month . Much of that comes down to whether the sleeve is installed and sealed correctly.
💵 Equipment Costs: Amana vs. Universal Sleeves
The biggest cost is the sleeve itself. Prices vary depending on brand.
-
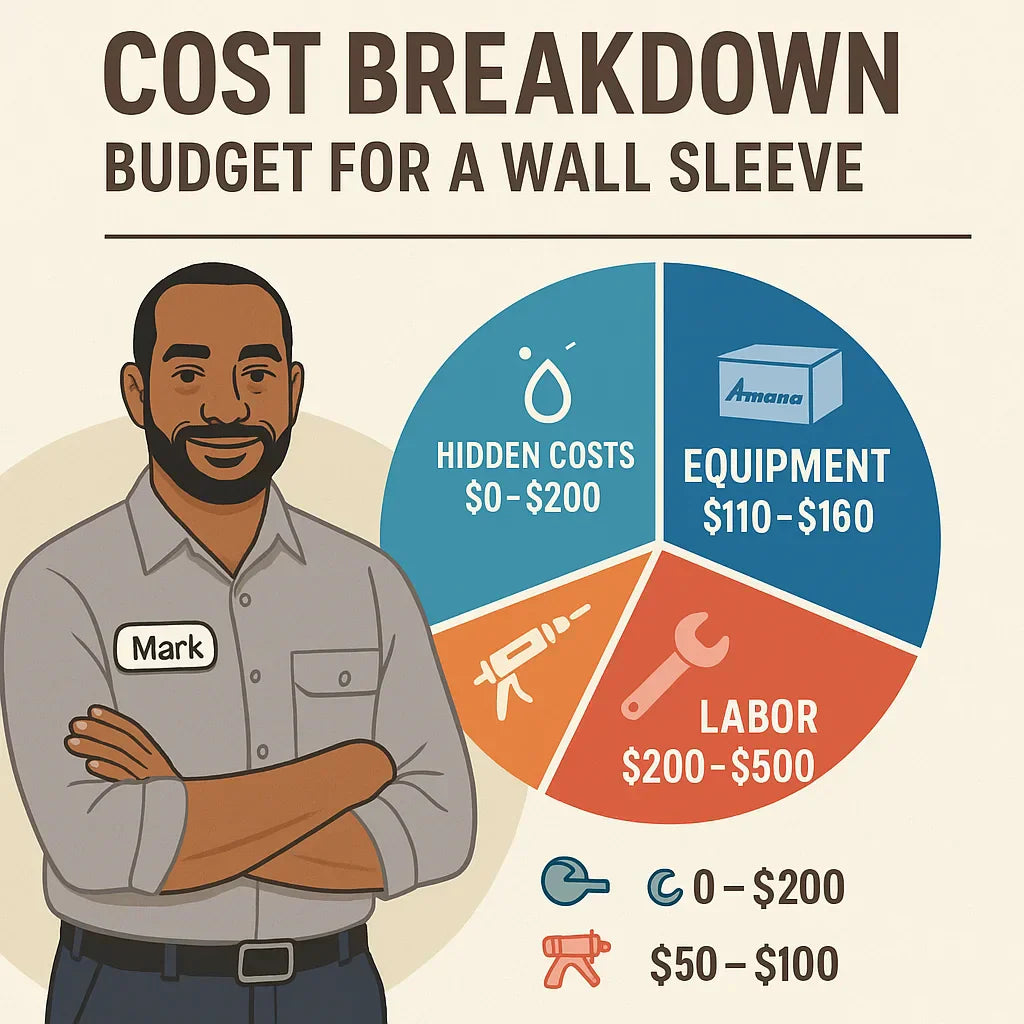
Amana Wall Sleeve: $110–$160
-
Universal Wall Sleeve: $70–$120
Why the difference?
-
Amana sleeves are engineered specifically for Amana units (26” width).
-
Universals try to “fit all” brands but often leave gaps.
-
Using a universal may void Amana’s warranty .
👉 Mark’s Take: I spent about $40 more for the Amana sleeve. That decision saved me from fixing drywall later when rain leaked in through a universal sleeve that didn’t fit right.
🔧 Installation Labor Costs
The next big factor is whether you’ll install it yourself or hire a pro.
DIY Installation
-
Cost: $0 in labor (just your time).
-
Tools Needed: drill, saw, caulk gun, level.
-
Skill Level: moderate—cutting and sealing a wall opening isn’t difficult if you’re careful.
Professional Installation
-
Cost: $200–$500
-
Factors that Raise Cost:
-
Brick or masonry walls
-
Enlarging a cut-out
-
Additional sealing or trim work
-
👉 Mark’s Story: I got a quote for $425 to install my sleeve. Instead, I spent a Saturday doing it myself. It took about four hours, but I saved hundreds.
📦 Extra Materials & Tools
Even with the sleeve, you’ll need a few extras to do the job right:
-
🧴 Caulk & Sealant: $10–$20
-
🧻 Insulation Strips or Spray Foam: $15–$30
-
🔩 Support Brackets (Optional): $25–$50 (for older homes/brick walls)
-
🧤 Safety Gear: $15–$30 (goggles, gloves, dust mask)
👉 Mark’s Tip: Don’t cheap out on caulk. A $10 tube of good silicone can prevent a $500 water damage repair later.
📊 Total Budget Ranges
Here’s what you can expect to spend depending on your approach:
| Scenario | Sleeve Cost | Labor | Extras | Total |
|---|---|---|---|---|
| DIY with Amana Sleeve | $120–$160 | $0 | $50–$100 | $150–$250 |
| DIY with Universal Sleeve | $70–$120 | $0 | $50–$100 | $120–$200 |
| Pro Install with Amana Sleeve | $120–$160 | $200–$500 | $50–$100 | $350–$650 |
| Pro Install with Universal Sleeve | $70–$120 | $200–$500 | $50–$100 | $300–$550 |
👉 Mark’s Lesson: The cheapest option isn’t always the best. I paid $40 more for the Amana sleeve but avoided the hidden costs of redoing bad work.
🌡️ Long-Term Value: Why the Sleeve Pays for Itself
Even though the sleeve adds $100–$150 to your project, it can save you much more in the long run.
-
Energy Bills: Sealed sleeves prevent drafts. Energy Star says air leaks waste 25–40% of home heating/cooling .
-
Water Damage Prevention: Repairing drywall or framing from water seepage can cost $500–$2,000.
-
AC Lifespan: Proper drainage and sealing keep your unit running longer.
-
Warranty Protection: Amana requires approved sleeves for coverage .
👉 Mark’s Note: After sealing my sleeve properly, my electric bill dropped by about $15/month in summer compared to the drafty universal sleeve I had before. That’s nearly $200/year in savings.
🚨 Hidden Costs of Skipping the Sleeve
If you’re tempted to skip or downgrade the sleeve, here’s what can happen:
-
🌬️ Drafts & Higher Utilities: Poor sealing makes the AC run longer.
-
🌧️ Water Damage: Moisture causes mold and wall rot.
-
🐜 Pest Entry: Gaps are an open door to ants, spiders, and mice.
-
❄️ Shorter AC Life: Corrosion from moisture ruins coils and electronics.
👉 Mark’s Story: I once skipped caulking around a universal sleeve. Within months, I had peeling paint and mold on the interior wall. Fixing that cost $200—far more than the savings from the cheap sleeve.
🏗️ DIY vs. Pro: Which Should You Choose?
Go DIY If:
-
You’re comfortable cutting drywall or siding.
-
You own basic power tools.
-
You want to save $300–$500.
Hire a Pro If:
-
Your wall is brick, stone, or extra thick.
-
The opening needs major resizing.
-
You’re not confident sealing against water.
👉 Mark’s Advice: If you’re even moderately handy, this is a great DIY project. But if your wall is masonry, don’t risk it—hire a pro.
✅ Mark’s Final Recommendation
Here’s how I’d budget for a wall sleeve if I were starting from scratch today:
-
Sleeve (Amana brand): $150
-
Extras (caulk, insulation, brackets): $75
-
DIY Labor: Free (your sweat equity)
💵 Total DIY Budget: ~$225
If you hire a pro, budget $400–$600 total.
Bottom line: A wall sleeve is a small piece of the project, but it’s essential. Think of it as insurance for your $800–$1,000 AC system and your home’s walls.
In the next topic we will know more about: Maintenance Tips: Keeping Your Amana Wall Sleeve in Good Shape


