When I first looked at upgrading my HVAC system, I saw the Goodman 4.5 Ton Horizontal Cased Painted A-Coil with Built-In TXV (Model CHPTA6030D3, R-32 ready) listed online for under $1,200.
Naturally, I thought: Great—that’s all it’ll cost!
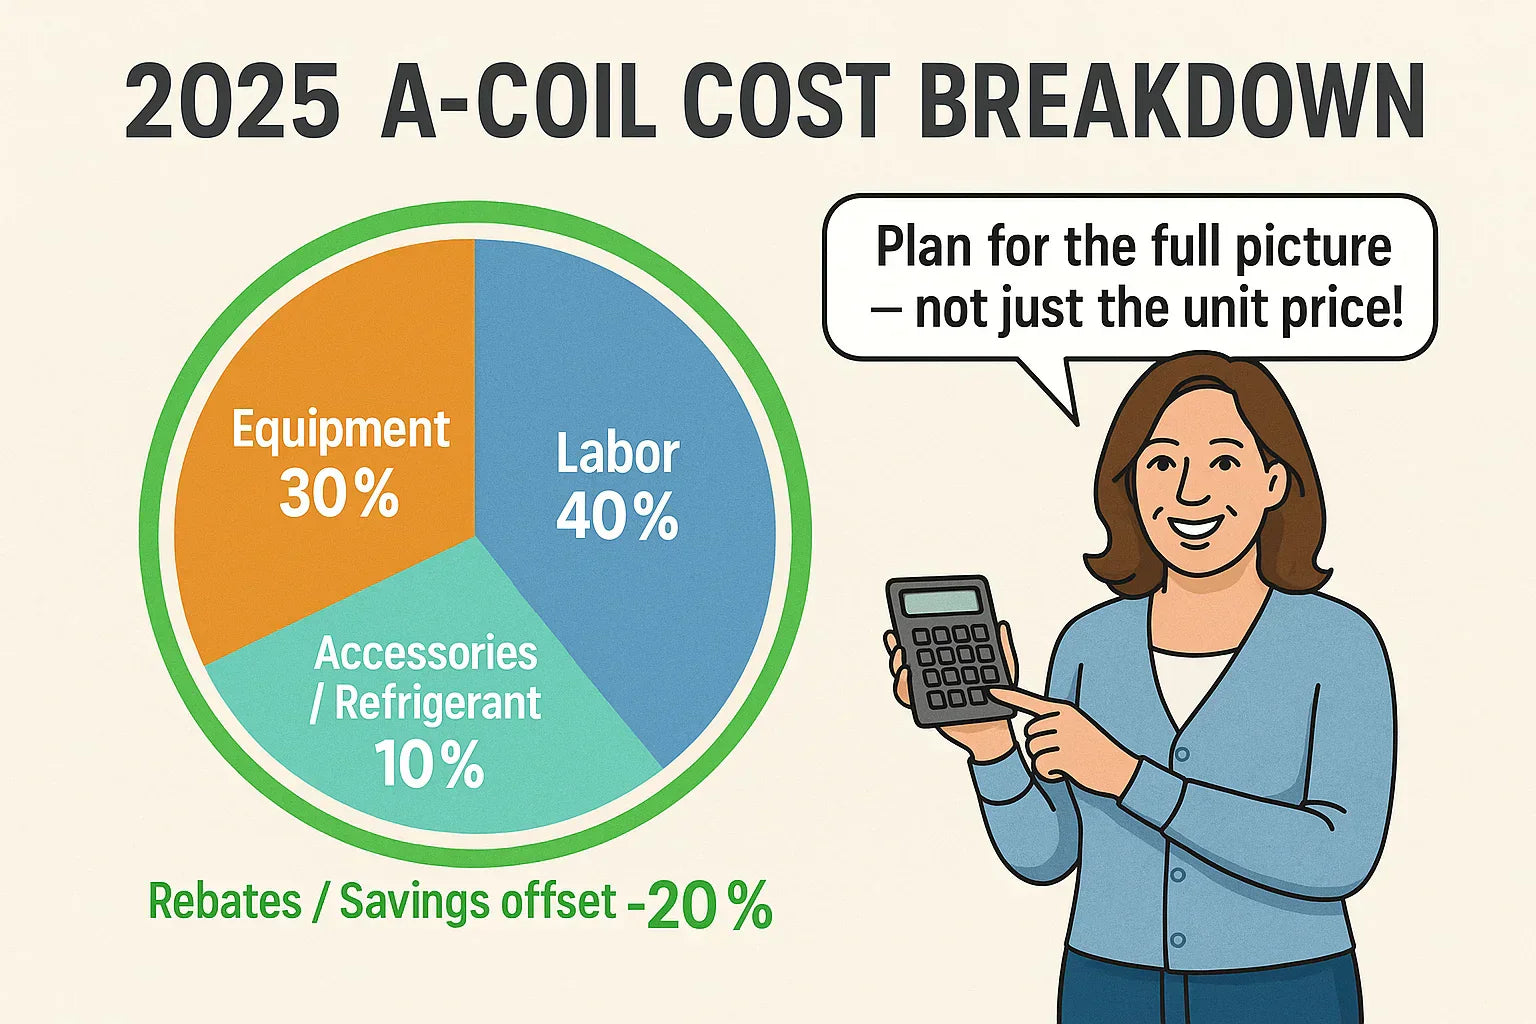
But here’s the truth I quickly discovered: the real cost of installing an A-coil isn’t just about the price tag of the equipment. You also have to budget for labor, refrigerant, accessories, and long-term considerations like efficiency savings and rebates.
In this guide, I’ll share the full breakdown of what I paid—and what you can expect to spend in 2025 if you’re considering a Goodman 4.5 ton A-coil with TXV.
🏷️ Equipment Cost: The Base Price
Let’s start with the simple part: the coil itself.
-
In 2025, the Goodman CHPTA6030D3 A-Coil runs between $900–$1,200, depending on where you buy it.
-
Online retailers like The Furnace Outlet often list it at competitive prices compared to local distributors.
-
Prices can vary slightly by region and by whether you’re buying directly as a homeowner or through an HVAC contractor.
👉 Bottom line: The base price is only part of the story.
🛠️ Installation & Labor Costs
This was my biggest surprise. Installing an A-coil is not a DIY project unless you’re an HVAC pro with refrigerant certification. Here’s why labor costs add up:
-
Old Coil Removal – Safely recovering refrigerant, detaching lines, and removing the old coil.
-
Brazing Refrigerant Lines – Cutting, cleaning, and brazing copper with a nitrogen purge to avoid oxidation.
-
Drainage Setup – Installing or reconnecting drain lines and pans.
-
Vacuum & Pressure Testing – Pulling down to 500 microns to ensure no leaks.
-
Refrigerant Charging – Adding R-32 (or topping off R-410A if backward compatible).
💵 In 2025, expect to pay $1,500–$2,500 in labor. That price can increase if:
-
Your coil is located in a tight attic crawlspace.
-
You need electrical or code updates.
-
Your refrigerant lines require extensive work.
🔗 HomeAdvisor lists national averages that align with this range.
🔗 Required Accessories & Extras
When I budgeted, I forgot to account for “little extras” that aren’t optional:
-
Drain Lines & Piping: $100–$150
-
Insulation & Sealant: $50–$100
-
Secondary Drain Pan or Float Switch (code in many areas): $100–$300
-
Refrigerant Top-Up: $150–$400
👉 Altogether, these extras add about $300–$600 to most installations.
⚡ Efficiency & Utility Savings
Here’s where the built-in TXV (Thermostatic Expansion Valve) really shines. A TXV regulates refrigerant flow, which improves system efficiency.
-
SEER2 Boost: Systems with TXVs often achieve 8–12% higher efficiency compared to fixed orifice coils.
-
Monthly Savings: I save about $15–$20 per month on summer bills.
-
Annual Savings: Around $180–$240.
Over the 10–15 year lifespan of a coil, that adds up to $1,800–$3,600 in reduced energy costs.
🔗 ENERGY STAR confirms that TXVs are a key factor in high-efficiency HVAC performance (ENERGY STAR AC Guide).
♻️ Rebates & Incentives
I was pleasantly surprised to learn my R-32 ready coil qualified for rebates when installed as part of a complete system upgrade.
-
Federal Tax Credit: Under the Inflation Reduction Act, homeowners can claim up to $600 for qualifying HVAC components and up to $2,000 for high-efficiency systems like heat pumps (ENERGY STAR Rebate Finder).
-
Utility Rebates: Many local power companies now incentivize R-32 and SEER2-compliant equipment. Mine offered $200.
-
State Programs: Some states add additional credits—worth checking local energy efficiency programs.
👉 For me, incentives cut about $500 off the total price.
💵 Total Installed Cost in 2025
Here’s what you can realistically expect to spend:
-
Low End: $2,500 (simple installation, no surprises)
-
Average: $3,000–$3,500 (typical homeowner experience)
-
High End: $4,000+ (tight spaces, code upgrades, refrigerant line replacement)
For my installation, I landed right in the middle: about $3,200 total.
📊 Long-Term Value vs. Short-Term Cost
At first glance, paying $3,000+ for something that cost $1,200 on paper felt frustrating. But here’s why I consider it money well spent:
-
Energy Savings: $180–$240 per year, stacking up over time.
-
System Longevity: The TXV reduces stress on the compressor, helping my system last longer.
-
R-32 Future-Proofing: I won’t have to retrofit or replace my coil when refrigerant regulations shift in 2025 and beyond (EPA HFC Transition).
-
Home Value: Having modern, efficient HVAC adds resale value.
🧮 Samantha’s Real-World Breakdown
Here’s how my final invoice shook out:
-
Goodman CHPTA6030D3 Coil: $1,050
-
Labor (Install + Refrigerant Work): $1,800
-
Accessories (Drain Pan, Lines, Sealant): $350
-
Refrigerant Top-Up: $200
-
Tax Credit & Utility Rebate: –$400
Final Price Paid: $3,000
✅ Samantha’s Final Takeaway
If you’re budgeting for a new coil, don’t stop at the sticker price. Plan for:
-
Equipment: $900–$1,200
-
Labor: $1,500–$2,500
-
Extras: $300–$600
-
Refrigerant & Testing: $150–$400
-
Rebates: –$200 to –$600 (if applicable)
👉 Expect to spend $2,500–$4,000 in 2025, with an average around $3,200.
But here’s the good news: between rebates, efficiency savings, and future-proofing with R-32 readiness, this investment pays off in comfort, lower bills, and peace of mind.
In the next topic we will know more about: Maintenance Checklist for Your Goodman A-Coil: Filters, Drains & Seasonal Care


