Target audience: Savvy homeowners considering self-installation of a Modine Hot Dawg 75,000 BTU natural gas heater in a garage, shop, or shed.
🔍 Introduction: DIY or Don’t? The Modine Hot Dawg Decision
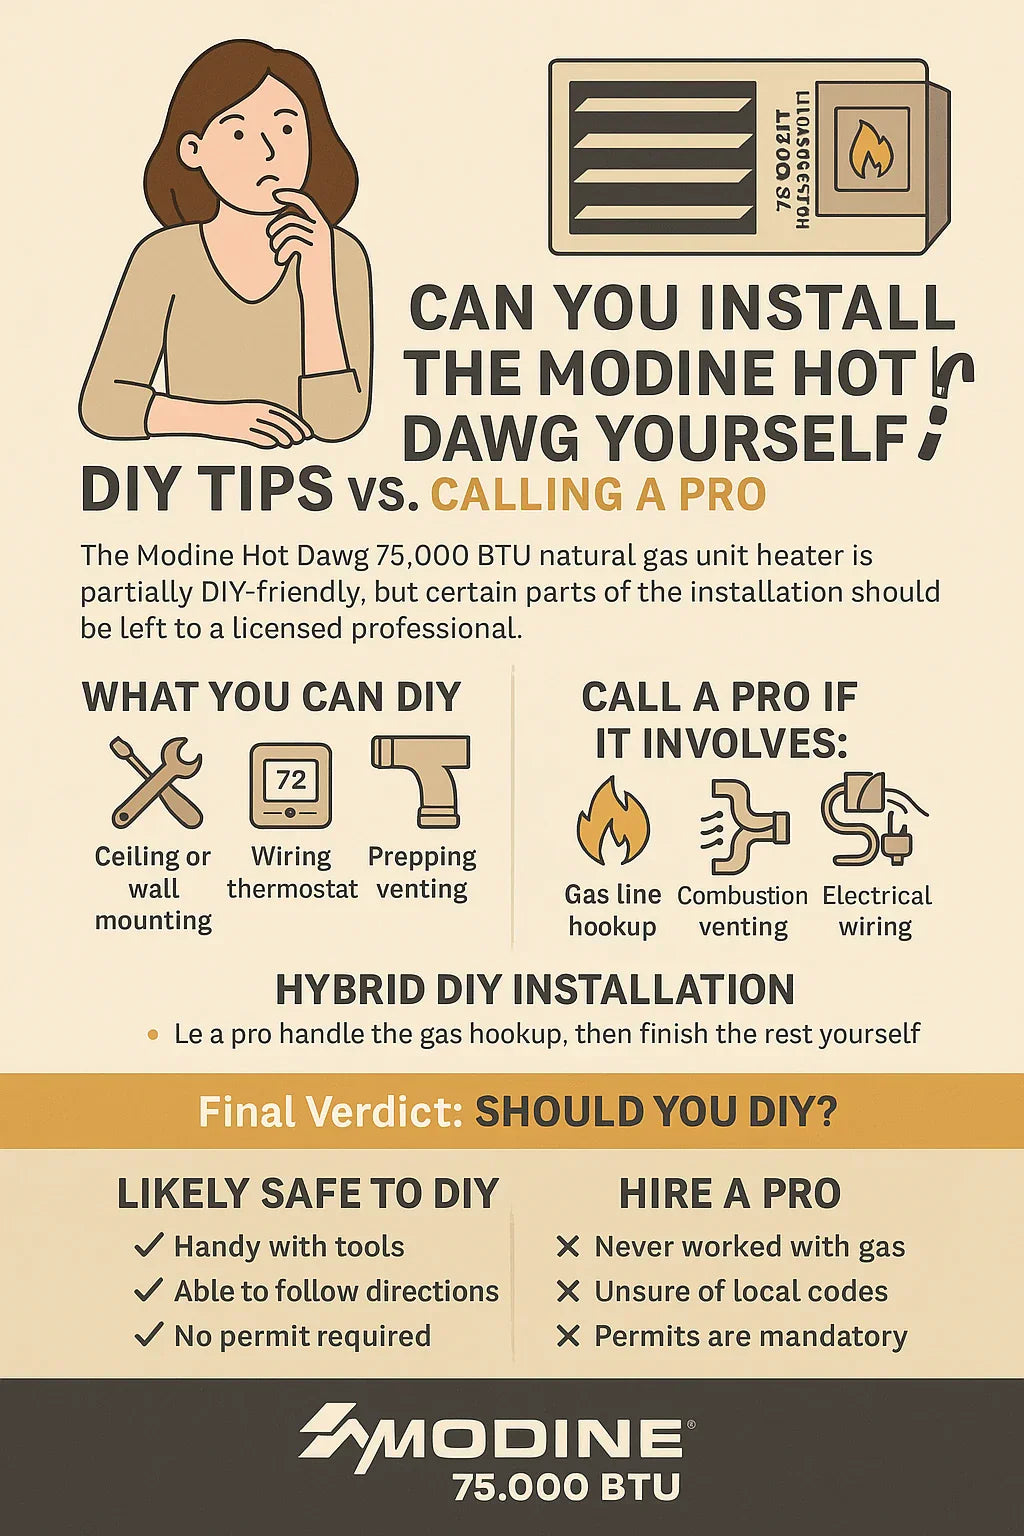
The Modine Hot Dawg is one of the most popular gas garage heaters on the market for a reason: it’s compact, quiet, efficient, and DIY-friendly—at least in part.
But should you install it yourself?
Installing a Hot Dawg involves:
-
Natural gas or propane connections
-
Venting combustion gases
-
Electrical wiring
-
Secure ceiling or wall mounting
Some of these tasks are perfect for a skilled DIYer. Others—especially gas and code-regulated work—often require a licensed pro.
This guide will help you:
-
Break down what parts of the installation are realistic to DIY
-
Know when to call a professional
-
Get cost estimates for both routes
-
Understand permits and safety requirements
🧰 What's Involved in Installing a Modine Hot Dawg Heater
Before deciding if this is a DIY job, let’s walk through the major steps of installing a Modine Hot Dawg 75,000 BTU unit heater:
| Step | DIYable? | Notes |
|---|---|---|
| Mounting the unit | ✅ Yes | Requires tools, ceiling access, ladder |
| Gas line hookup | ❌ No* | Licensed technician typically required |
| Venting the unit | ⚠️ Maybe | Allowed in some jurisdictions |
| Electrical wiring (low-voltage thermostat + 120V) | ⚠️ Maybe | Depends on local code |
| Startup and testing | ✅ Yes | After pro connects gas |
📎 Modine Installation Manual PDF
🔩 DIY-Friendly Tasks
1. 🔧 Ceiling or Wall Mounting
-
Mounts via threaded rod or angle brackets
-
Requires measuring, leveling, and drilling into joists or studs
-
Weighs ~100 lbs—use a helper or a lift
✅ Recommended for confident DIYers with basic power tools
2. 💡 Wiring the Thermostat
-
Standard Hot Dawg units use 24V low-voltage thermostats
-
Wiring is similar to a typical HVAC thermostat (R/W)
-
Optional: Use Wi-Fi thermostats for remote control
📎 Learn how here: SupplyHouse Thermostat Wiring Guide
✅ DIY-safe for most users
3. 🪟 Installing the Mounting Hardware and Vent Brackets
-
Mark vent hole
-
Mount vent collar on wall or roof
-
Install support brackets and weatherproof flashing
⚠️ You can prep the venting path, but don’t cut through the wall or roof until you're 100% clear on venting specs.
🚫 When to Call a Licensed Pro
1. 🔥 Gas Line Installation
-
Running a gas line or tapping into an existing one requires a licensed gas fitter
-
Improper connections can cause fire or carbon monoxide leaks
-
Many states require a permit and inspection for new gas appliances
📎 Check your local code here: ICC Code Lookup
2. 🌬️ Combustion Venting
-
The Hot Dawg requires Category I venting (typically single-wall or B-vent)
-
Improper pitch, length, or termination can cause CO buildup
-
Horizontal and vertical venting have different clearance rules
-
Requires backdraft damper and combustion air intake if room is tight
📎 Modine Venting Guidelines PDF
3. ⚡ High-Voltage Wiring (120V)
-
Fan motor and safety controls use standard 110–120V power
-
Needs grounded outlet or dedicated circuit
-
Not all DIYers are comfortable with this level of electrical work
⚠️ Call an electrician if you're unsure how to wire a grounded box and breaker.
🧾 Permit and Inspection Requirements
Depending on your city/state, you may need permits for:
-
Natural gas hookup
-
Venting a combustion appliance
-
Running electrical circuits
📎 Use this lookup: PermitFinder by BuildZoom
💸 DIY vs. Professional Installation Costs
| Task | DIY Cost | Pro Cost |
|---|---|---|
| Mounting hardware | $50–$100 | Included |
| Gas line install | N/A | $400–$1,000 |
| Venting | $150–$400 | $300–$700 |
| Thermostat install | $40–$150 | $150–$300 |
| Electrical hookup | $0–$50 | $200–$400 |
💡 Total DIY hybrid install (mount + thermostat + prep): $200–$500
💡 Total full pro install: $1,000–$2,000+ depending on region
🛑 Red Flags That Mean “Call a Pro”
-
You smell gas during or after install
-
CO detectors aren’t installed or tested
-
Your vent path exceeds 25 ft or goes through multiple bends
-
The heater won’t ignite, or the fan cycles oddly
-
You're unsure how to seal roof/wall penetrations
📎 How to Use a CO Detector Correctly – Consumer Reports
🧠 Smart DIYers Use the Hybrid Approach
Here’s how most savvy homeowners approach Hot Dawg installation:
| Task | Done By |
|---|---|
| Mount unit & prepare vent | DIY |
| Hire gas fitter for line & hookup | Pro |
| Finish wiring thermostat | DIY |
| Final inspection or CO test | Pro (if required) |
You save 30–50% over full-service installation and maintain safety + compliance.
🔐 Safety Reminders Before You Fire It Up
-
Test carbon monoxide detector before startup
-
Use leak-detection spray on gas fittings (not a lighter!)
-
Ensure at least 18" clearance in front of heater
-
Don’t block vent or intake air paths
-
Register your warranty with Modine
📎 Modine Warranty Registration
✅ Final Verdict: Can You DIY It?
| You’re likely safe to DIY if… | Hire a pro if… |
|---|---|
| You’re comfortable with power tools and ladders | You’ve never worked with natural gas |
| You can follow a manual precisely | Your install requires structural venting |
| Local code allows partial self-install | Permits are required and you’re unsure |
🔚 Conclusion: Be Hands-On—But Be Smart
The Modine Hot Dawg 75,000 BTU heater is a fantastic choice for garages, sheds, and shops—but it’s only as safe and effective as its installation.
A smart DIYer can absolutely:
-
Mount the unit
-
Prep venting
-
Wire the thermostat
…but for gas, venting, and inspection, it’s often safer and more cost-effective to hire a licensed pro.
In the next topic we will read about: Natural Gas vs. Propane Unit Heaters: What Fuel Source Is Best for You?


