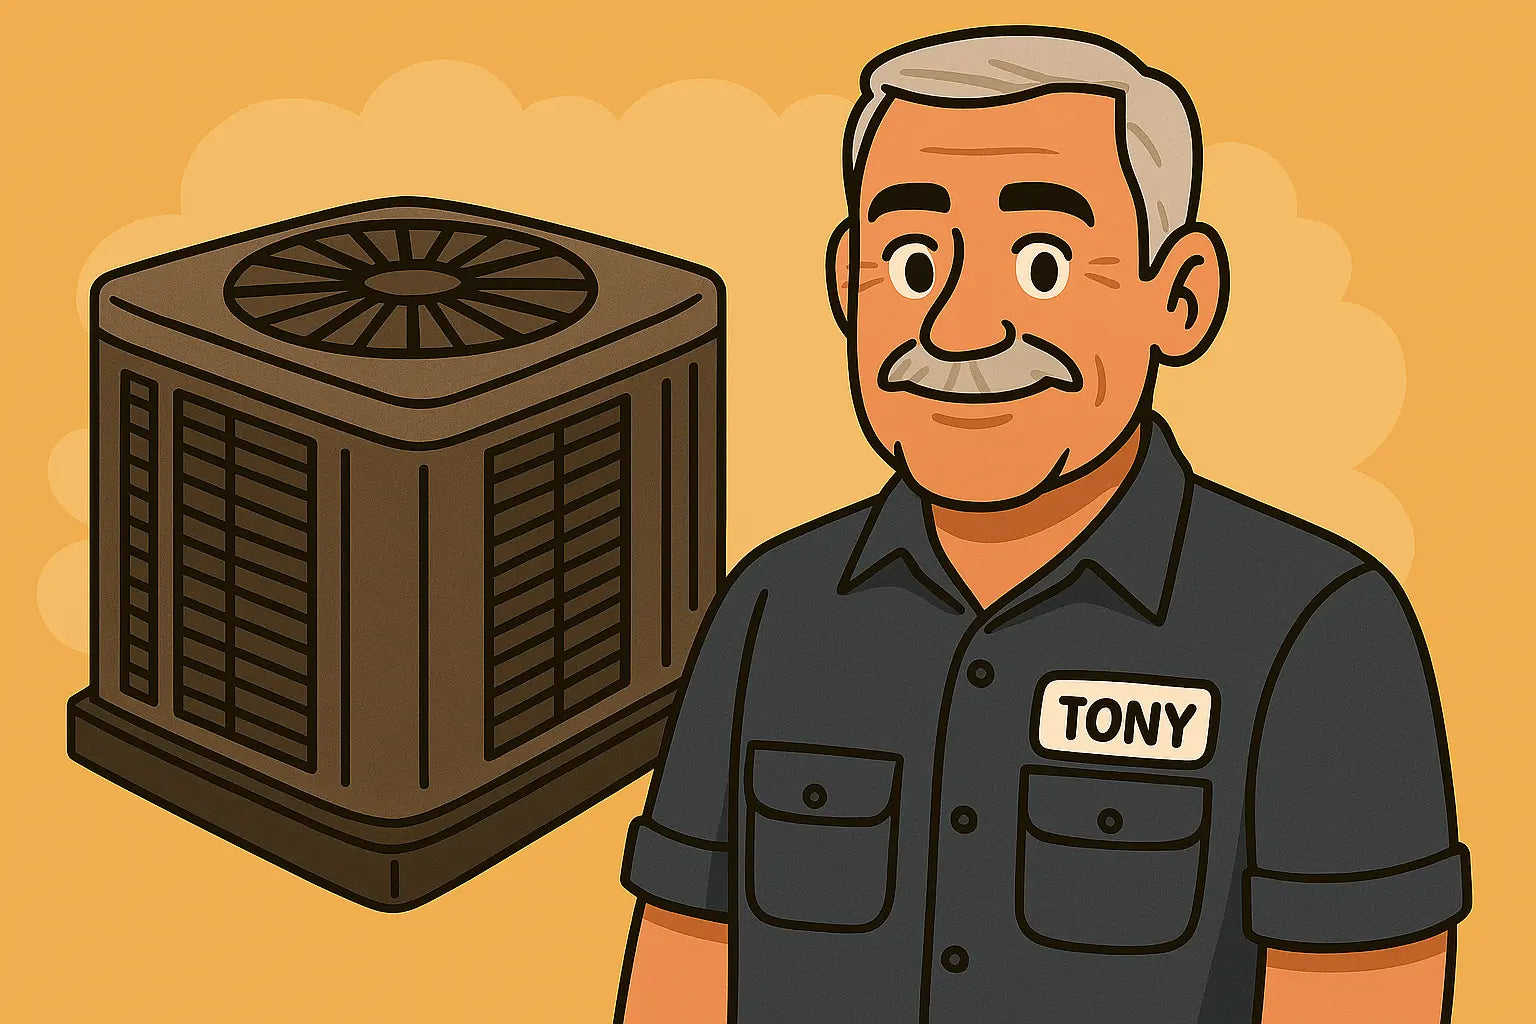
Hey Folks, Tony Here! 👷
Installing a central AC system isn’t just about slapping a box outside and flipping a switch. Done wrong, it can lead to short cycles, leaks, or worse — a costly repair. Whether you’re tackling this yourself or supervising your installer, this checklist breaks down the process in plain English so you can stay on top of things. Let’s jump in!
Step 1: Check Your Permits and Local Codes
Before you start tearing up your yard or walls, make sure you have all the necessary permits. HVAC installations are regulated to keep you safe and your system legal. Contact your local building department or check this helpful resource on HVAC permits and codes to get started right.
Step 2: Choose the Right Equipment for Your Home
Refer back to your Manual J load calculation to pick the right size and type of system. If you’re shopping around, consider units that use R-32 refrigerant for better efficiency and lower environmental impact. Check out The Furnace Outlet’s Central AC collection for reliable options.
Step 3: Prepare the Outdoor Unit Site
-
Make sure the site is level and solid, ideally a concrete pad.
-
Place the unit away from direct sunlight if possible to improve efficiency.
-
Keep it clear of plants, bushes, or debris with at least 12-24 inches of clearance on all sides.
-
Follow guidelines from manufacturers like Carrier’s outdoor unit placement tips to ensure optimal airflow.
Step 4: Install the Indoor Evaporator Coil and Air Handler
-
Ensure the evaporator coil matches the outdoor unit model for refrigerant compatibility.
-
Install it within the air handler or furnace plenum securely, sealing all joints to prevent air leaks.
-
Insulate refrigerant lines properly to avoid energy loss and condensation issues.
Step 5: Run and Connect Refrigerant Lines
-
Use properly sized copper line sets with correct insulation on suction lines.
-
Avoid sharp bends or kinks that restrict refrigerant flow.
-
Follow EPA regulations and best practices for handling refrigerants — check out this EPA guide on safe refrigerant handling for detailed info.
-
After connections, evacuate the system using a vacuum pump to remove moisture and air before charging refrigerant.
Step 6: Install the Thermostat and Electrical Connections
-
Mount your thermostat in a central location away from direct sunlight or drafts for accurate readings.
-
Ensure all wiring follows local electrical codes and manufacturer instructions.
-
Include a disconnect box near the outdoor unit for safety and service convenience.
-
Use surge protectors if recommended by your equipment manufacturer.
Step 7: Ductwork Inspection and Sealing
-
Inspect existing ducts for leaks, damage, or inadequate sizing.
-
Seal leaks with mastic or foil tape, never standard duct tape.
-
Clean ducts if necessary to improve airflow and indoor air quality.
Step 8: System Startup and Testing
-
Charge refrigerant to manufacturer specs, not just “eyeball it.”
-
Check for proper airflow, temperatures, and electrical readings using HVAC tools.
-
Verify thermostat operation and ensure system cycles smoothly without short cycling.
-
Inspect outdoor unit fan and condenser coil for cleanliness and proper operation.
Step 9: Educate Yourself and the Homeowner
-
If you’re the installer, take time to explain the basics of system operation, filter replacement, and maintenance to the homeowner.
-
Share the importance of regular upkeep to avoid costly repairs down the line.
-
Point them to maintenance guides like HVAC.com’s central AC maintenance checklist for easy reference.
Final Word From Tony
Installing a central AC system isn’t a weekend project to wing unless you’ve got experience and the right tools. But knowing these steps means you’re not in the dark when your installer shows up or if you decide to tackle it yourself.
If you’re in the market for a dependable system that’s sized right and ready to go, don’t miss checking out The Furnace Outlet’s Central Air Conditioning Systems. They’ve got options that work hard without costing a fortune.
Is your AC unit freezing? Visit my guide: AC on Ice.
Keep your cool and stay sharp out there. Your future self (and your energy bill) will thank you! 😎
— Tony the Trusted Tech


