Key Takeaways
-
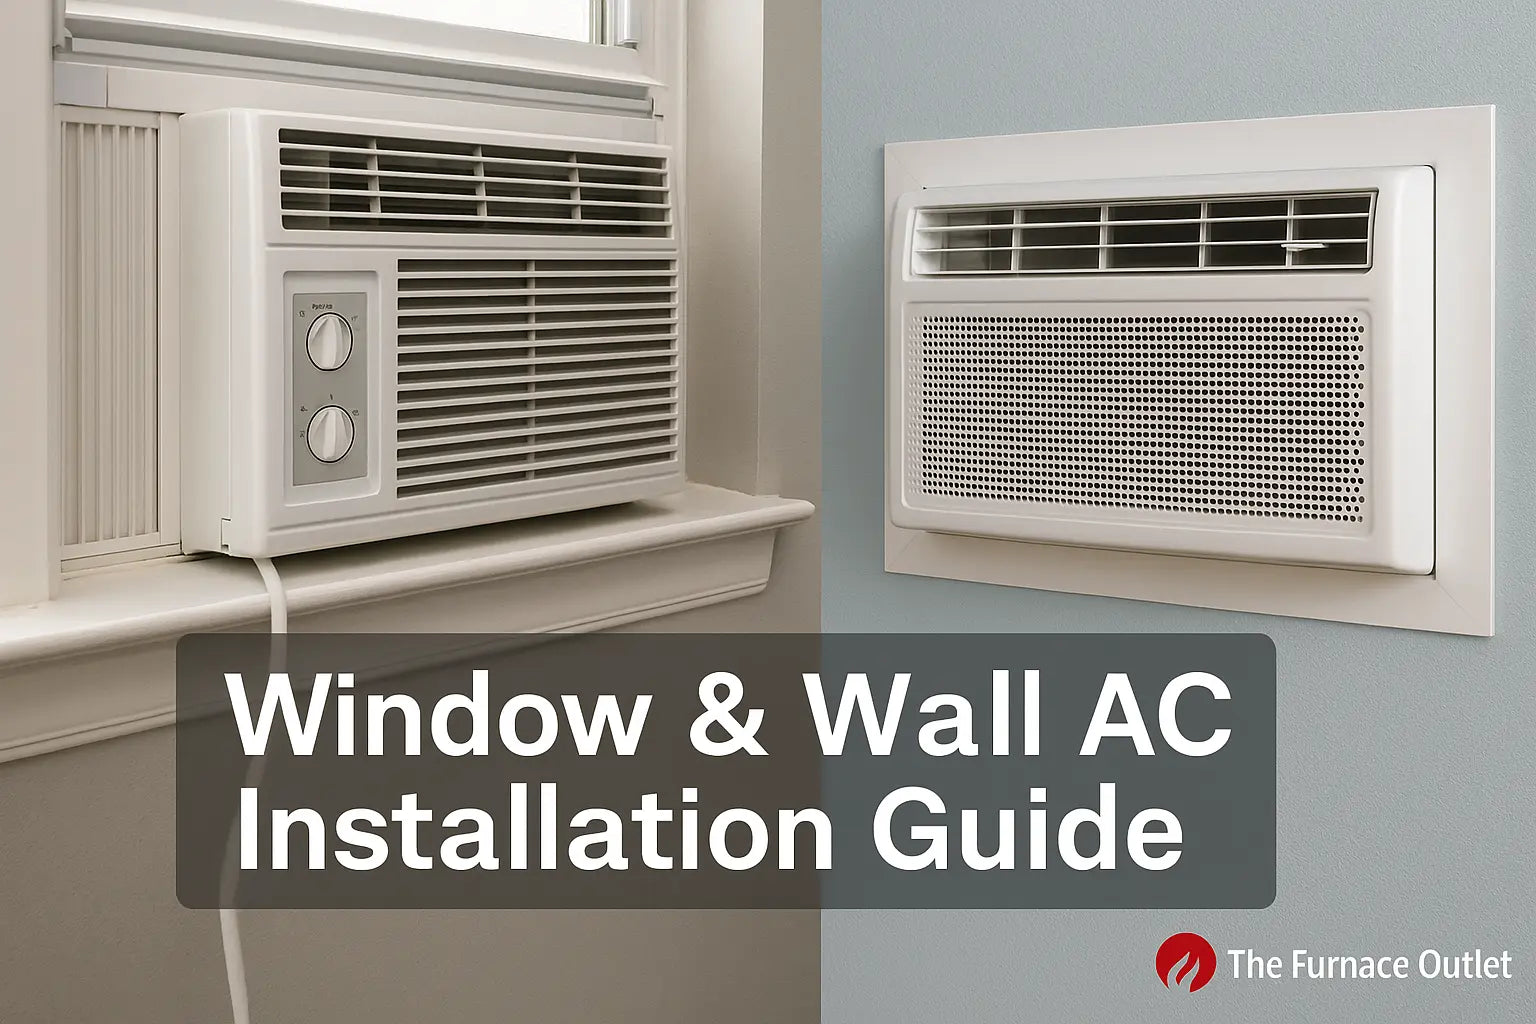
Window ACs install quickly but need a good seal.
-
Wall ACs cost more but are quieter and free up the window.
-
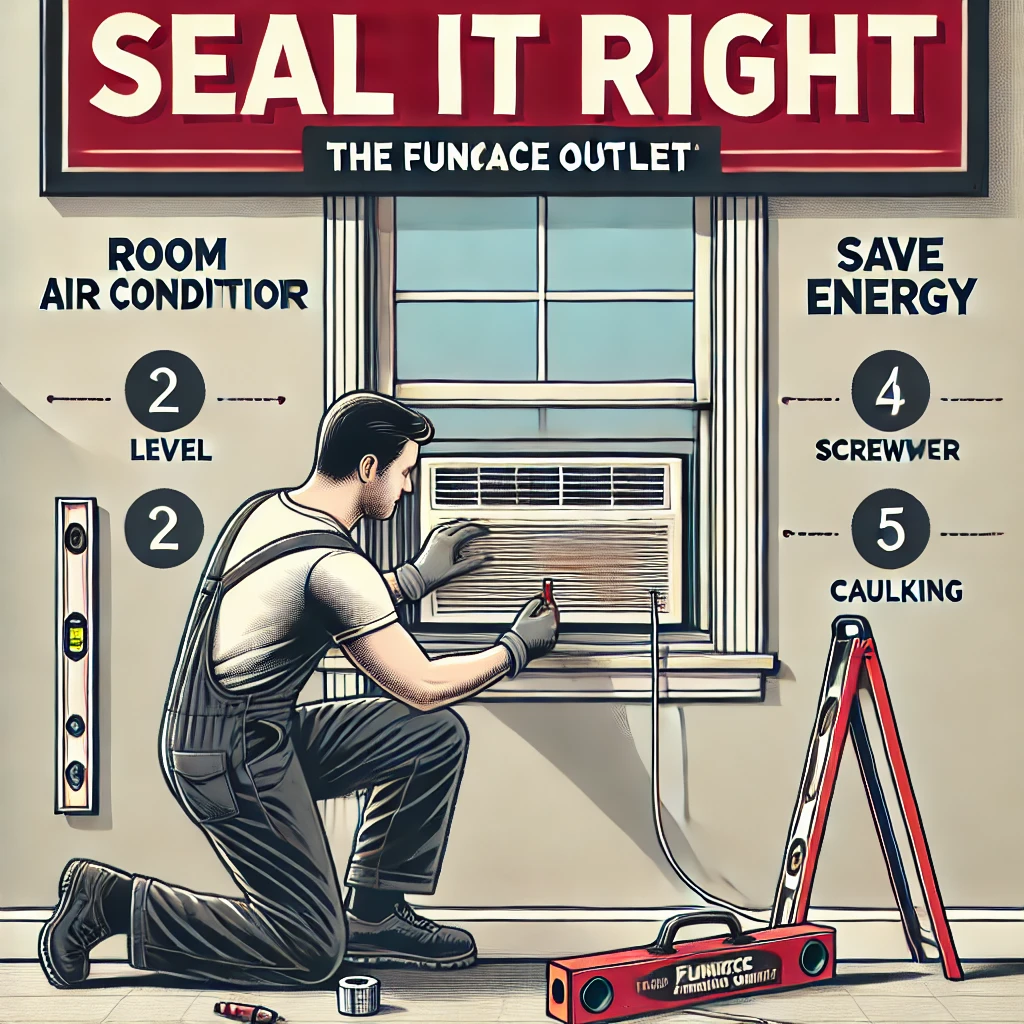
Tilt units slightly outward to drain water safely.
-
Use grounded outlets—never extension cords.
-
Check for studs and wires before cutting into any wall.
Why Installation Quality Matters
 A poorly fitted room air conditioner wastes energy every minute it runs. The U.S. Energy Information Administration estimates that cooling already eats up about 12 % of a typical home’s electricity bill. If warm air sneaks through gaps or water leaks onto drywall, that cost climbs and mold risk rises. This guide shows how a DIYer with basic tools can install both window and through-the-wall units the same way pros do—safely, square, and sealed. Along the way you’ll learn insider tips, such as why a pencil-thin tilt is critical for drainage and how modern inverters cut power use (see “SEER2 Explained” for the rating behind those savings). By the end, you’ll know which style matches your room, budget, and long-term plans without wading through marketing jargon.
Prefer a sleek, permanent solution? Explore R32 wall units that offer quiet operation and high efficiency with modern refrigerant technology.
All-in-One Tools, Materials, and Safety Checklist
 Before you lift any unit, set out everything on one tarp. Tools: screwdriver, drill/driver, level, measuring tape, utility knife, and (for wall installs) a drywall saw plus a 7-in. circular or reciprocating saw. Hardware: stainless screws, L-brackets or sleeve screws, and foam weather-strip. Framing lumber: 2×4 or 2×6 for a wall opening. Sealants: high-quality exterior silicone or acrylic-latex caulk. PPE: gloves, safety glasses, sturdy shoes, and ear protection when cutting. Electric check: confirm you have a dedicated 115 V or 230 V receptacle rated for the unit’s amperage. Turn off the breaker while working. Keep a helper on-site; even a “compact” 8 k-BTU window unit often weighs 50 lb. A second set of hands prevents window sashes or wall sheathing from cracking during placement.
Don’t have all the materials? Get AC install accessories like brackets, foam, and sealants shipped to your door.
Window Prep: Making the Opening Ready
 Start with a clean, structurally sound window. Remove screens or storm panels and vacuum debris from the sill. Measure width and height twice; your AC’s listed “min–max opening” must fit with at least ½ in. to spare for adjustments. Dry-fit the unit (with shipping screws still in) to check clearance. Seal first, lift second: stick the supplied foam strip to the bottom sash and along the stool (the flat interior sill). Pre-drill tiny pilot holes where side panels will anchor—this keeps hardwood frames from splitting. Thinking of a rental? A quick-release bracket lets you reverse the install with little damage, a tip detailed in our post “Window vs. Wall AC—Which Saves More Energy and Noise?.” Finally, have a small support bracket bolted to the exterior trim if the unit exceeds 80 lb; sagging sills are the number-one cause of window leaks.
Installing a Window AC Like a Pro
 With your helper outside, lift the unit and rest its bottom flange on the sill, centered on the mark you made earlier. Lower the top sash until it locks behind the AC’s top rail. Slip L-brackets over the sash to stop accidental opening and fasten with two screws each. Extend the accordion side panels until they press into the jambs; drive screws through the factory holes. Level check: place a torpedo level on the top case—bubble should touch the “downhill” line toward the exterior. If not, shim the interior edge with a paint-stick sliver. Press foam strips into any visible cracks, then run a bead of silicone along the outside joints to block wind-driven rain. Plug the cord straight into the wall outlet, flip the breaker on, and test both cooling and fan-only modes. A soft gurgle means condensate is draining outside, not inside.
Wall Prep: Measuring, Cutting, and Framing
 A through-the-wall unit works best on a non-load-bearing exterior wall clear of plumbing and wiring. Use a stud finder to map studs, then tape off a rectangle 2 in. wider and taller than the AC sleeve so there’s room for framing. Drill pilot holes at the corners and probe for unexpected wires. Inside first: cut along the outline with a drywall saw, remove insulation, and save any vapor-barrier strips. Outside: cut sheathing and siding with a saw set to the exact material thickness. Build a frame box from 2×4s, installing jack studs and a bottom plate so the sleeve will sit level yet tilt ¼ in. outward over its 24-in. depth. Secure the frame with structural screws into adjacent studs—nails can pull loose when the compressor vibrates.
Not sure what size unit your room needs? Use our AC sizing guide to avoid costly mistakes.
Installing a Wall AC: Sleeve, Seal, and Drain
 Slide the metal sleeve or plastic wall case into the framed hole until its exterior flange sits flush with siding. Confirm the outward pitch with a level; shim as needed so water flows outside. Screw through every factory hole into the framing. Add peel-and-stick flashing tape around the flange, overlap it with siding, then run a thick bead of exterior-grade caulk. Re-install any fiberglass insulation around the interior gap and patch drywall with a plywood backer plate if you plan to trim later. With power still off, push the AC chassis into the sleeve until it latches. Drive the locking screws, plug in, and test. If fan noise seems louder than you expected, check our piece “Through-the-Wall vs. Window AC: What’s Better for Your Home?” for sound-dampening tips like neoprene washers under mounting ears.
Fixing Common Mistakes Before They Cost You
 Even seasoned DIYers slip up. Gaps around frames: foam rope or backer rod fills spaces wider than ¼ in.; finish with caulk. No drip angle: adjust shims so condensate no longer pools indoors; stains on drywall are a red flag. Overloaded circuit: window and wall units that cycle the same breaker as a microwave will trip it—run a new 20-amp line if needed. Wall vibration: if the unit rattles loudly, loosen the chassis screws, insert rubber spacers, and retighten. Missed permits: some U.S. cities require small mechanical permits for new wall penetrations; check your local code office or read our “Room AC Maintenance Guide” which links to a handy permit checklist.
For wall-mounted cooling with zoned comfort, check out R32 PTAC units ideal for permanent room-by-room setups.
After-Install Care and Your Top Questions Answered
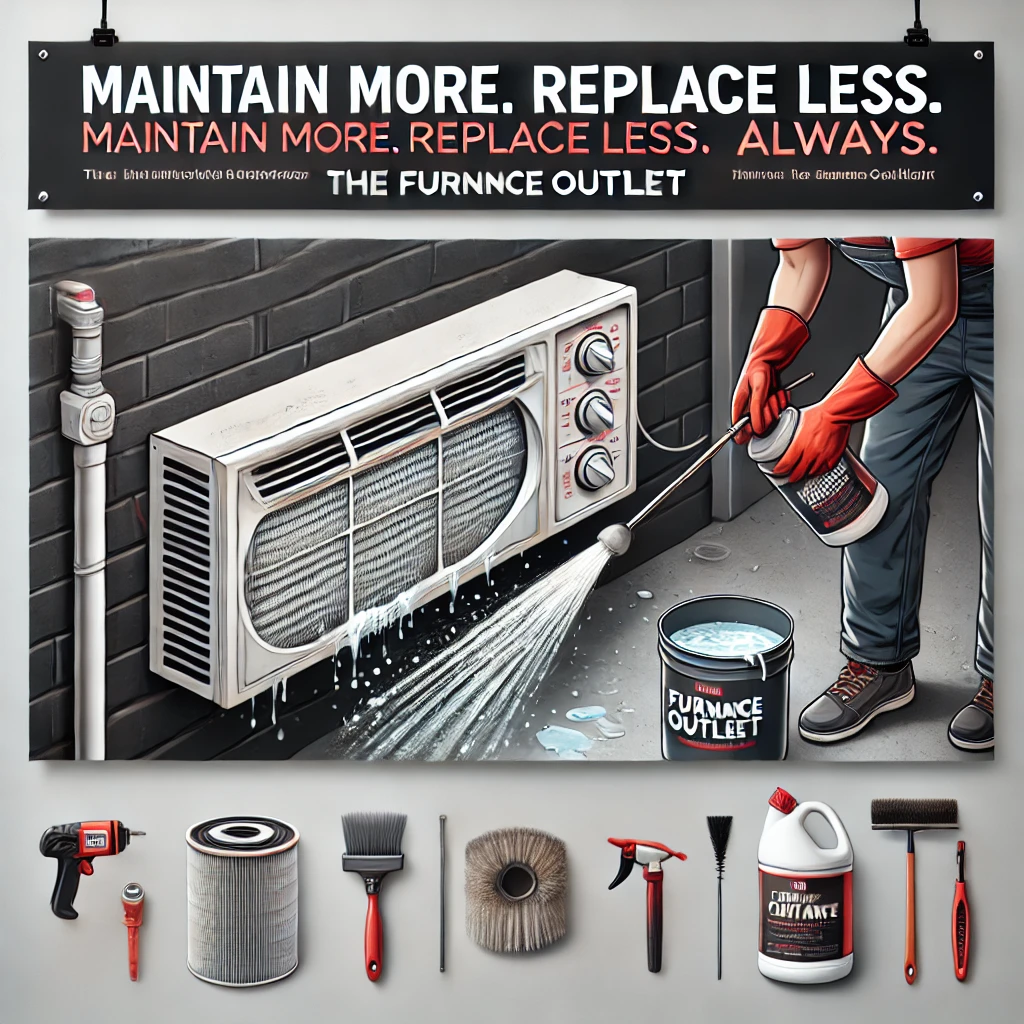 Routine upkeep keeps warranty claims away. Vacuum or wash filters every 30–60 days, clean the outdoor coil each spring, and tighten sleeve screws yearly. Spray a 1:3 bleach-water mix down the condensate channel to stop algae. If you notice frost on the coil, set the thermostat higher and clean the filter; low airflow is usually to blame.
Use our AC sizing guide Pick the right BTU
FAQs
Q: How much outward tilt is safe?
A: About ¼ inch over the depth of the unit (roughly 1–2 °). More can stress brackets; less can cause drips inside.
Q: Can I use an extension cord?
A: No. Use the factory cord only, plugged into a properly grounded outlet sized for the unit’s amps.
Q: Do wall units always need a sleeve?
A: Yes. The sleeve keeps weather out, supports weight, and lets you swap the chassis later without rebuilding the wall.
Q: Will sealing the window trap moisture?
A: Sealing blocks outside humidity; indoor moisture still vents through your home’s HVAC or a dehumidifier.
Q: How long should an install take?
A: A first-time DIYer usually spends 1–2 hours on a window unit and 4–6 hours on a wall unit, including framing and cleanup.