Key Takeaways
-
Measure twice – width, height, and depth.Avoids a poor fit or seal.
-
Use the narrowest inside size. Ensures the unit slides in easily.
-
Match AC type to window style.Double-hung units don’t fit sliders or casements.
-
Seal all gaps after install. Keeps cool air in, pests and heat out.
-
Tilt unit slightly outward. Allows water to drain outside safely.
The Hidden Cost of Guessing Your AC Size

A window or wall AC that’s even half an inch off can create gaps, strain mounting brackets, and leak cool air all summer long. The U.S. Department of Energy estimates that poor window-unit fits waste up to 10 % of seasonal cooling energy. Accurate measuring—before you shop—solves the problem. In this guide you’ll learn a tape-measure method that works for double-hung, slider, and wall sleeves alike, why a perfect fit boosts performance, and where to find sizing charts on The Furnace Outlet website that match real product specs.
Step-by-Step: Measuring Width the Right Way

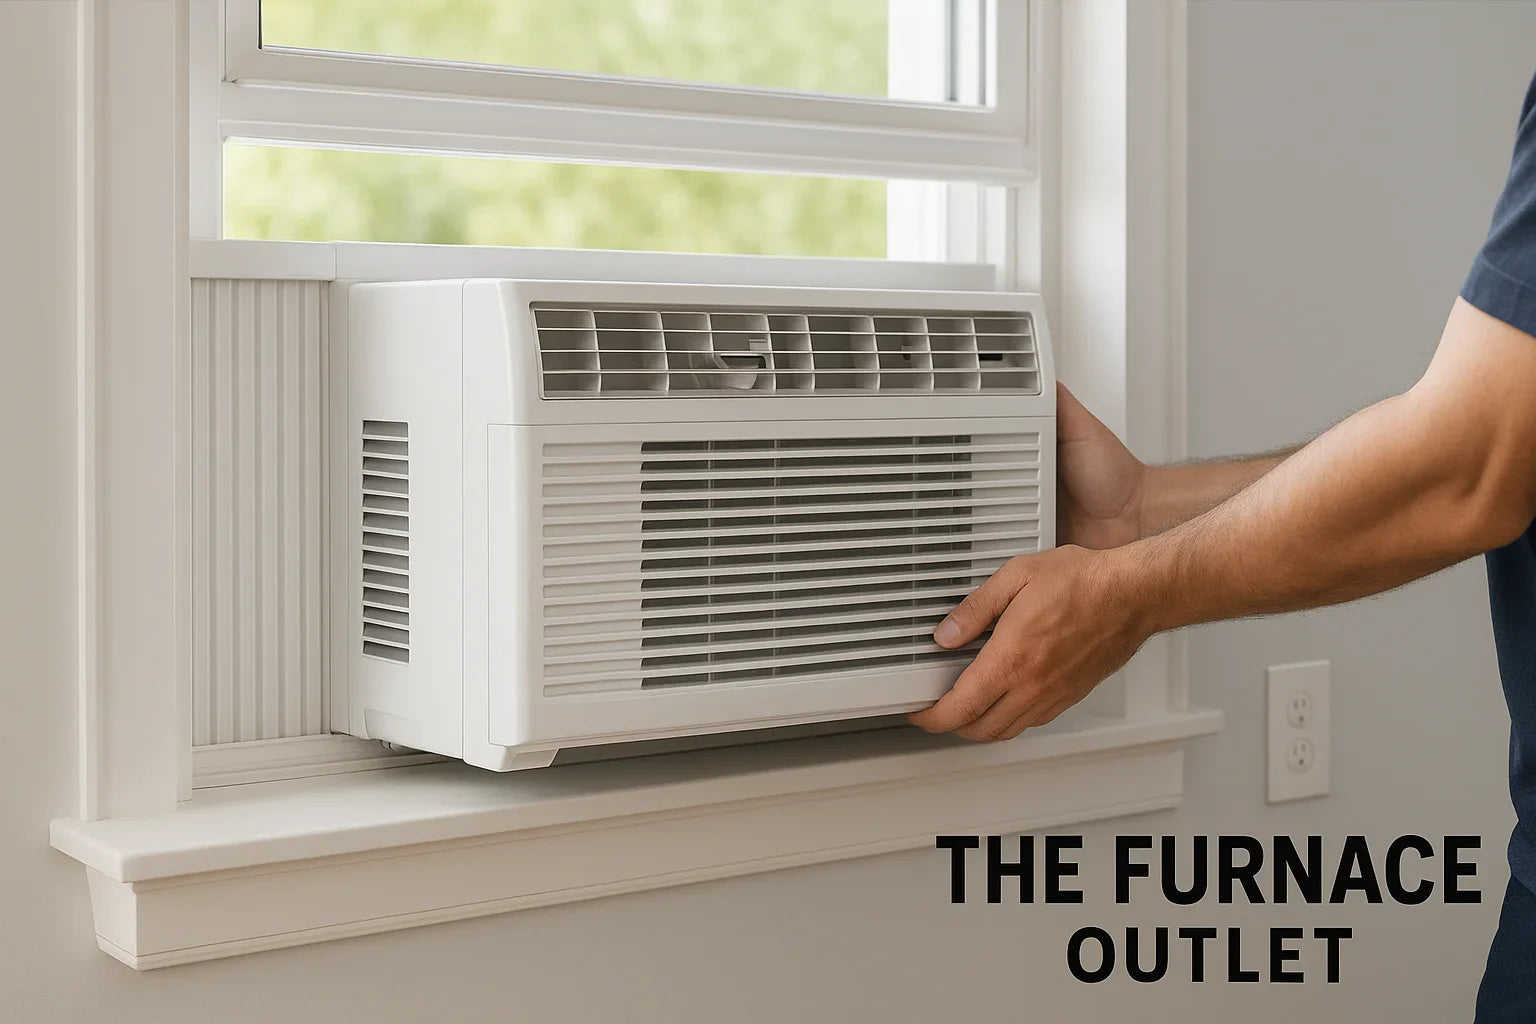
Open the window fully and clear screens or blinds. Place the tape against the inner frame edge on one side and pull tight to the opposite inner edge. Ignore exterior trim; measure the narrowest clear span where the AC will sit. Write the number down, then re-measure to confirm. If you plan to install a wall unit, measure the finished opening after any studs or sleeve flanges are exposed. For comparison, check the exact chassis widths in our window AC collection listings.
Finding the Correct Height for a Solid Seal

For double-hung windows, measure from the sill to the bottom of the raised upper sash—that’s the tallest point the AC will occupy. In sliders or wall cutouts, measure vertical clearance inside the rough opening, again at the narrowest spot. A height that’s even ⅛ in. short forces you to stack wood strips or foam blocks—fixable but draft-prone. Match your number with the unit’s “minimum window height” spec on each product page or the printable chart in our Sizing Guide.
Depth and Tilt: Two Numbers People Skip

Depth matters most for through-the-wall installs: the sleeve must sit flush inside without protruding too far outdoors. Measure wall thickness from indoor drywall to exterior finish. For window units, depth helps you verify that side curtains will fully extend. Plan an outward tilt of about ⅛–¼ in. per foot so condensate drains outside. A simple level bridges the bottom rail while you shim the frame.
Matching AC Style to Window Type

Most portable window ACs assume a double-hung frame—two sashes sliding up and down. If you own a slider or casement window, you’ll need a vertical-orientation kit or a compact through-the-wall model. Our post on PTAC sizing & install tips explains alternate sleeve options for odd openings. When in doubt, send a quick photo to the free Quote by Photo service and a tech will recommend exact fits.
Power Check: The Outlet Matters Too

Before you click “buy,” locate the nearest receptacle. Standard 5,000–8,000 BTU units use a 115-volt, three-prong plug drawing 5–8 amps. Bigger 10,000 BTU+ or heat-pump models may need a 125-volt, 15-amp or even 230-volt circuit. A tape measure won’t fix a missing breaker, so read the amperage on the product spec tab or the yellow EnergyGuide sticker. If you’re upgrading to a larger chassis, consider a quick panel check—our Help Center covers breaker sizing basics.
How Perfect Fit Translates to Energy Savings

A snug unit means no daylight around the frame, no insects crawling in, and no humidity sneaking past the filter. That airtight seal lets the compressor cycle less often, which the DOE pegs at 5–15 % lower kWh versus units installed with gaps.
Proper sizing also keeps the blower jet centered in the room, improving air throw and eliminating “hot corners.” Curious about other small tweaks that save energy? Browse recent stories in our HVAC News feed.
Installation Tricks for First-Time DIYers

-
Test-fit the chassis before tightening screws.
-
Use the included foam strip or an aftermarket insulation kit to seal side panels.
-
Cut side curtains to exact height—no bunching.
-
Add a short line-set cover if you opt for a heat-pump window unit from our DIY mini-split lineup.
These small steps turn a 30-minute install into a multi-season solution instead of a constant draft fixer-upper.
Common Measuring Mistakes and How to Avoid Them

-
Measuring exterior trim—always use interior frame dimensions.
-
Ignoring sash stops—check that the upper sash lifts high enough for chassis height plus bracket.
-
Guessing depth—wall thickness varies with siding style; measure, don’t assume.
-
Skipping double-checks—a second reading catches tape sag or mis-reads.
Need a printable checklist? You’ll find one at the end of our HVAC Tips blog article on window-unit installs.
Frequently Asked Questions
Q: How much clearance should I leave around the chassis?
Leave ⅛ in. wiggle room on each side; foam strips will close the gap without crushing the cabinet.
Q: Do I need to remove my storm window?
No, but attach the support bracket to the sill spacer so the sash closes firmly against the AC top.
Q: Why does my perfectly sized unit still leak air?
Check for gaps in the accordion side panels and seal with foam tape; also confirm the sash latch is tight.
Q: Can I use a wall sleeve in a window opening?
Not recommended—wall sleeves lack weather flanges and won’t seal against window tracks.
Q: How often should I re-seal foam strips?
Inspect each spring; UV and moisture can shrink foam, creating new leaks.
Measure Once—Cool for Years
Ready to find an AC that fits the first time? Compare exact chassis sizes in the Window Units section at The Furnace Outlet, grab our printable measuring sheet, and chat with a sizing specialist—so you stay cool without costly do-overs.


