Key Takeaways
-
How to create cooling zones with multiple window and wall ACs
-
Sizing, placement, and scheduling that actually work
-
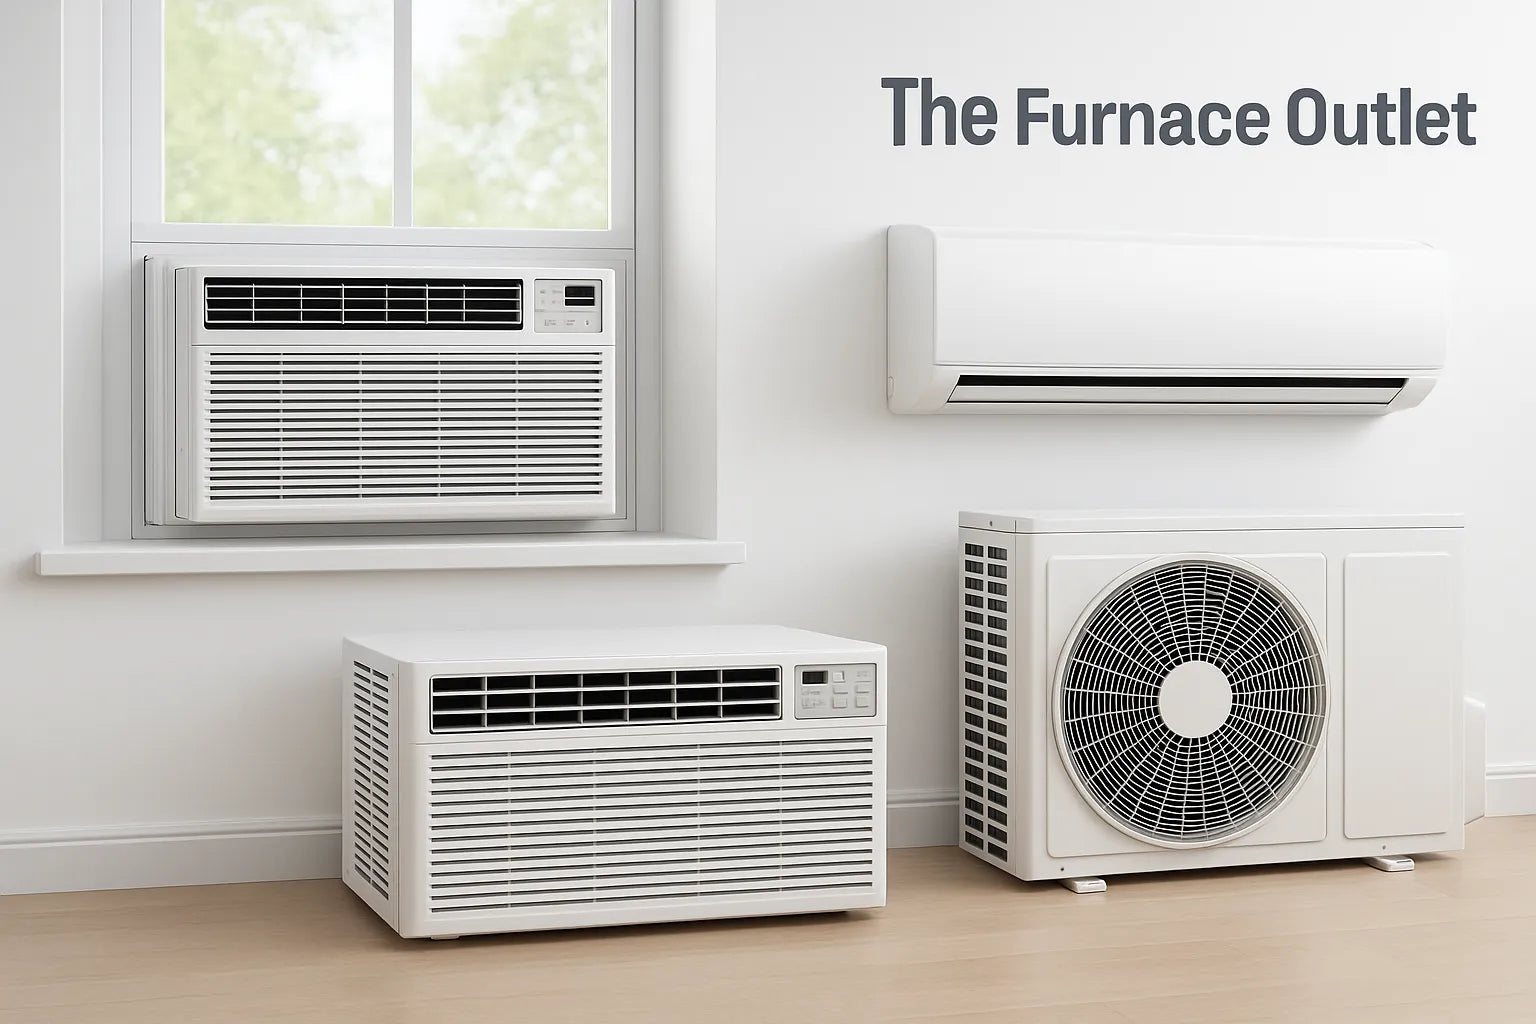
When to choose window, through-the-wall, or mini-split
-
Simple maintenance and monitoring plan
-
Target rooms you use, skip empty spaces → lower bills
-
Real savings: 30–35% vs. whole-house single-zone cooling
Cooling Zones for Real Energy Savings
Summer power bills keep rising, and many homes in the U.S. still cool every room the same—even when no one is there. A smarter way is to split your home into cooling zones and give each zone its own window or wall AC. This lets you cool the rooms you’re actually using, at the time you use them, at the temperature you like. Done well, this approach can trim cooling costs by about 30–35%, while comfort improves because no one is stuck with a one-size-fits-all setting. In this guide, you’ll learn what zones are, how to plan them, how to size and place units, and how to control everything with simple schedules. We’ll also share easy maintenance habits and point you to product options from The Furnace Outlet that fit typical American homes and budgets, so you can move from guessing to a clear, step-by-step plan.
Common Concern: “Do More ACs Use More Power?”
It sounds backwards, but more units can mean less energy—if you use them as zones. A single system cooling the whole house wastes power on empty rooms and pushes air through long paths that lose energy. Zoned room units avoid those losses and only run where people are. With thoughtful schedules, households often see 25–35% lower cooling costs, and many recover their setup costs in 3–5 years. The key is behavior: don’t run every unit all day. Instead, set bedrooms to cool at night, living areas to cool during the hottest hours, and low-use rooms to eco or off. Pair that with good sealing and shading, and you’ll lower peaks (those expensive, sweaty hours) without feeling warm. Think of it like turning off lights in empty rooms—common sense that adds up quickly.
How Cooling Zones Work (and Why They’re Comfortable)
A cooling zone is simply a room or group of rooms with its own AC and control. That room can hold a different temperature than the rest of the home—great for people who sleep cooler, cook a lot, or work from home. Zoning helps in three big ways:
-
Efficiency: Only run units in spaces that are occupied. You’re not pushing cold air to a guest room that sits empty.
-
Comfort: Each person can dial in a favorite setting without thermostat wars.
-
Control: If a sunny living room heats up at 3 p.m., that zone handles the extra load without overcooling the whole house.
Window units, through-the-wall units (TTW), PTACs, or even ductless mini-splits can all be used for zones. Explore options like window units, through-the-wall air conditioners
Map Your Home: Picking the Right Zones
Start with a simple plan. Grab a floor plan (or sketch one) and:
-
Mark occupancy: When is each room used—morning, afternoon, evening, overnight?
-
Note heat gain: Big west/south windows? Dark roof? Hot kitchen?
-
Check envelope: Insulation, drafts, and door gaps affect how hard a unit must work.
-
List activities: Sleep, gaming, workouts, cooking, or quiet study all like different temps and noise levels.
Common zone categories: Primary living (family room, kitchen), Private (bedrooms, office), Flex (guest/dining), and Utility (laundry/workshop). Use your plan to decide which rooms need independent control and when. Then match those needs with equipment types and sizes. For quick right-sizing help, bookmark our Sizing Guide
Size Each Unit Correctly (BTU Rules That Actually Work)
Good zoning fails fast if units are mis-sized. As a starting point, plan about 20 BTU per square foot of room area, then adjust: add +10% per foot for ceilings above 8 ft; +10% for very sunny rooms (−10% for heavily shaded); +600 BTU per person beyond two; +4,000 BTU in kitchens. Oversized units short-cycle (cool fast but leave the room clammy). Undersized units run nonstop. If you want a quick, plain-English walkthrough, see How to Choose the Right BTU for Your Room,
Install for Efficiency: Placement That Pays Off
Placement matters as much as size. For window units, avoid south- and west-facing windows when you can; east or north exposures reduce sun load. Seal gaps tightly and use a secure support bracket. For wall-mounted units, aim for about 7 ft above the floor, centered on the main open area. Keep 6–12 inches of side clearance and don’t aim airflow at doors or down narrow hallways where it gets blocked. Keep units away from ovens and electronics. If you’re choosing between formats, TTW units often seal better than old windows and can be a sturdy, long-term choice browse through-the-wall A/Cs
Smarter Control: Coordinating Multiple Units
Zoning works best when units don’t all start at once. Use simple schedules to stagger starts by a few minutes and lower peak draw. Many modern room units include Wi-Fi or work with smart AC controllers, so you can group zones, set quiet hours for bedrooms, and balance loads on hot days. Add room sensors so the controller reacts to the temperature where people sit or sleep, not just at the unit. In shared spaces, one smart controller can sometimes handle two same-model units in the same room for tighter coordination. For gear ideas and feature comparisons (noise, Wi-Fi, inverter), skim Best Window and Wall ACs of 2025.
Seasonal Strategies and Energy-Saving Tactics
Think in seasons: Summer nights favor cooler bedrooms, while late afternoons need living-area support when sun and cooking raise temps. Use eco/away in little-used zones. On extreme days, stagger heavy cooling across zones to shave peaks without discomfort. When traveling, set a vacation mode that protects finishes and electronics but avoids waste. Outdoors, shade condensers (without blocking airflow) and favor north/east placements to lift efficiency. Indoors, close blinds on west windows during the hottest hours. If window units run most days, consider a quiet, hyper-efficient upgrade like a wall-mounted mini-split inverters often cut energy use further while holding steadier temperatures. For specific models using R-32 refrigerant and low noise ratings, explore our window units
Maintain and Monitor: Keep Savings Year After Year
Clean or replace filters monthly in heavy use, keep coils and grills dust-free, and make sure drains are clear so units don’t ice up. Create a 5-minute checklist per zone: filter, noise check, visible frost, and airflow. Track run time and energy use by zone (many smart plugs and apps show this). If one room starts using more power to hold the same temp, check for new drafts, sun changes (removed shade tree), or a failing fan motor. Schedule a quick annual pro check before peak season. Keep spare accessories like line sets
FAQs
Will multiple units overload my panel? Not if you plan. Stagger start times and spread units across circuits. An electrician can confirm available capacity.
Window or through-the-wall? Window units are fast and affordable; TTW units seal better and last longer in permanent zones.
What’s the quietest option? Ductless mini-splits are usually quietest; modern window/TTW units with inverter compressors are close in bedrooms.
How do I pick sizes for each room? Start with 20 BTU/ft², then adjust for sun, ceiling height, people, and kitchens; see our BTU guides linked above for details. Any model recommendations? See our yearly roundup for noise, Wi-Fi, and inverter picks: Best Window and Wall ACs of 2025


