Key Takeaways
-
Use studs and brackets to support AC weight.
-
Install wall sleeve for strength and easy service.
-
Seal tight to block water and air leaks.
-
Follow building codes for safe, solid installs.
-
Hire a pro to avoid damage or voided warranties.
Why Exterior Modifications Matter for Wall-Mounted AC Units

A wall-mounted AC isn’t just a window unit pushed through a wall—it requires structural changes. Without the right modifications, you risk poor cooling performance, moisture damage, and even building code violations. Unlike window units, wall installations need permanent openings with framed support, weather sealing, and secure mounting.
Skipping these steps can lead to problems like air leaks, inefficient operation, or early unit failure. Homeowners in humid or storm-prone areas will especially benefit from proper sealing and drainage planning. For detailed sizing before installation, you can check The Furnace Outlet’s PTAC sizing guide.
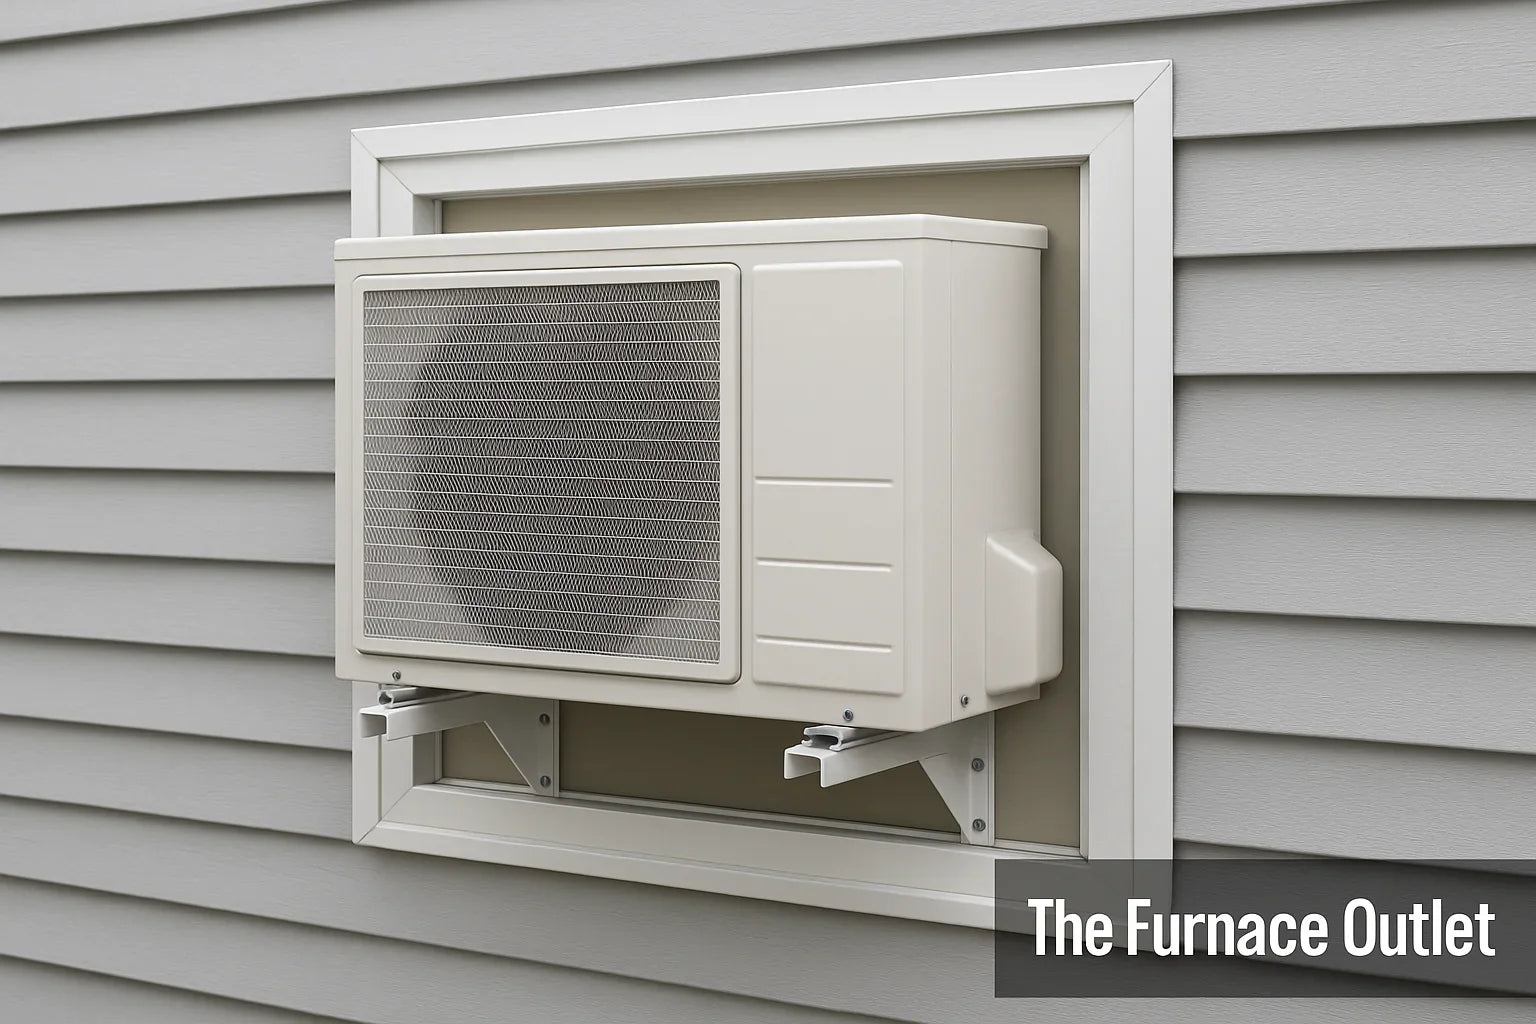
Structural Support: The Backbone of a Safe Installation

Wall-mounted AC units are heavier than most window models, and they don’t rely on a sill for support. The wall opening must be framed with studs, jack studs, and headers to carry the load. Mounting brackets should be anchored to solid framing, concrete, or brick—not drywall.
This framing also helps prevent the wall from sagging or cracking over time. If you live in an older home, have a professional check whether the wall is load-bearing before cutting. Proper structural work ensures safety, keeps the unit stable, and avoids expensive repairs later.
Cutting the Wall Opening Without Weakening the Structure

Cutting into an exterior wall needs precision. The opening must be wide enough for the AC sleeve while maintaining wall integrity. In load-bearing walls, you’ll likely need a header to redistribute weight.
Measuring twice and cutting once is more than just a saying here—if the opening is off, you’ll deal with gaps, poor alignment, and sealing issues. The opening should fit the sleeve snugly, without forcing or warping the frame.
Installing the Wall Sleeve for Longevity and Easy Service

A wall sleeve acts as the permanent frame for your AC. It allows the unit to slide in and out for service while protecting the wall from moisture and vibration. The sleeve must be:
-
Level so condensate drains properly
-
Securely fastened to the framing
-
Aligned to manufacturer specifications
Poor sleeve installation can cause water to pool, create noise, and shorten unit life. Many homeowners choose through-the-wall units designed for this type of sleeve, such as those available in The Furnace Outlet’s through-the-wall AC collection.
Weatherproofing: Protecting Against Moisture and Drafts

Exterior sealing is one of the most important steps. Use exterior-grade silicone caulk around the sleeve edges and install flashing above the unit to direct water away. On the inside, fill gaps with low-expansion foam insulation for airtightness.
Weatherproofing prevents costly problems like rot, mold, and rising energy bills. Even small air leaks can undermine the AC’s efficiency, forcing it to run longer and use more energy.
Drainage Planning for Condensate Control
A wall-mounted AC produces condensation that needs to be directed away from your home. The sleeve should have a slight outward tilt to encourage drainage, and any drain tubes should lead to an approved outlet, not onto siding or walkways.
Failing to plan drainage can cause staining, wall damage, or slippery surfaces below. In some areas, improper condensate disposal can even violate local codes.
Meeting Local Building Codes and Regulations
Building codes exist to keep your installation safe and reliable. These often include requirements for:
-
Proper wall reinforcement
-
Minimum clearances for airflow
-
Approved sealing and flashing methods
-
Safe drainage practices
Some jurisdictions require professional inspection or installation by a licensed contractor. Before starting, check your city’s code requirements to avoid fines or having to redo the work.
Common Mistakes to Avoid in Exterior Modifications
Frequent DIY errors include cutting openings without framing reinforcement, skipping flashing, and relying on drywall for mounting. Another mistake is not leaving enough clearance for maintenance—forcing future repairs to require wall demolition.
Avoiding these errors not only improves efficiency but also extends the unit’s lifespan. For guidance on avoiding installation pitfalls, see The Furnace Outlet’s HVAC tips section.
When to Call a Professional HVAC Installer
While handy homeowners can handle some steps, professional installers bring experience with wall framing, code compliance, and manufacturer specifications. They can also ensure the unit is perfectly level, properly sealed, and fully tested before use.
Hiring a pro may cost more upfront but can save you money in energy bills, repairs, and warranty issues down the line. Many manufacturers require professional installation for full warranty coverage.
Frequently Asked Questions
Q1: Can I convert a window AC to a wall AC?
Yes, but you’ll need a wall sleeve and proper framing to support it.
Q2: How thick should the wall be for a wall-mounted AC?
Most sleeves fit standard wall thicknesses (4–8 inches), but check your unit’s specs.
Q3: Do I need a permit for wall AC installation?
In many areas, yes—especially for exterior structural modifications.
Q4: How do I prevent water leaks around my wall AC?
Use proper caulking, flashing, and ensure the sleeve tilts slightly outward.
Q5: What’s the lifespan of a wall-mounted AC?
With proper installation and maintenance, 10–15 years is common.


