Hey there, I’m Mike. 👨🔧
If you’ve ever stood in front of your AC with sweat pouring down your back wondering, “What the heck is wrong with this thing?”, you’re in the right place. Most folks think it’s the thermostat, or maybe the refrigerant’s low. But more often than not, the real culprit is the evaporator coil—the quiet workhorse of your cooling system.
I’ve been elbow-deep in HVAC units for over 20 years, and trust me, when coils go bad or get installed wrong, it’s like putting bald tires on a brand-new truck. This guide’s for anyone who wants to learn how to install, maintain, and troubleshoot their evaporator coil without calling a pro every time something goes “thunk.”
Let’s dig in. 😎
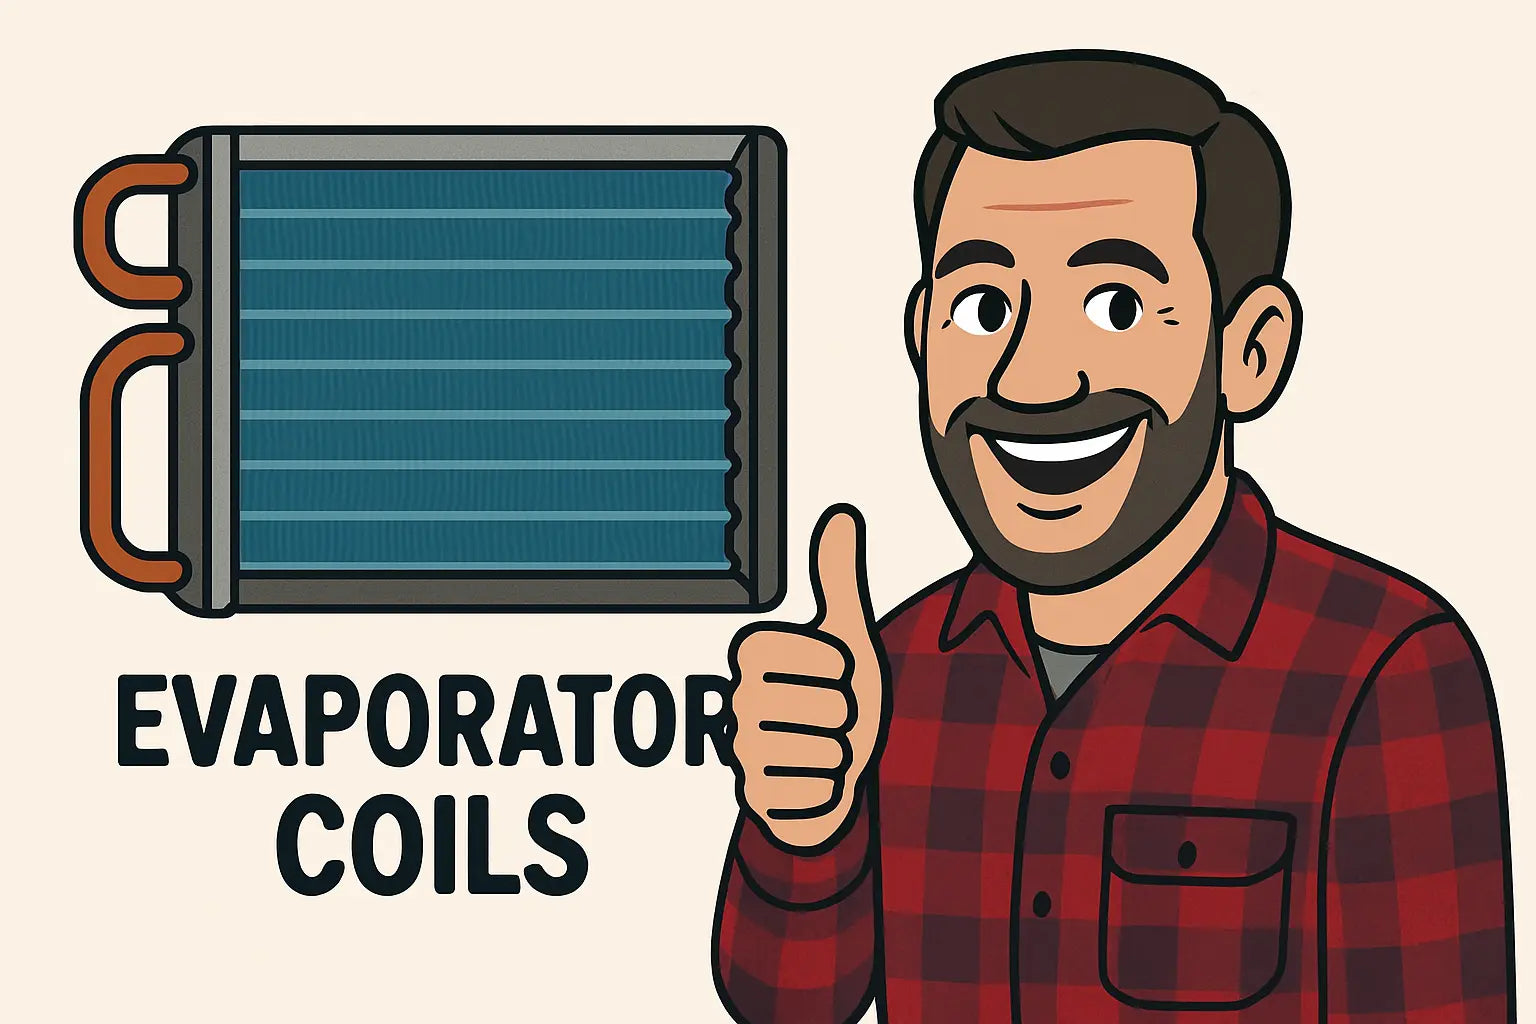
What the Heck Is an Evaporator Coil, Anyway?
Your evaporator coil sits inside the indoor air handler or furnace and is filled with refrigerant. As warm air from your home passes over it, the refrigerant inside absorbs that heat and sends it outdoors. Without a working coil, your AC’s just a glorified fan.
Here’s how it fits in the system:
-
Outdoor unit (condenser): Dumps the heat
-
Refrigerant lines: Transport the refrigerant
-
Evaporator coil: Absorbs indoor heat
-
Blower: Moves air across the coil and through your home
Still fuzzy? The U.S. Department of Energy does a decent job laying out the basic HVAC cycle if you’re new to all this.
Signs Your Evaporator Coil Is Causing Trouble
Here’s how you know it’s time to give your coil some attention:
-
AC is blowing warm air ❌
-
Ice buildup on the coil or refrigerant line 🧊
-
Unexplained humidity or moisture leaks 💧
-
Weird noises like hissing or banging
-
Sky-high energy bills 💸
If your unit’s blowing hot air and it’s not 1973, your coil may be clogged, frozen, or leaking refrigerant. According to HVAC.com, a bad evaporator coil is one of the top reasons AC systems underperform.
DIY Troubleshooting: What You Can Check Before You Call for Backup
Now don’t worry—I’m not sending you crawling into ducts. But here’s what you can do without voiding warranties or hurting yourself.
1. Check for Ice
If your coil looks like it’s in the middle of a snowstorm, shut off the system and let it thaw. Low airflow or refrigerant leaks are usually the cause.
Tip: Never use a hair dryer. Let it melt naturally. It’s not Thanksgiving.
2. Change Your Air Filter
Dirty filters restrict airflow, which means the coil can’t absorb heat. No heat absorption = ice.
3. Look for Refrigerant Leaks
Can you hear a faint hissing? Smell something sweet or chemically? That might be a refrigerant leak. If so, stop right there and call an EPA-certified tech.
4. Test Airflow from Vents
Weak airflow means your blower or ductwork may be struggling—or the coil is blocked.
Replacing or Installing an Evaporator Coil: Step-by-Step 🧰
Heads up: If you're installing a new system or replacing a busted coil, here's what that typically looks like.
Step 1: Match the Coil to the Condenser
This is critical. You want your coil size (tonnage and SEER rating) to match the outdoor unit. Misalignment kills efficiency.
Use a BTU-to-ton calculator like this one from Unit Converters.
Step 2: Shut It All Down
Power off the system. Then double-check with a voltage tester. Getting zapped by 240 volts ain’t a badge of honor.
Step 3: Remove the Old Coil
Access panels come off, drain lines disconnected, refrigerant lines carefully detached. Be gentle—those copper tubes are pricey.
Step 4: Install the New Coil
Make sure the TXV valve is compatible and properly adjusted. Install the new coil in the right orientation (vertical or horizontal—don’t guess). Line sets get brazed in.
Step 5: Vacuum, Pressure Test, and Recharge
Evacuate the system with a vacuum pump, run a nitrogen pressure test, and then charge with refrigerant based on manufacturer specs.
Always check your pressure using superheat or subcooling, not just guesswork.
Gotchas That Trip People Up 😬
-
Wrong coil orientation: Horizontal coils in a vertical cabinet = no bueno
-
Undersized drain pans: Hello, water damage
-
Leaky TXV valves: They’re precision parts. Handle with care.
-
Skipping the vacuum: Moisture inside the system causes corrosion
Mike’s Tips to Keep Your Coil Happy for the Long Haul 🛠️
-
Change your filter every 30-60 days. Especially if you’ve got pets or pollen.
-
Clean the coil annually. A soft brush and a no-rinse coil cleaner do wonders.
-
Inspect the drain line. A clogged line can back up and leak into your furnace.
-
Schedule a pro tune-up every spring. Before the summer heat kicks in.
If you’re into DIY maintenance, I recommend this deep cleaning guide from Quit Carbon. It walks you through safe coil cleaning.
Wrapping It Up – Mike’s Final Word 🧓🧰
Alright, let’s bring it home.
If there’s one thing I’ve learned in all my years in HVAC, it’s this: don’t overlook the evaporator coil. It might not be the flashiest part of your system, but it sure as heck is one of the most important. Whether your AC is acting up, blowing warm air, or you’re looking to upgrade your setup, taking the time to get your coil right can mean the difference between sticky frustration and sweet, cool comfort.
Need a solid coil that won’t let you down? I always send folks over to The Furnace Outlet’s full evaporator coil collection. They’ve got everything from horizontal to vertical, cased and uncased, and it’s all quality gear that’s compatible with modern refrigerants like R-32. No fluff, just the real deal.
Want to know how to fix frozen coils? Visit: Chill Fail.
At the end of the day, it’s about making your home more efficient, more comfortable, and a lot less of a headache. So roll up those sleeves, get your coil squared away, and keep your cool this season. You got this. 💪
Catch you next time,
– Mike, your cool HVAC guide


