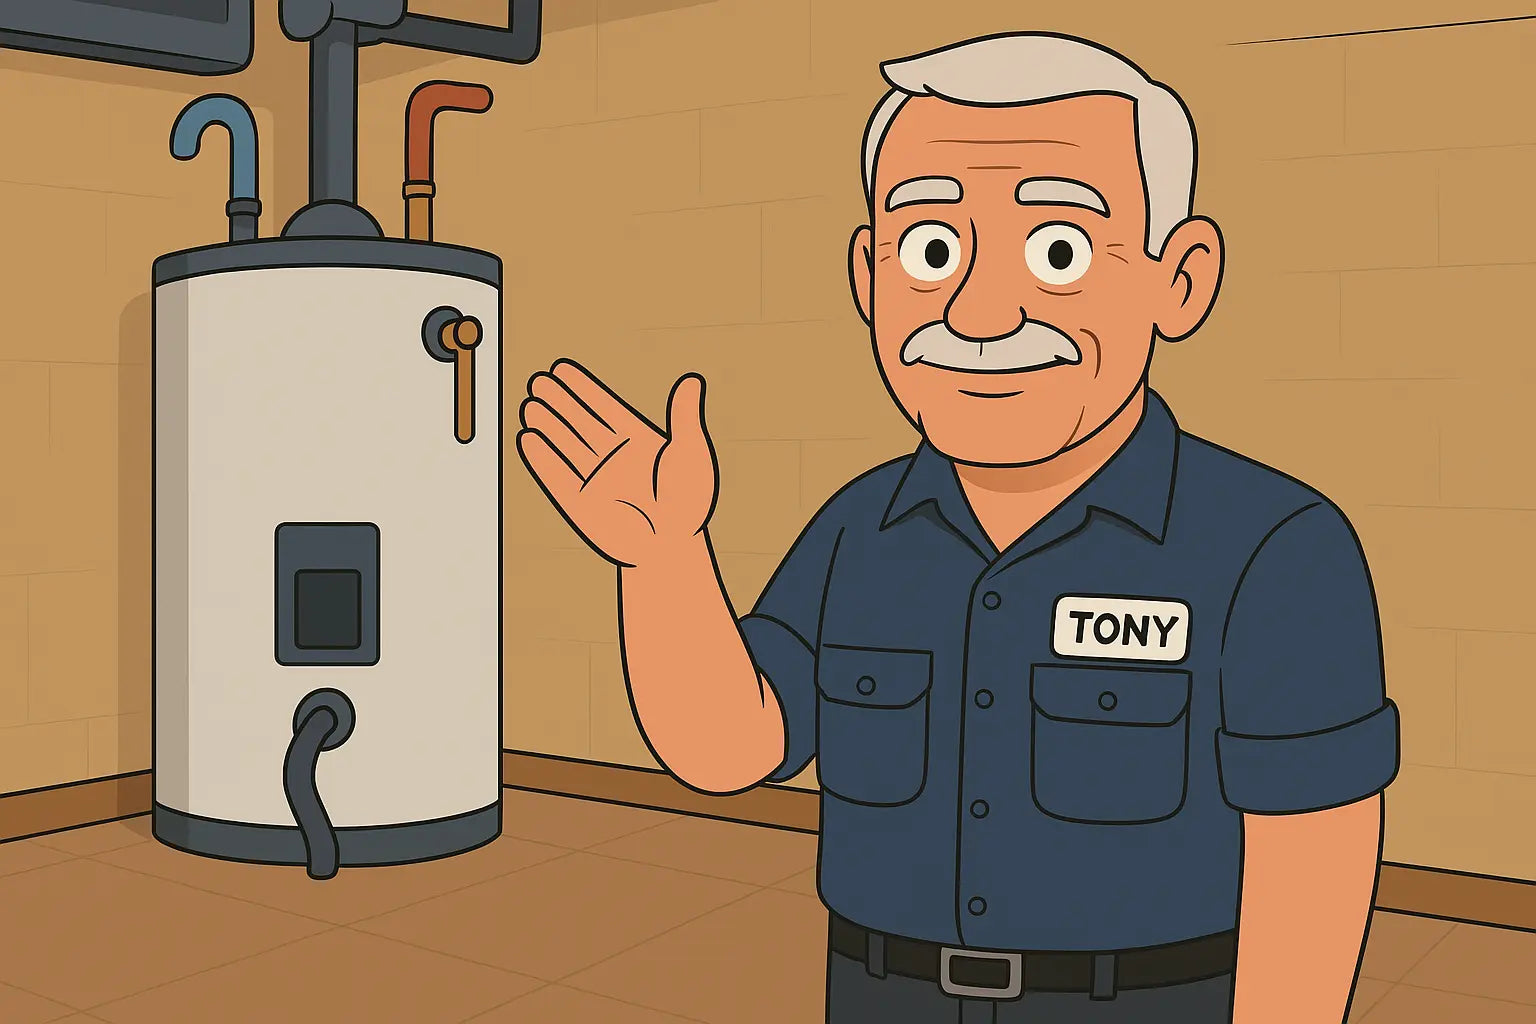
👋 Intro from Tony
Hey folks. Tony here. I’ve been knee-deep in HVAC and plumbing for over two decades, and let me tell ya—electric water heaters, especially those big ol’ 50–60 gallon ones, are the backbone of a comfy home. But when they go haywire? Whew, get ready for cold showers and cranky mornings.
Whether you’re installing a new unit or your current one’s got issues that make you want to chuck it into the nearest dumpster, I’ve got you covered. We're not just talking theory—we’re walking through it like I would with my own customers.
Let’s roll up those sleeves. 🔧💪
🧰 Section 1: Picking the Right 50–60 Gallon Electric Water Heater
Before you even start yanking wires or tilting tanks, you gotta pick the right unit for your setup. Not every 50–60 gallon water heater is built the same.
Key features to consider:
-
Recovery Rate: How fast it heats new water
-
First-Hour Rating: How much hot water it delivers in one hour
-
Energy Efficiency (UEF): The higher the better
-
Element Wattage: Usually 4500W or 5500W
If you need a dependable selection, check out this range of electric 50–60 gallon heaters. Solid models, good prices, and ships right to your door.
For a breakdown of energy efficiency standards, Energy.gov does a great job of explaining it right here.
🔧 Section 2: Tools You’ll Need for Install or Troubleshooting
Don’t grab your hammer just yet. Here's what I keep in my install kit:
-
Multimeter (for checking voltage & continuity)
-
Pipe wrench and adjustable wrench
-
Flathead and Phillips screwdrivers
-
Pipe thread sealant
-
Teflon tape
-
Torque wrench (yes, really)
-
A bucket (trust me)
And don't forget safety gear. Insulated gloves and safety goggles are a must. You’re messing with 240 volts—no joke.
OSHA outlines great home electrical safety practices in this guide. Don’t skip it.
🛠️ Section 3: Step-by-Step Install Guide
Alright, time to get down to business.
Step 1: Turn Off Power at the Breaker
Double and triple check this. Use a multimeter to confirm there's no power at the disconnect. I’ve had clients say, “It’s off,” and then get zapped. Don’t be that guy.
Step 2: Drain the Old Tank
Hook up a hose to the drain valve and run it to a floor drain. Open a hot water faucet upstairs to vent it. Trust me, it drains faster that way.
Step 3: Disconnect Plumbing and Electrical
Use your adjustable wrench for the plumbing and a screwdriver to open the junction box. Remember which wire went where or snap a pic.
Step 4: Move in the New Tank
These suckers are heavy. Get help or a dolly. Slide it into position and level it with shims if needed.
Step 5: Reconnect Plumbing with Dielectric Unions
Prevents corrosion and adds years to your system. If you don’t know what dielectric unions are, this quick video from SupplyHouse breaks it down.
Step 6: Fill and Bleed Air
Open the cold water valve and a nearby hot faucet until it flows smoothly—no more air spitting. No heat should be applied yet.
Step 7: Reconnect Electrical and Flip the Breaker
Make your wire connections with proper wire nuts, tighten the ground, and restore power. If your water doesn’t heat in an hour, it’s time to test the elements.
🚨 Section 4: Troubleshooting Common Problems
Even new installs can act up. Here's how I tackle the most common electric water heater issues:
Problem 1: No Hot Water
-
First, check the circuit breaker. Flip it off and back on.
-
Still nothing? Open the access panels and reset the high-limit switch.
-
Use a multimeter to test the upper thermostat and heating element. How-to here: Water Heater Testing Guide – The Spruce
Problem 2: Water Too Hot
Thermostat set too high. Dial it back to 120°F. If it’s still cooking water like ramen, the thermostat’s probably fried.
Problem 3: Leaks at Top or Bottom
-
Top: usually loose pipe fittings or the T&P valve.
-
Bottom: either condensation or a rusted tank. If it’s rusted, you’re done—replace it.
Learn more about leak types from this article on Jacobs Heating. Super practical read.
Problem 4: Strange Noises
Popping? Rumbling? That’s sediment buildup. Flush your tank out once a year, minimum.
The Spruce explains how to flush your water heater properly in this guide.
🧪 Section 5: When to Replace vs. Repair
There’s a point when repair just ain't worth it.
Replace your 50–60 gallon water heater if:
-
It’s 10+ years old
-
The bottom is leaking
-
You’ve replaced the element and thermostat more than once
-
Your energy bills keep going up
Want to estimate costs? Check out this HomeAdvisor water heater cost guide—super useful for budgeting your upgrade.
💡 Section 6: Pro Tips From Tony’s Truck
Here’s some stuff I tell my clients:
-
Label your breaker for future you (or your next tech)
-
Add a drip pan with a drain line if it’s in a finished space
-
Install a leak detector alarm—cheap insurance
-
Flush annually, especially in hard water areas
-
Don’t crank the thermostat past 130°F—it shortens the unit’s life
👋 Tony’s Wrap-Up
Look, installing or troubleshooting a 50–60 gallon electric water heater ain’t rocket science—but it also ain’t a toaster. You’re working with water, electricity, and pressure—all at once.
But if you follow these steps, keep safety first, and don’t cut corners, you’ll be back in hot water in the good way. 😎
And hey, if you’re ready to upgrade, I trust the folks over at The Furnace Outlet to get you a solid deal and fast shipping. Can’t beat that combo.
Curious if you can put your 50-60 gallon water heater in a space as small as a closet? Visit my guide: Closet-Sized Comfort.
Stay safe, stay warm, and keep those tools dry.
– Tony the Trusted Tech🔩


