Let's Get Started!
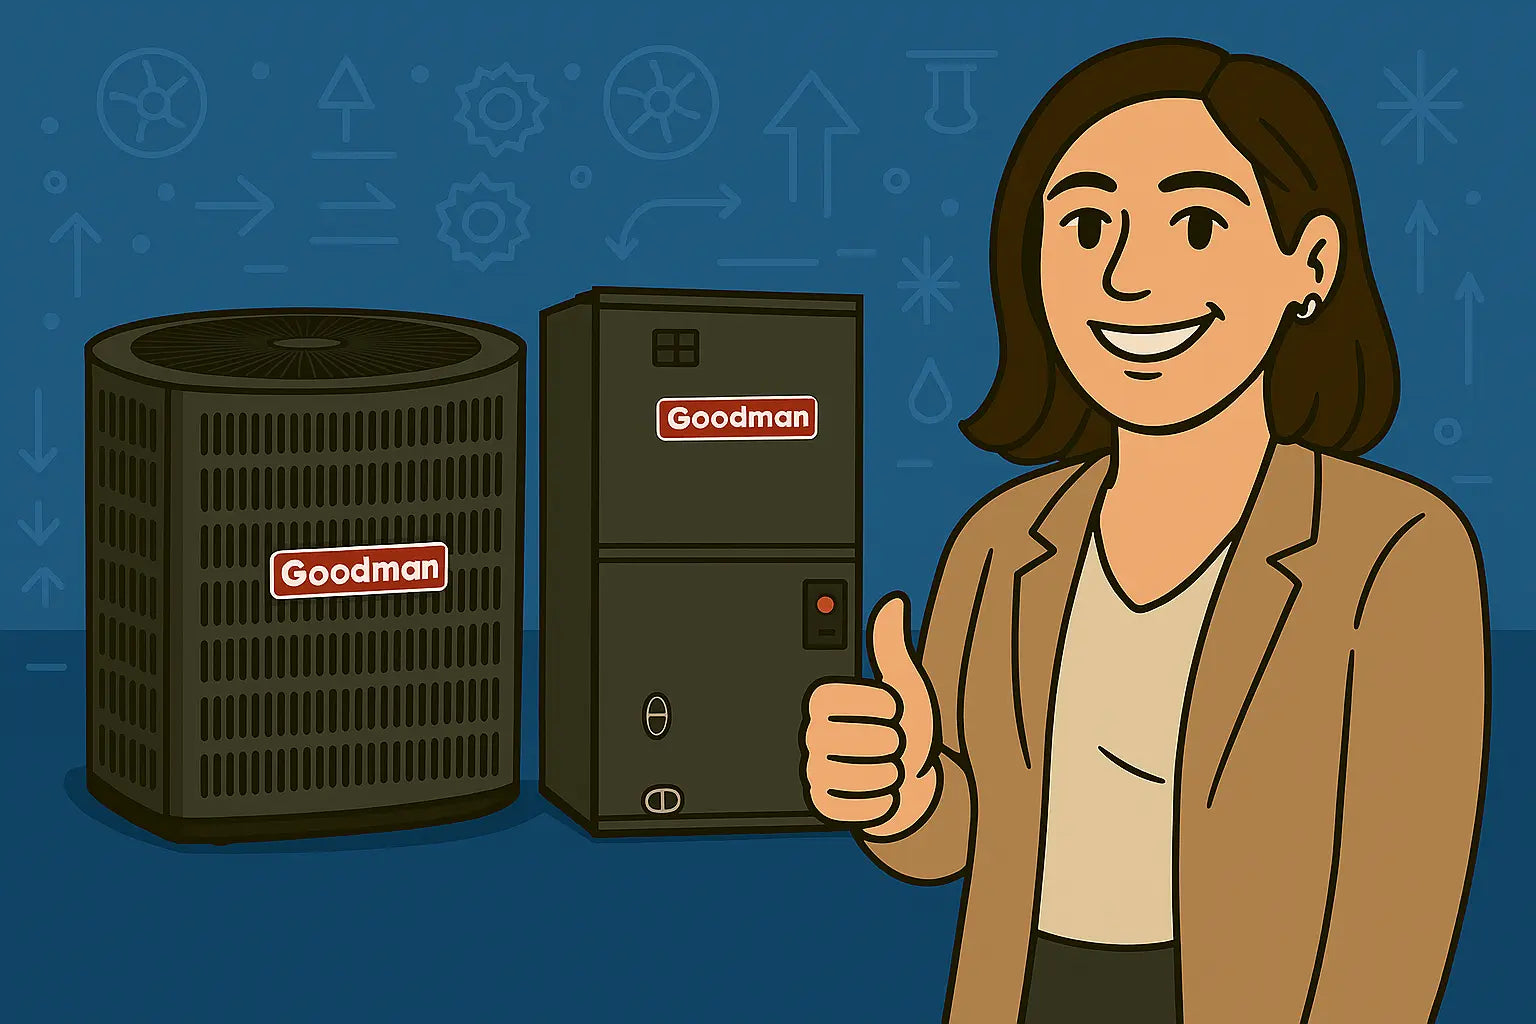
Hey there, savvy homeowners! 😎 It’s your girl, Savvy Mavi, back with another hands-on guide. Today, we’re tackling the Goodman 2-Ton 14 SEER2 Northeast System Bundle—that’s the GLXS3BN2410 condenser, the CAPTA2422B3 vertical coil, and the GR9S960803BN 96% AFUE gas furnace.
Whether you’re a DIY enthusiast or just want to understand how it all comes together, I’ll take you step by step through the installation process, highlight safety tips, and sprinkle in some pro-level hacks to make the process smoother.
🔍 Why This System Is a Smart Choice
Before we dive in, a quick reality check. The Goodman 2-Ton 14 SEER2 bundle is designed for residential homes in the Northeast, combining high efficiency with reliability. The 14 SEER2 rating helps lower energy costs, and the R-32 refrigerant makes it a greener choice than older units.
Check out the full bundle specs here.
🛠️ Step 1: Gather Your Tools and Prep the Area
Before lifting anything, make sure you have:
-
Screwdrivers, wrenches, pliers
-
Tape measure and level
-
Safety gear: gloves and goggles
-
A helper—this system isn’t a one-person job!
Safety first: turn off the circuit breaker for your HVAC system. I always like to refer to HVAC.com’s safety checklist before starting any installation.
🛠️ Step 2: Prepare the Condenser Pad
Your GLXS3BN2410 condenser needs a level, stable surface outside. A concrete pad works best, but you can also use a weatherproof platform. Make sure there’s at least 12 inches of clearance around the unit for airflow and servicing.
Tip from Goodman Manufacturing: remove the top grille during setup to make coil and wiring access easier.
🛠️ Step 3: Install the Evaporator Coil
The CAPTA2422B3 vertical coil mounts inside your furnace or air handler. Steps:
-
Ensure the coil is level to prevent condensate issues.
-
Connect the coil to the furnace plenum, sealing all flanges. Leaky ducts can cause 30% energy loss, so take your time.
-
Check that airflow is unobstructed.
For more detail on duct sealing and airflow optimization, Energy Star has a great guide.
🛠️ Step 4: Electrical Connections
The system requires 208-230V, 60Hz, single-phase power.
-
Connect the condenser to the outdoor disconnect box.
-
Ground all wiring properly.
-
Double-check all connections for tightness to prevent interruptions or breaker trips.
For step-by-step wiring tips, check HVAC.com’s wiring guide.
🛠️ Step 5: Connect Refrigerant Lines
The GLXS3BN2410 uses R-32 refrigerant.
-
Connect the suction and liquid lines from condenser to evaporator coil.
-
Use proper torque specifications for flare fittings.
-
Leak-test all connections before powering on.
For detailed instructions, refer to the Goodman Literature Library.
🛠️ Step 6: Startup and Testing
Once everything is connected:
-
Turn the system on.
-
Check airflow and temperature differential (16–20°F across supply and return).
-
Listen for unusual noises or vibrations.
If something seems off, double-check wiring, refrigerant charge, and thermostat settings.
🔧 Pro Troubleshooting Tips
Even a new system can have hiccups. Here’s how to handle common issues:
-
System not cooling properly: Check refrigerant, filters, and airflow.
-
Unusual noises: Inspect fan blades and remove debris.
-
System won’t turn on: Verify breakers and thermostat settings.
For complex issues, always consult a licensed HVAC professional.
🧰 Maintenance Tips
Keep your bundle running efficiently:
-
Replace filters regularly
-
Clean coils at least annually
-
Schedule professional HVAC tune-ups once a year
For a complete seasonal maintenance guide, see Energy.gov’s AC tips.
🧠 Savvy Mavi’s Pro Tips
-
Use a surge protector to prevent electrical damage.
-
Seal all ducts properly to avoid energy loss.
-
Consider a programmable thermostat for maximum efficiency.
🎉 Savvy Mavi's Conclusion
Congrats—you’ve got the blueprint to install your Goodman 2-Ton 14 SEER2 Northeast System! Following these steps ensures efficient operation, longer system life, and a comfy home year-round.
For full bundle details, specs, and purchase options, check the official page here. Staying informed and proactive is the smartest way to keep your home comfortable and your HVAC running smoothly! 😎
need more advanced troubleshooting tips for this bundle? Check out this troubleshooting guide!
Until next time,
- Savvy Mavi


