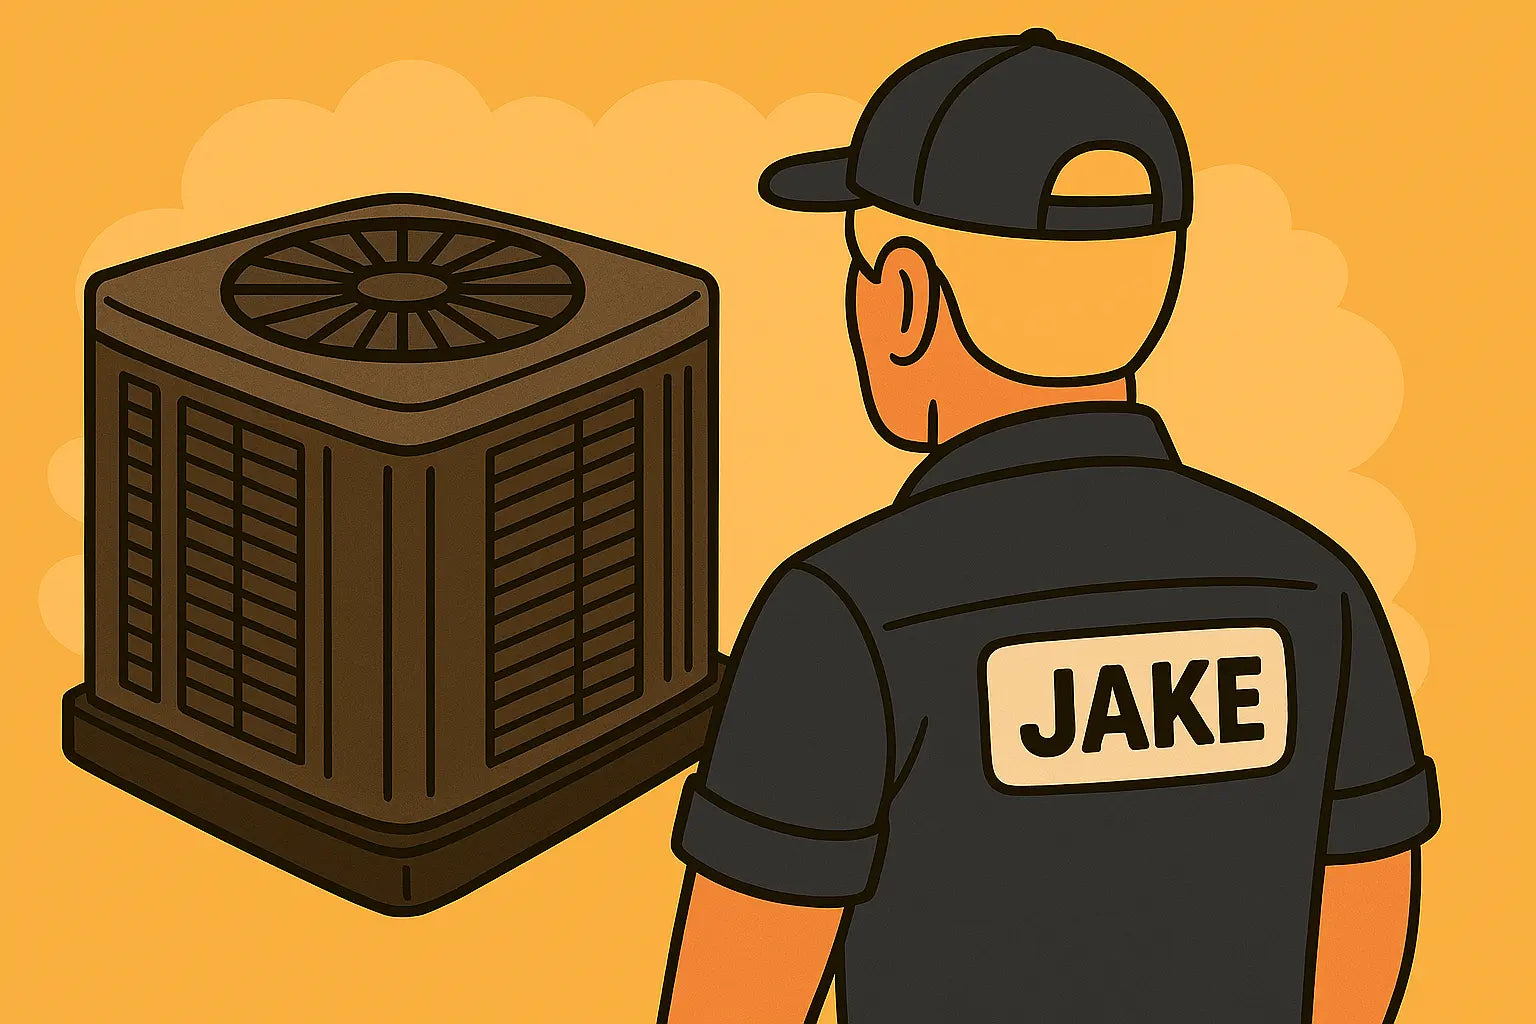
Intro From Jake!
Hey there! Jake here—just your go-to HVAC dude with a tool bag full of know-how and a knack for making installs stress-free. Whether you’re a pro or a DIY warrior, I’ve got you covered on the Goodman GLXS4BA3610 and AMST36CU1300 combo system. It’s built tough, runs cool, and uses that new low-GWP R-32 refrigerant—but only if you set it up right. Let’s make sure you don’t miss a beat.
System Overview
You’re working with a 3-ton, 14.5 SEER2 R-32 air conditioner (GLXS4BA3610) paired with the AMST36CU1300 ECM multi-speed air handler. Together, they cover about 1,500 to 1,800 square feet and are perfect for tighter energy codes thanks to R-32's lower global warming potential and SEER2-rated efficiency.
This is a solid residential match-up: flexible airflow positions, aluminum coil for corrosion resistance, and a 10-year parts warranty when registered properly. That ComfortBridge compatibility is just icing on the cake.
Why Installation Quality Matters
Here’s the hard truth: a bad install will wreck even the best system. According to Energy Star, over half of home HVAC systems are installed improperly, causing higher utility bills and early failures. With R-32 in the mix, proper line set sealing, leak detection, and charging become non-negotiable.
Incorrect airflow? That’ll cause coil icing. Weak charge? Poor cooling and short cycling. Skipping the micron test? Prepare for contamination and callbacks.
Tools You’ll Need
Don’t go in blind. Here’s your essential toolkit:
-
Vacuum pump (pull to 500 microns)
-
Nitrogen setup for leak testing
-
A2L-rated refrigerant leak detector (required for R-32)
-
Manifold gauge set and digital scale
-
Clamp meter, multimeter, and inrush tester
-
Sloped condensate drain or pump
-
Refrigerant-safe PPE (especially for flammable A2L refrigerants)
You’ll also want to check out this ASHRAE guidance on A2L refrigerants to keep your install code-compliant and safe.
Installation Walkthrough
1. Prep the Site
-
Level your pad or bracket
-
Position away from debris or bushes
-
Confirm local code clearance for service access
2. Connect Line Set
-
Braze connections with nitrogen flow
-
Pressure test with nitrogen to 150 PSI
-
Triple evacuate to below 500 microns
Use this step-by-step evacuation guide from HVAC School to avoid moisture traps and acid formation.
3. Wiring and Controls
-
High voltage 208/240V with disconnect
-
Thermostat (24VAC) wiring to Y, R, C, G
-
Float switch in series with Y wire
-
Consider a surge protector for electronics
4. Refrigerant Charging
-
Weigh in charge by factory spec
-
Verify subcooling (10–12°F target)
-
Check superheat for TXV control
Refer to Goodman’s official charging chart or use a digital app like MeasureQuick for added precision.
Startup Sequence & Commissioning
Once powered on:
-
Listen for blower ramp-up and compressor startup
-
Confirm 24VAC control voltage
-
Measure running amps vs nameplate
-
Set correct blower tap to match static pressure
Measure airflow using the static pressure method to ensure you’re hitting the recommended 350–400 CFM per ton.
Troubleshooting Tips
System Won’t Start?
-
Check 24VAC at contactor coil
-
Test float switch or condensate clog
-
Inspect disconnect and breaker
Short Cycling or Tripping?
-
Dirty condenser coil
-
Low refrigerant charge
-
Bad capacitor or faulty contactor
If you suspect a bad cap, use a clamp meter to measure microfarads and compare to the label. A swing of more than 6% = time for a swap.
Frozen Coil?
-
Dirty filter or blocked return
-
TXV sensing bulb not secure
-
Low airflow from undersized ductwork
Maintenance Tips for Longevity
Want your system to run past the 10-year warranty? Follow these:
-
Clean outdoor coil every spring
-
Change filters monthly during heavy use
-
Use a smart thermostat to improve run cycles
-
Have refrigerant and capacitors tested annually
Final Thoughts
Alright, let’s wrap it up. Installing the Goodman GLXS4BA3610 condenser and AMST36CU1300 air handler isn’t just about getting cold air flowing—it’s about doing it safely, efficiently, and with the kind of precision that keeps homeowners cool and confident.
This 3-ton, R-32-powered system is a serious step up in both energy performance and environmental responsibility. But it’s only as good as the hands installing it. Take the time to do your triple evacuation right, balance your airflow properly, and make sure your charge is spot-on.
If you want a closer look at this exact bundle and what makes it tick, check out the Goodman 3 Ton 14.5 SEER2 System: GLXS4BA3610, AMST36CU1300 on The Furnace Outlet. It’s where performance meets value—and where proper install makes all the difference.
Want more advanced troubleshooting tips for this system? Visit my guide: How to Properly Install the Goodman GLXS4BA3610 Condenser with R‑32 Refrigerant.
So keep your gauges clean, your leaks tight, and your readings accurate. You do that, and this system will reward you with years of reliable, efficient cooling. 💪 Stay sharp out there—and as always, test twice, wire once.
- Jake, your comfort loving tech!


