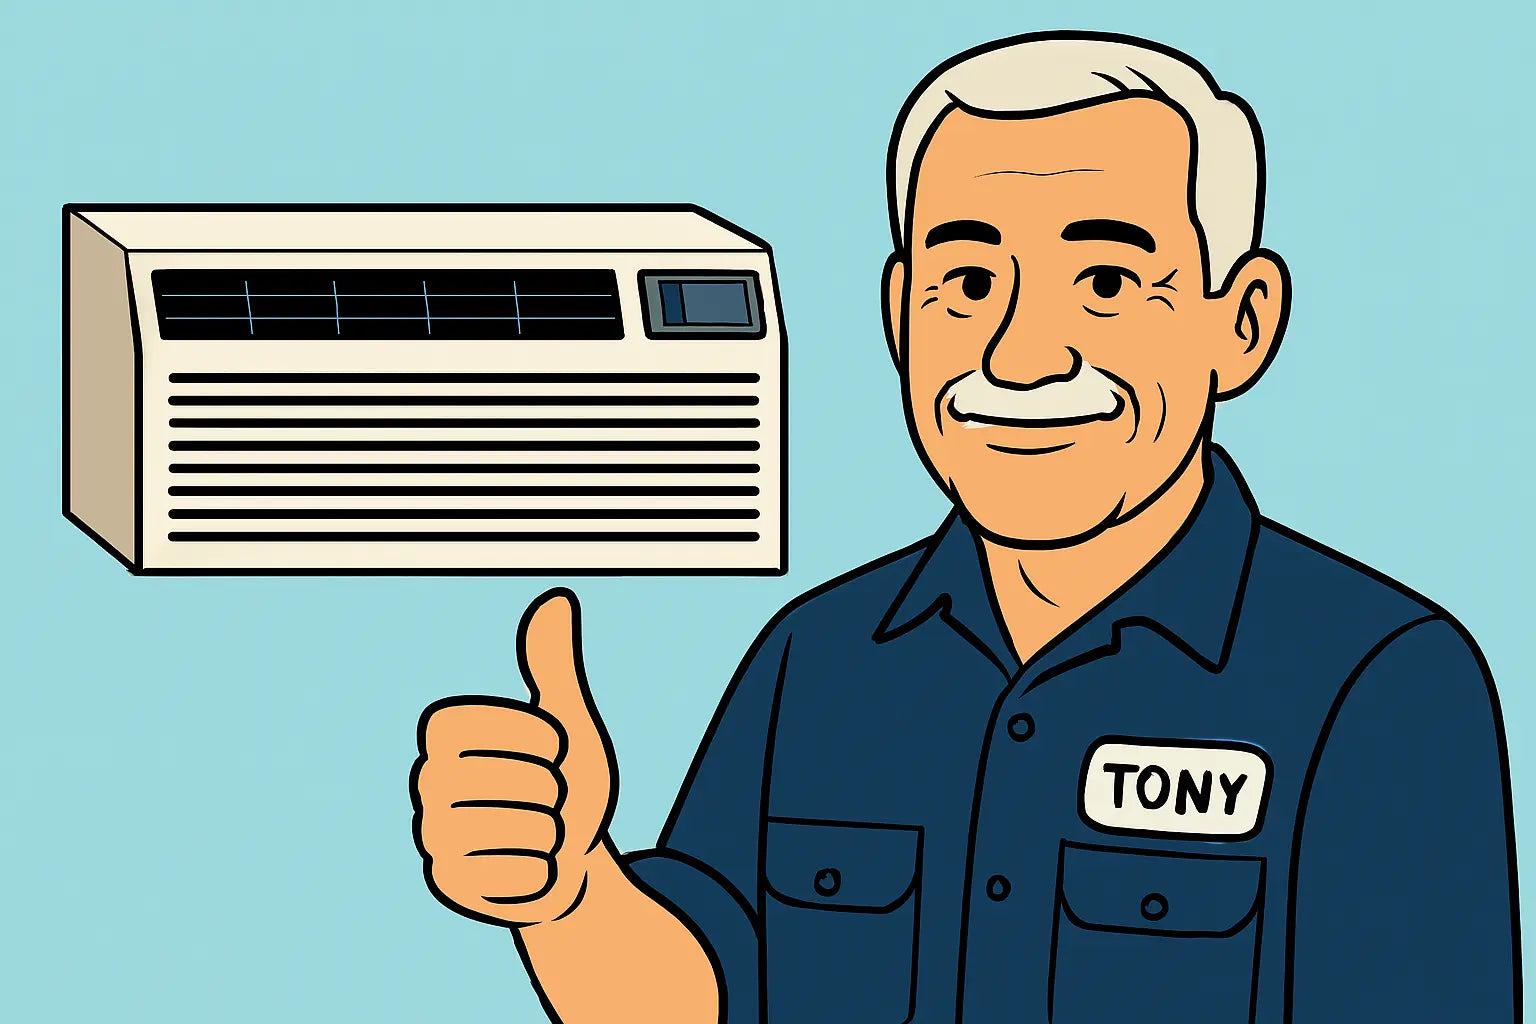
Intro from Tony
Hey folks, Tony here. Installing a PTAC might sound intimidating, but I’m going to break it down so even a first-timer can get it right. Today, we’re tackling the Amana Distinctions 12,000 BTU PTAC with 3.5 kW electric heat—one of my favorite compact units for residential or hospitality spaces.
I’ll walk you through wall sleeve prep, leveling, electrical hookup, securing the unit, and testing. Plus, I’ll sprinkle in a few of my insider tips to save you headaches and money. By the end, you’ll have your PTAC running efficiently and safely. Let’s get to it! 😎🛠️
1. Why Proper Installation Matters
A solid install prevents leaks, electrical faults, and noisy operation. PTAC units like the Amana Distinctions rely on sleeve alignment, electrical integrity, and airflow clearance to function optimally. Skimp on prep, and you’re looking at reduced efficiency, indoor water issues, and unnecessary service calls.
For a refresher on how PTACs work, check out Energy Star’s PTAC guide.
2. Tools & Materials You’ll Need
Before you start, gather:
-
Level
-
Drill with assorted bits
-
Shims
-
Weather-resistant sealant
-
Torque screwdriver
-
Electrical tools (wire strippers, multimeter)
-
Gloves and safety goggles
Also, have the Amana installation manual handy for wiring diagrams and specific torque specifications (Amana Support).
3. Preparing the Wall Sleeve
3.1 Inspect and Clean
Make sure your sleeve is level side-to-side and slightly tilted outward toward the exterior. This slope ensures proper condensate drainage. Remove debris or old sealant.
3.2 Seal Gaps
Apply weather-resistant caulk or sealant around the sleeve edges to prevent air infiltration and moisture leaks. Poor sealing can reduce efficiency and invite mold growth.
For detailed sleeve prep tips, check out Bob Vila’s air conditioner guide.
4. Mounting the PTAC Unit
4.1 Slide the Unit In
Carefully insert the PTAC into the sleeve. Avoid forcing it; it should glide in with gentle pressure.
4.2 Secure the Brackets
Use the manufacturer’s brackets and screws. Torque them to the specified values. Loose brackets cause vibration and noise, while overtightening can damage the unit.
5. Electrical Connection
5.1 Confirm Circuit Requirements
The unit requires 208–230 V, 20 A dedicated circuit. Ensure your wiring and breaker are up to spec.
5.2 Power Connection
Turn off the breaker. Connect the unit to the circuit according to the Amana wiring diagram. Double-check polarity and ground connections.
Pro tip: even if you’re comfortable with electrical work, consider a licensed electrician for the final connection. Safety first.
For general wiring guidance, PTAC4Less’s AC installation guide is a solid reference.
6. Final Testing
6.1 Test Cooling and Heating
Turn the PTAC on in cool mode first, then switch to heat mode. Listen for unusual noises, check airflow, and ensure the unit cycles properly.
6.2 Check Temperature Differential
Measure inlet vs outlet air temperatures. This helps confirm the unit is functioning efficiently.
6.3 Inspect Drainage
Ensure condensate is flowing out properly through the sleeve. Water pooling indoors is usually a sleeve tilt or blockage issue.
For a comprehensive PTAC testing checklist, see PTAC4Less troubleshooting tips.
7. Common Installation Mistakes to Avoid
-
Incorrect sleeve tilt → leaks indoors
-
Loose or overtightened brackets → vibration, noise
-
Wrong electrical connection → tripped breaker or unit won’t start
-
Skipping test cycle → may miss heat pump or electric heat issues
Remember, taking 30 extra minutes to double-check these points can save hours of frustration later.
8. Maintenance Tips After Install
-
Monthly: Clean or replace filters.
-
Every 6 months: Inspect and clean coils, drain pan, and sleeve area.
-
Annually: Test full operation, including backup 3.5 kW electric heat.
Neglecting these steps can cause reduced efficiency, water leaks, or unexpected breakdowns. For more maintenance strategies, check Direct Supply's maintenance guide.
9. Troubleshooting Quick Tips
| Issue | Likely Cause | Quick Fix | Call Pro If… |
|---|---|---|---|
| Unit won’t turn on | Breaker or LCDI trip | Reset breaker/cord | No response after reset |
| Weak cooling | Dirty filter/coil | Clean filter/coil | No improvement |
| No heating | Mode, thermostat, or strip heat | Check settings | Electric heat not energizing |
| Water leak | Drain clog or sleeve tilt | Clear drain/adjust tilt | Leak persists |
| Noise | Loose panel/fan | Tighten screws | Loud internal motor |
Outro from Tony
And that’s a wrap, folks—your complete guide to installing the Amana Distinctions 12,000 BTU PTAC with 3.5 kW electric heat. Follow the steps, respect the electrical and sleeve setup, and your unit will hum along efficiently for years.
If you haven’t grabbed your PTAC yet, check it out at The Furnace Outlet’s Amana Distinctions 12,000 BTU PTAC. Install it right, keep it maintained, and you’ll enjoy a comfortable space without the drama. 🍻
Need more advanced troubleshooting tips? Visit: How to Troubleshoot Common Amana PTAC Issues Before Calling a Pro.
Until next time,
Tony the Trusted Tech


