Howdy, it's Mike again 👋
If you’re shopping for a new evaporator coil—or trying to figure out why your HVAC setup doesn’t seem to be doing its job—you’ve probably come across terms like “vertical coil” or “horizontal configuration.” And if that left you scratching your head, don’t worry. You’re definitely not alone.
The orientation of your evaporator coil matters a whole lot more than people realize. Get it wrong, and you’re setting yourself up for headaches like poor drainage, airflow issues, and a drop in efficiency that’ll sneak right into your energy bill.
Let’s break it down real simple: what the orientations mean, how they work, and how to know which one is the right fit for your setup.
What Is Coil Orientation, Anyway?
When HVAC folks talk about coil orientation, they’re referring to how the evaporator coil sits inside your air handler or furnace—either upright (vertical) or lying on its side (horizontal). The direction of the airflow and how the system drains condensation depends on this orientation.
Still new to evaporator coils in general? Carrier’s HVAC guide gives a great overview of what these coils do in plain language.
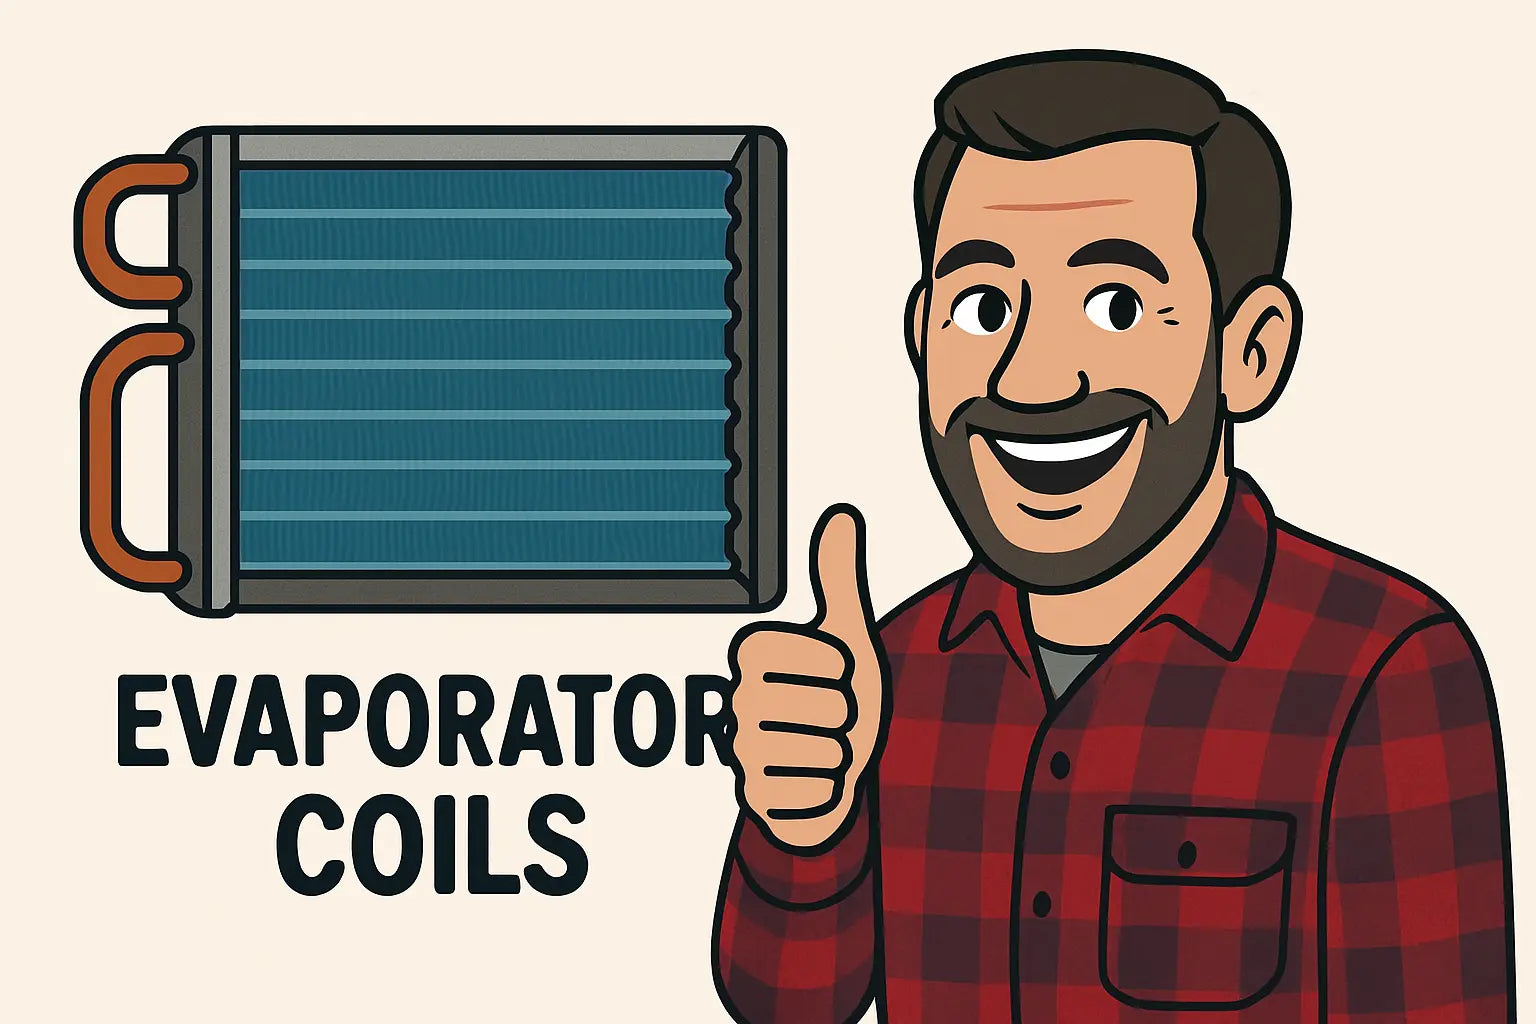
The Two Main Coil Orientations 🔄
Vertical Evaporator Coils
These are designed for systems where air flows up or down through the unit.
Common in:
-
Closets
-
Basements
-
Utility rooms
-
Multi-story homes
Subtypes:
-
Upflow: Air enters from the bottom and exits the top
-
Downflow: Air enters from the top and exits the bottom
Pros:
-
Better suited for smaller spaces where vertical clearance is available
-
Easier to install in standard furnace setups
-
Usually has a better natural drainage pattern for condensation
Cons:
-
Needs sufficient ceiling or crawlspace height
-
Can be tricky to install in tight attic spaces
Horizontal Evaporator Coils
These are designed for systems where air flows side-to-side.
Common in:
-
Attics
-
Crawlspaces
-
Apartments and condos with limited vertical room
Subtypes:
-
Left-hand airflow or right-hand airflow, depending on duct position
Pros:
-
Fits neatly into low-clearance areas like attics
-
Works well with ceiling-mounted systems
-
Drain pans often built for both orientations
Cons:
-
Requires perfectly level installation for proper drainage
-
More prone to drain line clogs and standing water if installed incorrectly
Why Orientation Matters More Than You Think 😬
Pick the wrong orientation, and you’re not just dealing with awkward fits—you’re looking at some serious long-term problems:
-
Improper Drainage: Water can back up and flood your system
-
Mold & Mildew: A poorly draining coil can become a petri dish
-
Inefficient Cooling: Misaligned airflow = wasted energy
-
Premature System Wear: Stress on the blower motor and duct system
According to Elite Climate Control, incorrect coil positioning is one of the most common causes of premature system failure—and it often voids your equipment warranty.
How to Know Which Orientation You Need
Mike’s checklist:
✅ Where’s your air handler located?
-
Closet, basement, or vertical furnace = go vertical
-
Attic, crawlspace, or ceiling = go horizontal
✅ What direction does air flow through the system?
-
Bottom to top = upflow vertical
-
Top to bottom = downflow vertical
-
Left to right (or vice versa) = horizontal
✅ How much space do you have to work with?
Measure both width and height. Make sure there’s enough clearance for install and maintenance.
✅ What does your current system use?
Don’t reinvent the wheel unless you’re doing a full system upgrade.
Still unsure? Check your existing coil’s model number and compare it with product specs on sites like AHRI Directory. It’ll usually show the orientation and matching systems.
Let’s Talk Drainage: Why It’s a Big Deal 🚰
One of the most overlooked problems in coil installs is condensate drainage.
All that cool air you’re pumping into the house? It’s pulling moisture out of the air too. That moisture collects on the coil and drains into a pan. If the coil is tilted the wrong way (especially in horizontal setups), water won’t drain right—and you’ll have a mini swamp inside your unit.
Want to see how bad it can get? Check out this cautionary tale from HVAC School. It’s a good wake-up call for DIYers.
Matching the Coil to the Furnace or Air Handler
Here’s where it gets real important: your evaporator coil needs to be matched not just to your orientation, but to your system’s size and flow direction.
Mike’s quick tips:
-
Match coil tonnage to your AC system (2–5 tons are most common)
-
Make sure airflow direction aligns with your duct layout
-
Confirm compatibility with refrigerant type (R-32, R-410A, etc.)
-
Check for AHRI-certified matches for energy efficiency and warranty coverage
If you need help figuring this out, The Furnace Outlet makes it easy. Their evaporator coil collection is organized by orientation and tonnage, and the product pages clearly show compatibility with Goodman systems and others.
Real-World Examples from Mike’s Toolbelt 🔧
❌ The “Wrong Way” Horizontal Install
One homeowner had a horizontal coil installed in their attic… but the installer didn’t level it properly. Three months later? Mold, mildew, and water stains on the ceiling. The pan had been overflowing the whole time.
Fix: Re-leveled the unit, added a secondary drain pan, and rerouted the line. $600 in drywall repairs could’ve been avoided.
✅ The “Right Fit” Vertical Furnace Upgrade
Another job involved upgrading from a 3-ton 13 SEER to a 3-ton 15.2 SEER R-32 system. We matched the upflow coil orientation to their existing vertical furnace setup. Install took half a day, and they saw better airflow and lower humidity within a week.
Final Word from Mike – Don’t Let Coil Orientation Throw You Sideways 🧓🧭
When it comes to your HVAC setup, orientation isn’t just a technical detail—it’s a big-time performance factor. Whether you're installing new or replacing a busted coil, matching the orientation to your airflow setup and space is key to avoiding leaks, poor cooling, and expensive repairs.
If you’re not 100% sure what you need, don’t guess. Check your system’s airflow direction, measure your space, and match your coil the smart way. And if you need solid, compatible options, head over to The Furnace Outlet’s evaporator coil collection. They make it easy to pick the right one—no head-scratching required.
Need coil cleaning tips? Visit my guide: DIY Evaporator Coil Cleaning Made Simple.
Until next time,
Keep your system balanced and your beer colder than your coil,
– Mike, your cool HVAC guide


