Key takeaways
-
DIY mini-splits need tools, safe wiring, and permits.
-
Warranties limited unless brand allows homeowner installs.
-
Pre-charged units easier; traditional need EPA-608 skills.
-
Red flags (panel, wiring, masonry) → hire a pro.
-
Start with sizing; see Sizing Guide + DIY mini-splits.
A quick roadmap for homeowners
Rooms that never feel right, high bills, and confusing quotes push many people to consider a ductless mini-split. The internet makes DIY look simple, but a dependable install combines careful planning, the right tools, code-compliant electrical work, and clean refrigerant practices. In this guide, you’ll learn how to judge whether a DIY path fits your skills, what tools are truly essential, how warranties and permits work, and the exact moments to stop and bring in a licensed professional. We’ll also show smart ways to pick equipment, plan line-set routes, and protect performance for the long run. If you want a head start after reading, explore our wall-mounted ductless system
The common concern: “Can I really DIY this safely?”
Homeowners usually worry about three things: tools, electricity, and what happens if something goes wrong. Those are fair concerns. Mini-splits need a dedicated 240-volt circuit, accurate torque on flare nuts, moisture-free refrigerant lines, and a weather-proof path through the wall. Mistakes can lead to leaks, breaker trips, or a voided warranty. The good news: some brands build DIY-friendly kits and quick-connect fittings; the challenge is knowing which tasks are safe for you and which require a licensed electrician or EPA-certified tech. This article gives you a step-by-step way to assess your skill, read the red flags, and decide between a DIY-ready kit and a traditional system. When in doubt, use our Help Cente
Tools you actually need (and why they matter)
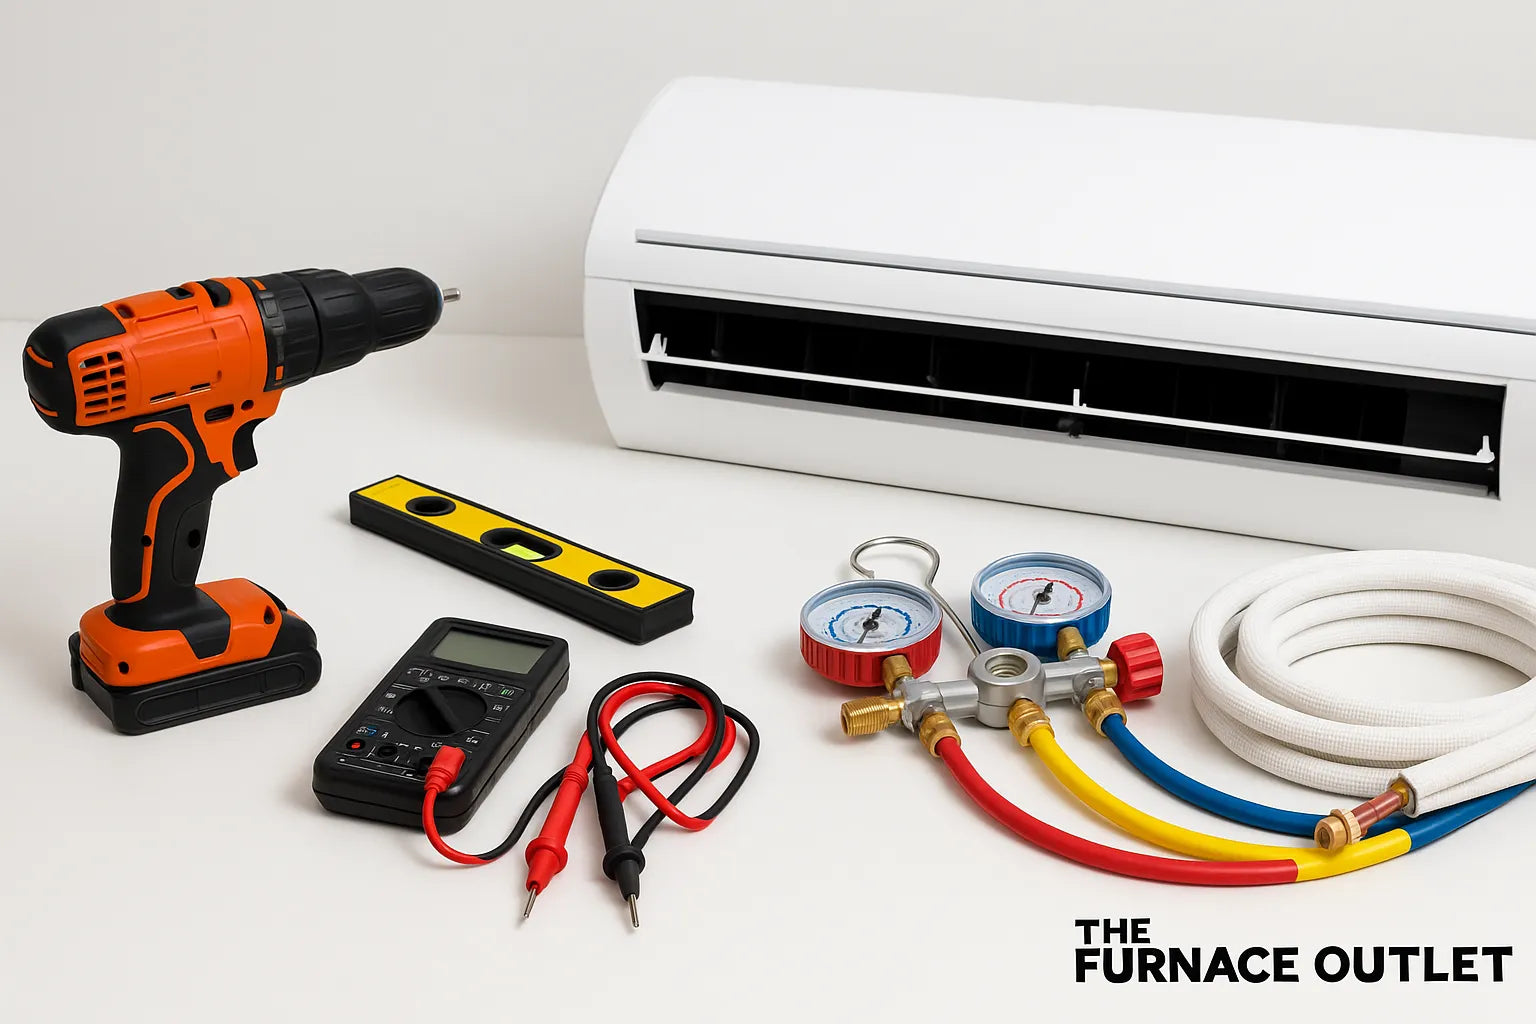
A clean, tight refrigerant circuit and straight mounts are impossible without the right gear. Core tools include an electronic torque wrench (for proper flare torque), vacuum pump with manifold and micron gauge (to remove air and moisture), a 2.5–3 in. hole saw for the wall sleeve, a level, and a digital multimeter for electrical checks. You’ll also want leak detection spray, Nylog/refrigerant oil for flares, and line-set covers to protect and tidy the run. Plan to spend $500–$800 if you’re buying specialized HVAC tools for the first time. Grab needed line sets
Safety & electrical basics you can’t skip
A mini-split typically needs its own 240V circuit, correct breaker size, an outdoor disconnect, and wiring sized per code. If your panel is crowded, if wire runs are long, or if aluminum branch wiring is present, call a licensed electrician. On the refrigerant side, keep lines clean and sealed, bend gently to prevent kinks, and pull a deep vacuum (verified in microns, not just “looks good”). Wear eye protection and gloves when drilling and lifting; outdoor units can weigh 70–90+ lb. Finally, think like an inspector: proper clearances, level pads, sealed penetrations, and tidy cable management all affect safety and longevity. For questions during planning, check the Help Center
Warranty rules: DIY vs. pro, and how to keep coverage
Manufacturers set different rules. Some DIY-ready lines allow homeowner installation if you register on time and follow instructions exactly; others require professional installation for full coverage. Keep receipts, permit numbers, and photos of torque readings and vacuum levels. Register the product within 30–90 days, and schedule annual maintenance to avoid disputes. Considering a DIY-branded system like MRCOOL? Read a clear DIY vs. Professional comparison to understand cost, scope, and warranty trade-offs
Permits, code, and inspections: what to expect
Most U.S. jurisdictions treat a mini-split as three permit categories: building (wall penetration/mounting), electrical (new 240V circuit), and sometimes mechanical (refrigerant lines/commissioning). Budget typical fees in the $50–$300 range and expect an electrical inspection plus a quick visual on line-set routing, supports, and clearances. Planning is easier when you first confirm load capacity in your panel and review clearance diagrams for both indoor and outdoor units. If you’re price-checking options or thinking about rebates and SEER2 requirements this year, scan our 2025 ductless guide
Pre-charged vs. traditional systems: which fits DIY?
Pre-charged (DIY) systems ship with sealed, quick-connect line sets. You avoid on-site charging and reduce the chance of moisture intrusion or under-vacuuming. They’re great for first-time installers with simple, single-zone layouts. Traditional systems require precise flares, torque, a measured vacuum to low microns, and sometimes refrigerant weighing/charging—work normally done by EPA-608 techs. Performance can be excellent with either type; the difference is your risk during installation. If you want an easier path, start with DIY-friendly ductless kits;
A simple decision framework (checklist)
Use this quick test before you buy:
-
Sizing & layout: Confirm capacity with the Sizing Guide
-
Skill & tools: Comfortable with 240V basics, vacuum pump, and torque specs? If not, plan partial or full pro help.
Home readiness: Panel space, safe breaker location, and a level outdoor pad available? -
Compliance: Know your permits and inspection steps; keep documents organized.
-
Risk tolerance: If a mistake means leaks, callbacks, or a voided warranty, consider pro installation.
When you’re set, shop wall-mounted systems
FAQs:
How do I maintain a mini-split after install?
Clean filters monthly and keep clearance around the outdoor unit; see our maintenance tips for a simple routine.
What’s the biggest DIY mistake?
Skipping a proper vacuum and leak check. Moisture or leaks reduce performance and can damage the compressor.
Can I mix DIY with pro help?
Yes. Many homeowners do the mounting and line-set routing, then hire a pro for electrical and commissioning.
Do I need a special model for DIY?
DIY-ready kits exist; for others, pro installation may be required for warranty. Read this DIY vs. pro overview.


