Samantha's Introduction
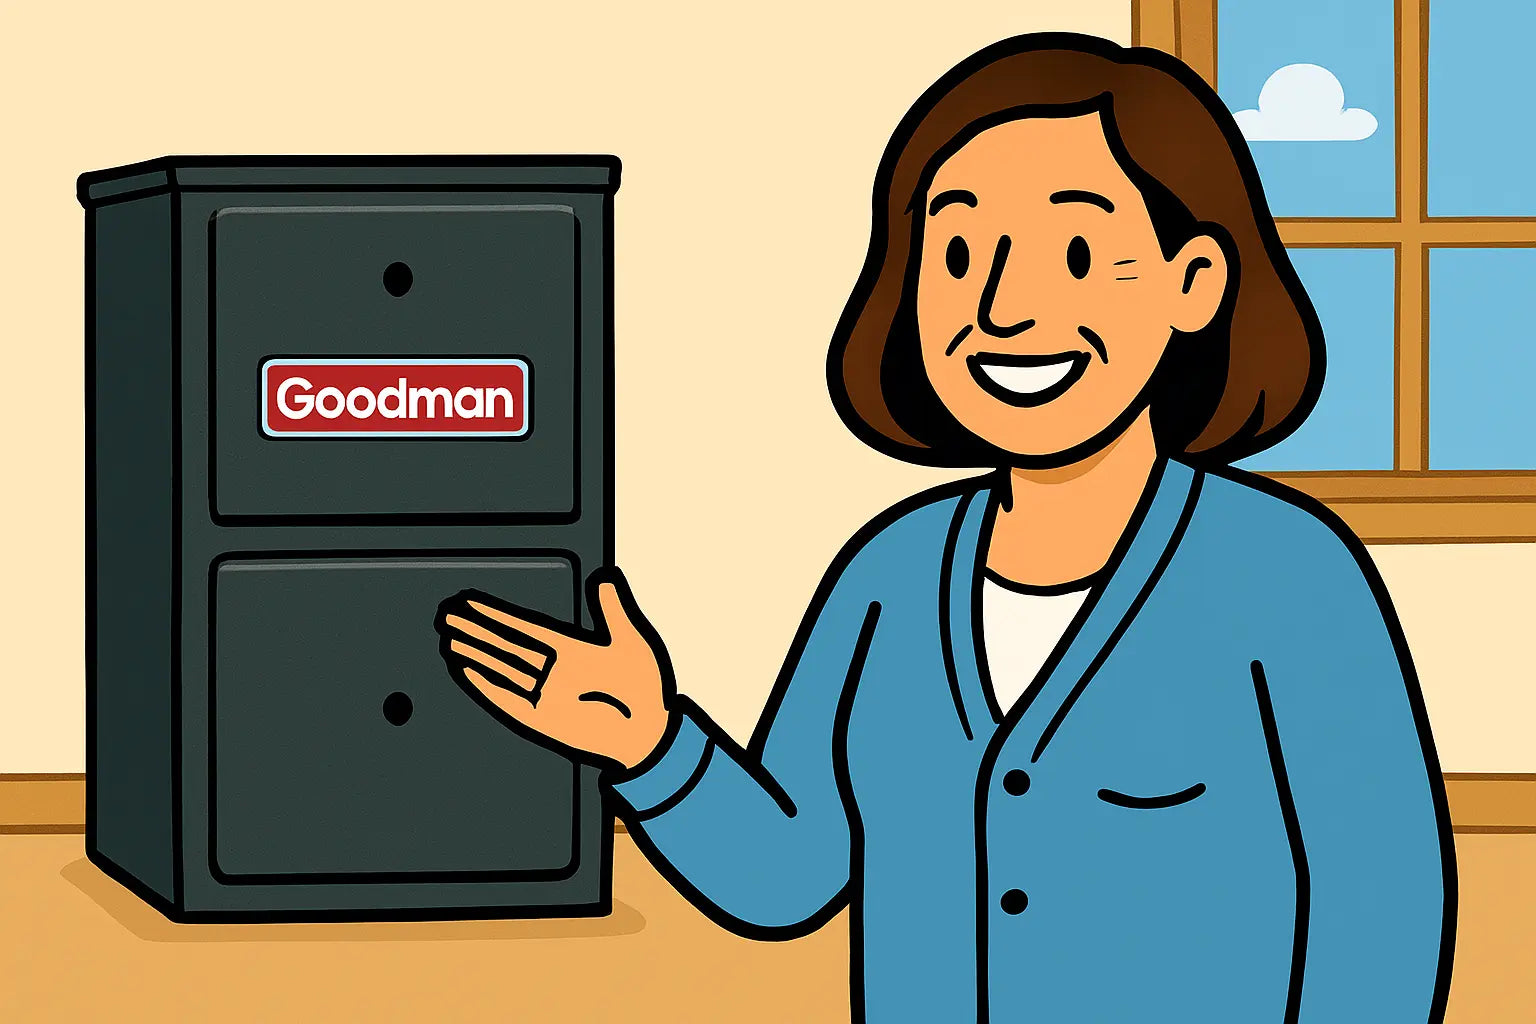
Hi there! Samantha here 😊. If you just got your Goodman GR9T801205DN furnace and are wondering how to set it up safely and efficiently, you’re in the right place. Installing a furnace can feel intimidating, but with the right tools, guidance, and some patience, you can get it done confidently.
This guide covers everything from preparing your space to final checks, and I’ll include tips, tricks, and links to trusted resources along the way. Let’s get your home warm and cozy! 🔥
Understanding the Goodman GR9T801205DN Furnace
Before diving into installation, it’s important to know your furnace’s features:
-
Two-stage gas furnace with 9-speed ECM blower motor
-
120,000 BTUs output, 80% AFUE efficiency
-
Designed for upflow or horizontal applications
-
Reliable for medium to large homes
For full specifications, check out the Goodman GR9T801205DN product page.
Tools and Safety Preparation
Tools You’ll Need
-
Screwdrivers (flathead & Phillips)
-
Drill and bits
-
Wrenches
-
Level
-
Tape measure
-
Multimeter
-
Manometer
Safety First
-
Turn off all power and gas before starting
-
Wear PPE such as gloves and safety glasses
-
Ensure your workspace is well-ventilated
For an extra layer of safety tips, BuildOps has a great HVAC safety checklist.
Step 1: Positioning the Furnace
-
Place the furnace on a level surface
-
Upflow installation: Ensure the return duct connects at the bottom and supply air flows upward
-
Horizontal installation: Verify level alignment to prevent operational issues
For more on choosing the right orientation, check Energy Star’s ductwork guidance.
Step 2: Ductwork Connection
-
Attach supply and return ducts securely
-
Seal all connections with appropriate duct sealant
-
Ensure duct sizing matches furnace specifications
Pro tip: airtight ducts improve efficiency and indoor air quality. Learn more at HVAC.com’s ductwork guide.
Step 3: Gas Line Connection
-
Connect the gas line following manufacturer instructions and local codes
-
Check for leaks using a manometer or soap solution—bubbles indicate leaks
-
Tighten connections and retest for safety
For detailed gas connection guidance, see Parts HNC furnace troubleshooting tips.
Step 4: Electrical Connections
-
Wire the furnace according to the manufacturer’s diagram
-
Secure all connections to prevent electrical faults
-
Use a multimeter to verify voltage and continuity
Step 5: Final Setup Checks
-
Confirm the furnace is level and stable
-
Inspect the condensate drain for proper flow
-
Ensure the thermostat is wired and calibrated correctly
Tips for a Smooth Installation
-
Double-check airflow direction
-
Keep the installation area clean and free of obstructions
-
Take your time with gas and electrical connections—safety is critical
-
Keep the manual handy for reference
Conclusion from Samantha
And there you have it! 🎉 With careful preparation and step-by-step guidance, installing your Goodman GR9T801205DN furnace doesn’t have to be stressful.
For full product details and additional resources, visit the Goodman GR9T801205DN furnace page.
Need more troubleshooting tips for this unit? Visit my guide: Furnace Troubles.
Remember, if you encounter issues beyond basic installation, don’t hesitate to call a licensed HVAC professional. Stay warm and enjoy your cozy home! ❄️🔥
Until next time,
- Samantha, Home Comfort Advisor


